6 Simple Golf Ball Designs to Draw (Even If You’re Not an Artist)
Picture this: you’re sitting at your desk, doodling during a break, when suddenly you realize that even the most basic objects around us can become amazing art projects. Golf balls, with their distinctive dimpled surface and clean white appearance, make perfect subjects for simple drawings that anyone can master. Whether you’re a complete beginner or someone who thinks they “can’t draw,” these 6 simple golf ball designs to draw (even if you’re not an artist) will prove that creativity knows no skill barriers.
Drawing doesn’t require years of training or expensive art supplies. Sometimes, the most satisfying artistic experiences come from sketching everyday objects with basic techniques that build confidence and spark joy. Golf balls offer the perfect combination of familiar shape and interesting texture details that make them ideal practice subjects for aspiring artists of all ages.
Key Takeaways
- Basic shapes are your foundation – All golf ball drawings start with simple circles that anyone can draw
- Dimple patterns create realistic texture – Small dots and curves transform basic circles into recognizable golf balls
- Personalization makes art meaningful – Adding names, numbers, or decorative elements creates unique designs
- Simple tools work best – Pencils, erasers, and basic drawing materials are all you need to get started
- Practice builds confidence – Each design builds upon previous skills, making complex drawings achievable
Getting Started: Essential Drawing Supplies and Basic Techniques
Before diving into the 6 simple golf ball designs to draw (even if you’re not an artist), gathering the right materials sets the foundation for success. The beauty of golf ball drawings lies in their simplicity – no expensive art supplies or specialized tools required.
Essential Drawing Materials
Basic supplies include regular pencils (HB or 2B work perfectly), a good eraser, and plain white paper. These everyday items, likely already in most homes or offices, provide everything needed to create impressive golf ball artwork.
Optional enhancements might include colored pencils for decorative elements, a ruler for geometric patterns, and blending stumps for smooth shading effects. However, these additions aren’t necessary for creating beautiful golf ball drawings.
Understanding Golf Ball Structure
Real golf balls feature approximately 300 to 500 dimples across their surface, arranged in specific patterns that affect aerodynamics [1]. For drawing purposes, understanding this basic structure helps create realistic representations without requiring perfect accuracy.
The spherical shape forms the foundation, while dimple patterns add character and recognition. Most golf balls measure about 1.68 inches in diameter, but drawings can be any size that feels comfortable for the artist.
Basic Circle Drawing Technique
Start with light, loose circular motions rather than attempting perfect circles immediately. Professional artists often begin with rough shapes, gradually refining them through multiple light strokes rather than single, heavy lines.
Practice drawing circles of various sizes to build confidence. Remember that slight imperfections add character to hand-drawn artwork and distinguish it from computer-generated images.
6 Simple Golf Ball Designs Anyone Can Master
1. Classic Dimpled Golf Ball
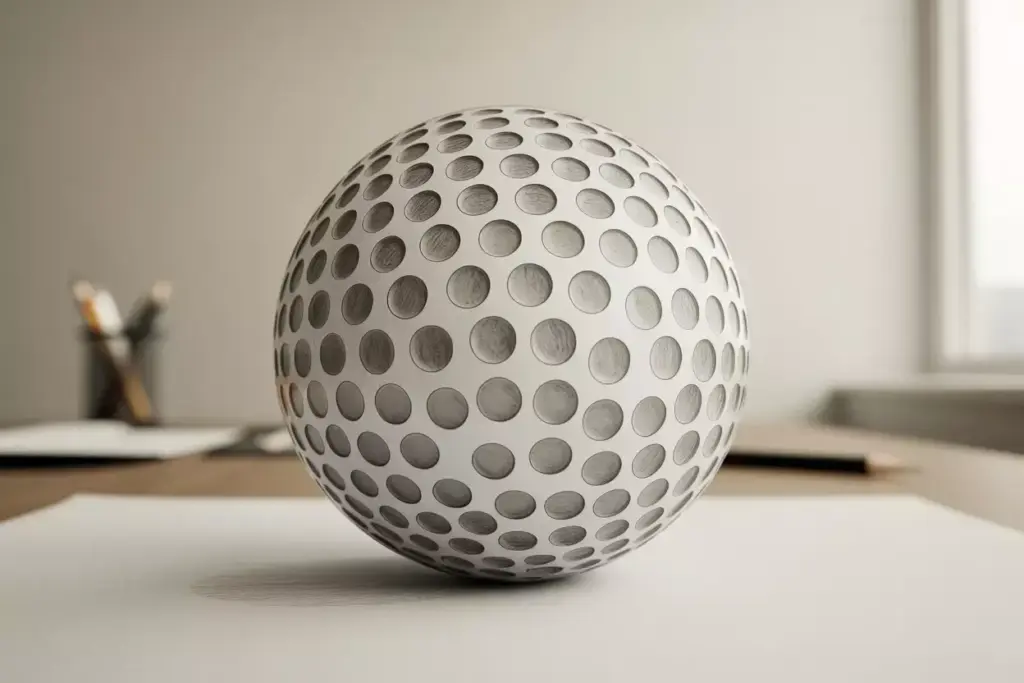
The traditional golf ball design serves as the perfect starting point for beginners. This foundational drawing teaches essential techniques used in all subsequent designs.
Step-by-step process:
Begin by drawing a light circle using gentle, overlapping strokes. Don’t worry about perfection – real golf balls aren’t perfectly round either. Once satisfied with the basic shape, add a subtle curved line across the middle to suggest the ball’s three-dimensional form.
Creating realistic dimples:
Add small circles or dots across the surface, varying their sizes slightly for natural appearance. Concentrate dimples more densely in the center areas and spread them more loosely toward the edges to create depth perception.
Shading techniques:
Apply light shading on one side of the ball to suggest a light source. Use the side of the pencil rather than the tip for smooth, even tones. Leave the opposite side lighter to create contrast and dimension.
2. Numbered Tournament Golf Ball
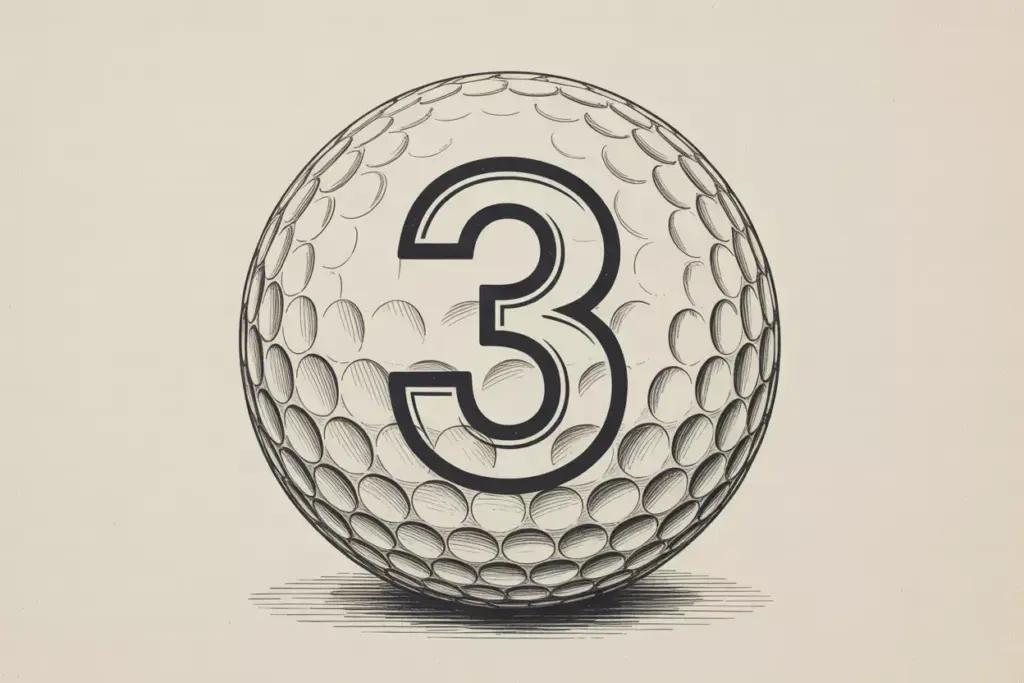
Adding numbers transforms a basic golf ball into something more specific and personal. Tournament-style numbering gives drawings professional authenticity.
Number placement:
Choose a single digit (1-4 are most common on real golf balls) and position it prominently on the visible surface. Draw the number large enough to be clearly readable but proportional to the ball size.
Font considerations:
Use simple, bold numbers rather than decorative fonts. Clean, straightforward numerals look more authentic and are easier to draw consistently.
Integration with dimples:
Plan dimple placement around the number, creating a clear space that makes the digit stand out. This technique mimics how real golf ball manufacturers design their products.
3. Personalized Golf Ball with Name or Initials
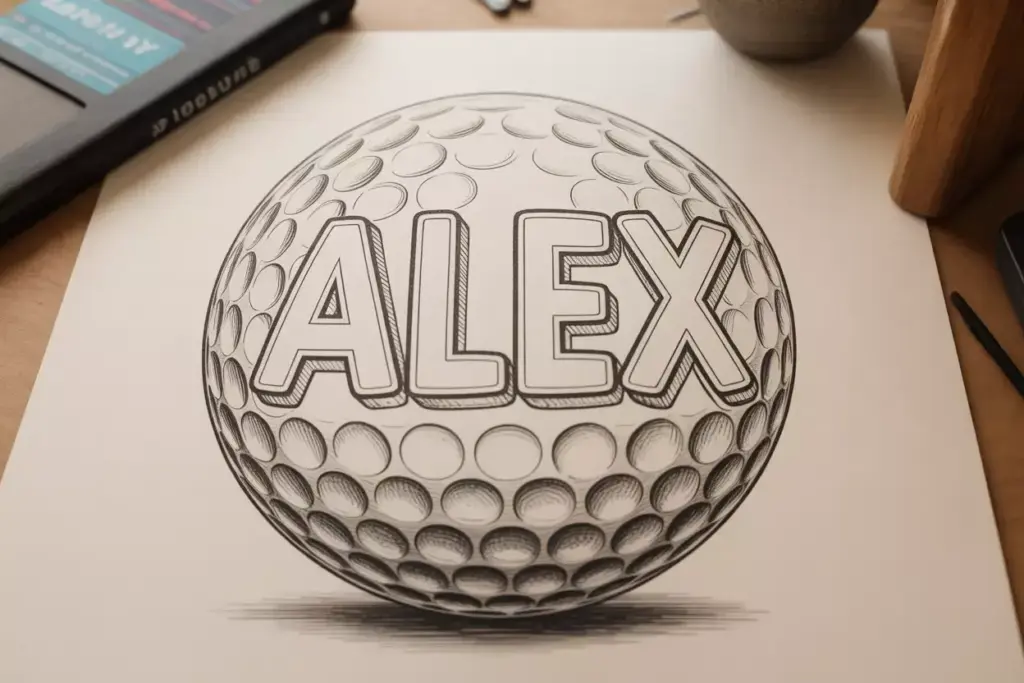
Custom golf balls with names or initials make popular gifts and create meaningful artwork. This design combines lettering skills with basic golf ball drawing.
Text layout planning:
Before adding letters, lightly sketch guidelines to ensure even spacing and appropriate sizing. Consider whether to use a single line of text or arrange letters in a curved pattern that follows the ball’s surface.
Lettering techniques:
Use simple, readable fonts rather than elaborate script styles. Block letters work exceptionally well for beginners and create clear, professional-looking results.
Balancing text and texture:
Reduce dimple density around text areas to maintain readability while keeping enough texture to clearly identify the object as a golf ball.
4. Striped Pattern Golf Ball
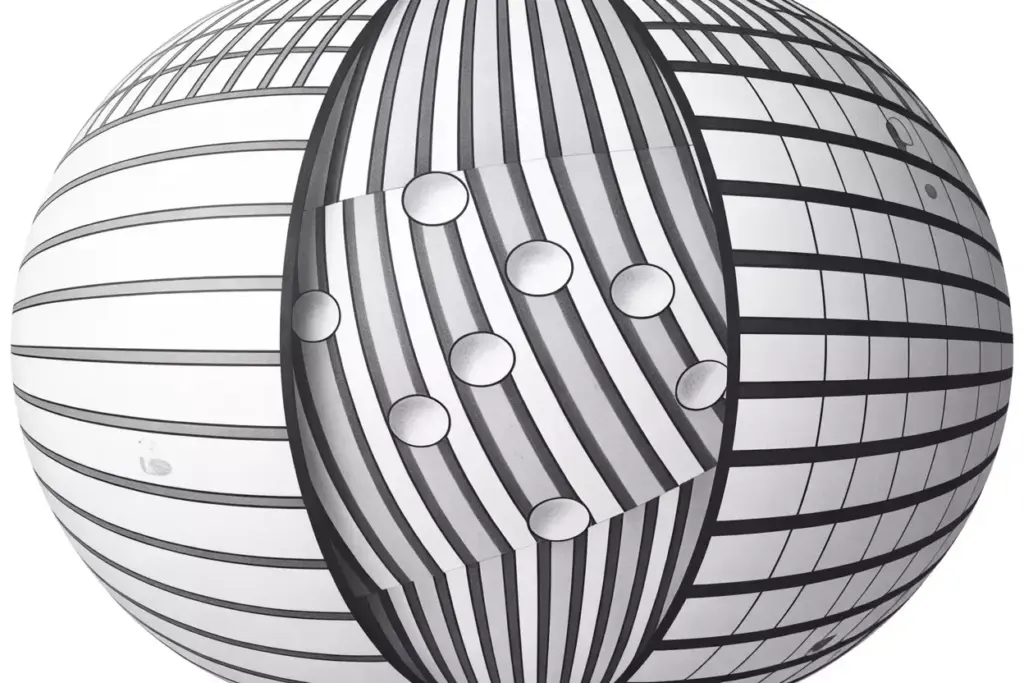
Geometric patterns add visual interest while remaining simple enough for beginners. Striped designs teach important lessons about perspective and pattern consistency.
Creating straight stripes:
Use a ruler or straight edge to ensure even lines. Plan stripe width before beginning – consistent spacing creates more professional results than varying widths.
Curved stripe variations:
For more dynamic designs, create gently curved stripes that follow the ball’s spherical surface. This technique adds movement and sophistication to the drawing.
Color considerations:
Even when working in pencil, plan stripe patterns as if using color. Alternate between light and dark shading to create contrast and visual separation between stripes.
5. Decorative Pattern Golf Ball
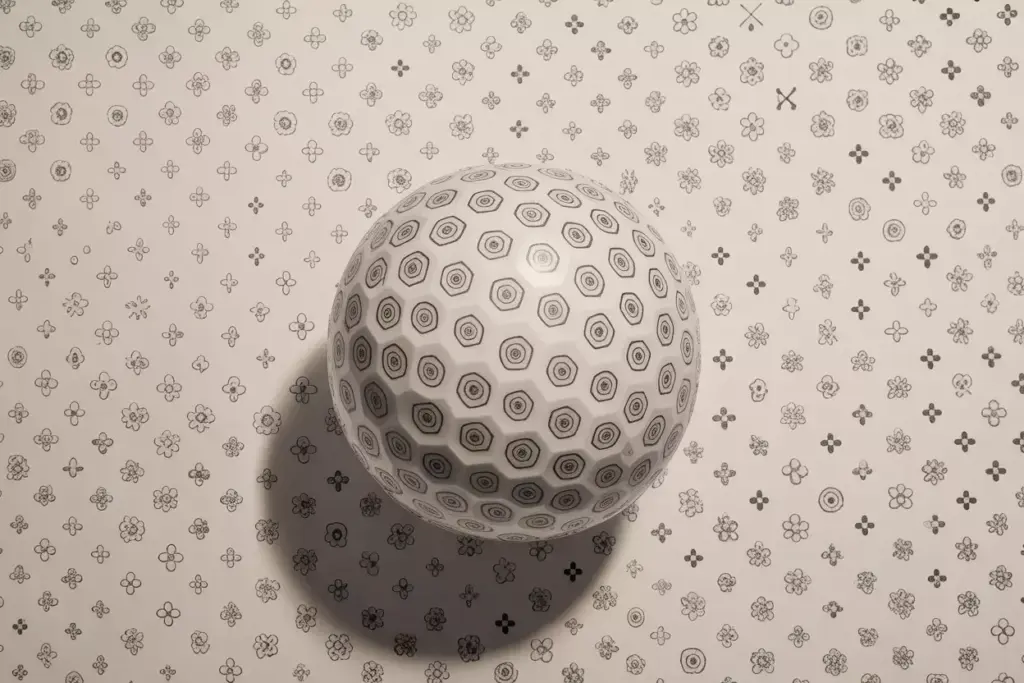
Artistic patterns allow for creative expression while maintaining the recognizable golf ball shape. This design encourages experimentation with different decorative elements.
Simple geometric patterns:
Start with basic shapes like triangles, squares, or diamonds arranged in repeating patterns across the ball’s surface. These foundational elements can be combined in countless ways.
Nature-inspired designs:
Consider simple flower shapes, leaf patterns, or star designs. Keep individual elements small and manageable to maintain overall ball proportions.
Pattern spacing:
Leave adequate white space between pattern elements to prevent the design from becoming cluttered or losing the golf ball’s essential character.
6. Golf Ball with Tee
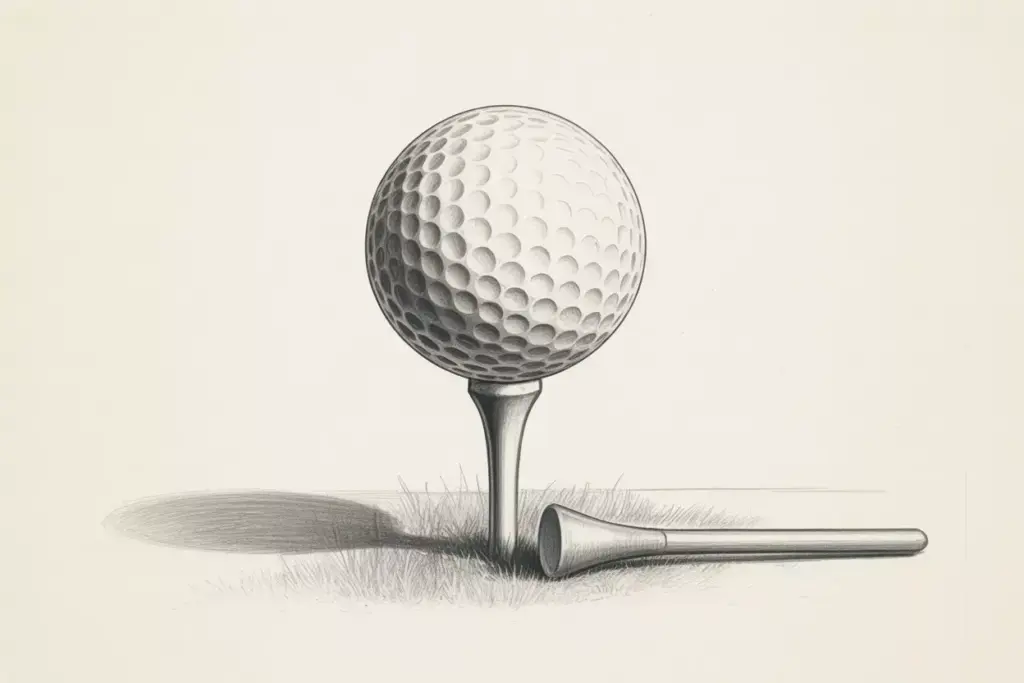
Adding a tee creates context and tells a story while introducing new drawing elements. This design combines multiple objects in a single composition.
Tee proportions:
Standard golf tees measure about 2.75 inches in length, making them roughly 1.5 times the diameter of a golf ball. Maintain these proportions for realistic appearance.
Positioning and perspective:
Place the ball slightly off-center on the tee to create dynamic composition. Show a small portion of the tee extending beyond the ball to clearly indicate the support structure.
Ground line suggestion:
Add a simple horizontal line beneath the tee to suggest ground level and anchor the composition. This small detail significantly improves the overall drawing’s stability and realism.
Advanced Tips for Enhancing Your Golf Ball Drawings
Shading and Dimension Techniques
Light source consistency remains crucial across all designs. Choose a light direction at the beginning and maintain it throughout the drawing process. This consistency creates believable three-dimensional form.
Gradual value transitions work better than harsh contrasts for beginners. Build up darker areas slowly through multiple light layers rather than attempting to achieve final darkness immediately.
Adding Background Elements
Simple backgrounds can dramatically improve golf ball drawings without requiring advanced skills. Consider adding:
Grass texture using short, vertical pencil strokes beneath the ball or tee
Shadow shapes extending from the ball to ground the object in space
Simple horizon lines to suggest golf course settings
Common Mistakes to Avoid
Overcomplicating dimple patterns often leads to cluttered, unrealistic results. Focus on suggesting texture rather than drawing every individual dimple.
Inconsistent proportions between different elements can make drawings look unprofessional. Measure relationships between objects before committing to final lines.
Heavy initial lines make corrections difficult and can damage paper surfaces. Always start with light strokes and gradually build up to final line weights.
Practical Applications and Next Steps
Educational Uses
These 6 simple golf ball designs to draw (even if you’re not an artist) work excellently in educational settings. Teachers can use golf ball drawing exercises to teach:
Geometric concepts through circle construction and pattern creation
Fine motor skills development in younger students
Observation skills by comparing drawings to real golf balls
Gift and Craft Applications
Hand-drawn golf ball designs make thoughtful additions to:
Greeting cards for golf enthusiasts
Custom artwork for golf-themed rooms or offices
Practice sheets for developing artistic confidence
Building Artistic Confidence
Each completed golf ball drawing builds skills transferable to other subjects. The progression from simple circles to detailed, personalized designs demonstrates how complex artwork develops from basic foundations.
Regular practice with these designs develops hand-eye coordination and observational skills essential for all drawing activities. Start with just a few minutes daily rather than lengthy, overwhelming sessions.
Troubleshooting Common Drawing Challenges
Achieving Consistent Circles
Many beginners struggle with drawing even circles freehand. Professional techniques include:
Drawing from the shoulder rather than the wrist for smoother curves
Using light, overlapping strokes instead of single continuous lines
Practicing circle exercises as warm-up activities before main drawings
Managing Dimple Patterns
Realistic dimple representation doesn’t require drawing hundreds of individual dimples. Effective strategies include:
Focusing dimple detail in central areas while suggesting texture in peripheral zones
Varying dimple sizes slightly for natural appearance
Using dots, small circles, or tiny curved lines depending on comfort level
Balancing Detail and Simplicity
Beginning artists often add too much detail, creating cluttered results. Successful approaches involve:
Planning major elements before adding fine details
Stepping back frequently to assess overall composition
Remembering that suggestion often works better than literal representation
Conclusion
These 6 simple golf ball designs to draw (even if you’re not an artist) prove that creativity and artistic expression don’t require advanced training or natural talent. From basic dimpled balls to personalized designs with names and decorative patterns, each project builds essential drawing skills while creating satisfying finished artwork.
The journey from simple circles to detailed golf ball illustrations demonstrates how complex artistic achievements grow from mastering fundamental techniques. Every artist, regardless of experience level, benefits from practicing basic shapes and gradually adding complexity through systematic skill development.
Take action today by gathering basic drawing supplies and attempting the first design – the classic dimpled golf ball. Spend just 10-15 minutes on this initial project, focusing on the process rather than perfection. Remember that each line drawn builds confidence and capability for future artistic endeavors.
Consider sharing completed drawings with friends, family, or online communities to receive encouragement and feedback. Many successful artists began their journeys with simple subjects like these golf ball designs, proving that every expert was once a beginner willing to start with basic projects.
The skills developed through these 6 simple golf ball designs to draw (even if you’re not an artist) transfer directly to countless other drawing subjects, making this practice time an investment in broader artistic development. Whether pursuing art as a hobby or building foundations for more serious study, these projects provide valuable experience in observation, proportion, shading, and creative problem-solving.
References
[1] United States Golf Association. “Golf Ball Specifications and Testing Procedures.” USGA Equipment Standards, 2025.