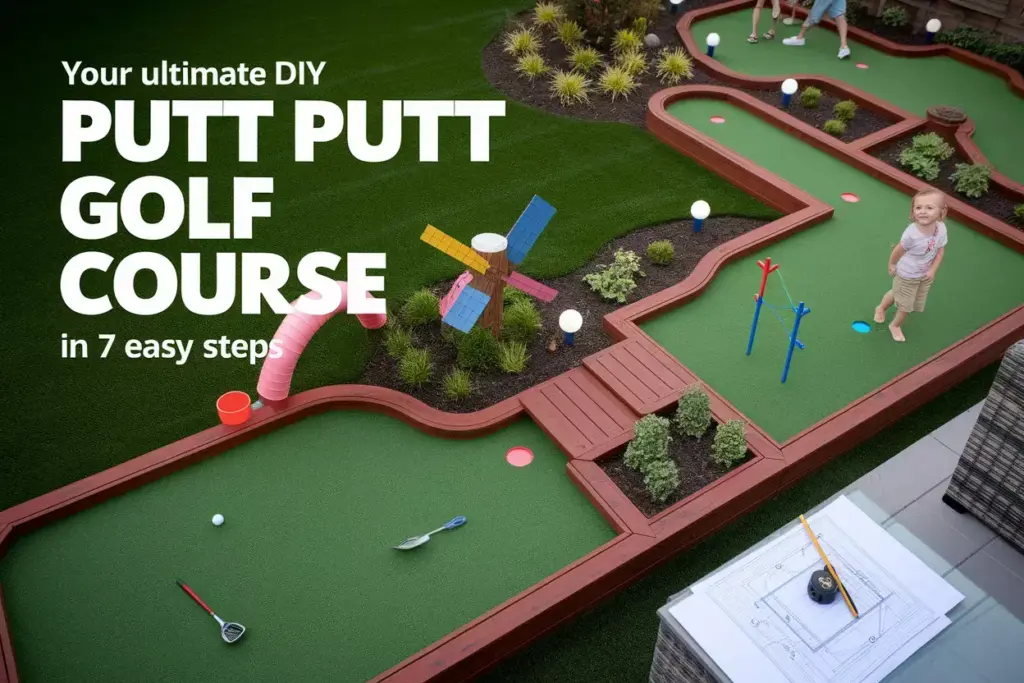
Your Ultimate DIY Backyard Putt Putt Golf Course in 7 Easy Steps
Imagine transforming an ordinary backyard into a miniature golf paradise that brings endless entertainment to family gatherings, neighborhood parties, and weekend relaxation. Building your ultimate DIY backyard putt putt golf course in 7 easy steps isn’t just a weekend project—it’s an investment in creating lasting memories while adding significant value to your outdoor living space.
Creating a custom miniature golf course has become increasingly popular among homeowners seeking unique entertainment options. Unlike expensive commercial installations, a DIY approach allows complete creative control over design elements, obstacle placement, and budget management. Whether working with a compact patio or sprawling lawn, these seven strategic steps will guide anyone through the process of constructing a professional-quality putting course that rivals commercial venues.
Key Takeaways
- Planning and measurement are crucial first steps that determine the success of your backyard putt putt course layout
- Budget-friendly materials like artificial turf, PVC pipes, and reclaimed wood can create impressive obstacles and hole designs
- Proper drainage and leveling ensure your course remains playable and durable through various weather conditions
- Creative obstacle design using household items and simple construction techniques adds unique character to each hole
- Regular maintenance including cleaning, repairs, and seasonal adjustments keeps your course in tournament-ready condition
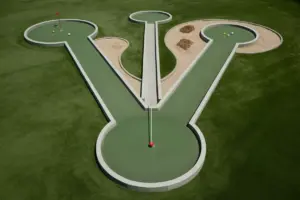
1. Planning Your Course Layout and Design
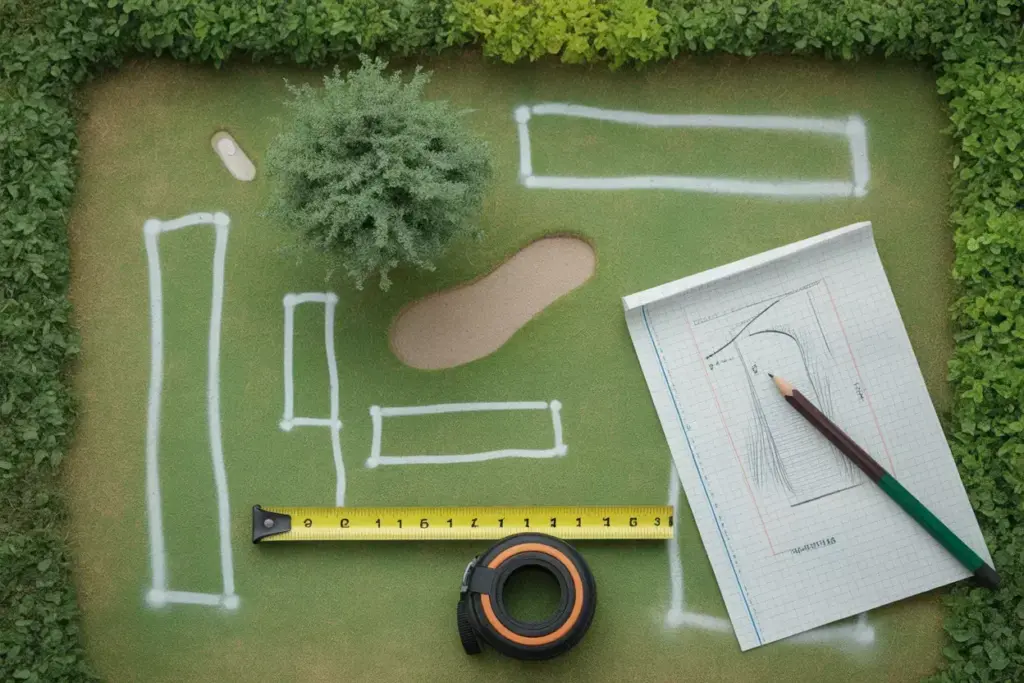
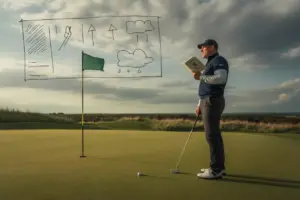
The foundation of your ultimate DIY backyard putt putt golf course in 7 easy steps begins with strategic planning and thoughtful design. Start by measuring your available space and sketching a rough layout on graph paper. Consider natural features like trees, slopes, and existing landscaping that can be incorporated into hole designs.
Essential Planning Considerations:
- Space Requirements: Each hole typically needs 4-6 feet of width and 8-12 feet of length
- Traffic Flow: Design a logical progression from hole to hole that prevents player congestion
- Difficulty Progression: Mix easy, moderate, and challenging holes throughout the course
- Accessibility: Ensure pathways accommodate players of all ages and abilities
Create a master plan that includes hole locations, obstacle placement, and storage areas for equipment. Consider seasonal factors like sun exposure, drainage patterns, and wind direction that might affect gameplay. Professional course designers recommend starting with 6-9 holes for beginners, with the option to expand later.
Pro Tip: Use spray paint or rope to outline each hole on the ground before beginning construction. This allows for easy adjustments and helps visualize the final layout.
2. Gathering Essential Materials and Tools
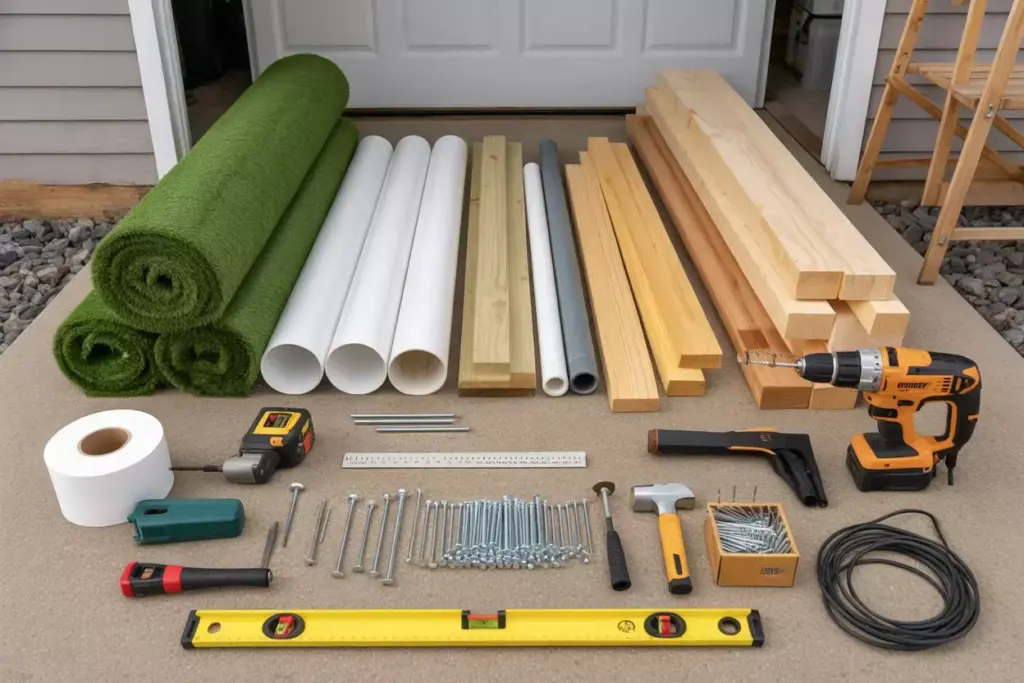
Success in building your ultimate DIY backyard putt putt golf course in 7 easy steps depends heavily on selecting quality materials that balance durability with affordability. The following comprehensive list covers everything needed for a professional-quality installation.
Core Materials Checklist
| Category | Items | Estimated Cost |
|---|---|---|
| Surface | Artificial turf, outdoor carpet, or putting green material | $200-500 |
| Borders | Pressure-treated lumber, composite decking, or metal edging | $150-300 |
| Obstacles | PVC pipes, wooden blocks, decorative elements | $100-250 |
| Hardware | Screws, nails, brackets, hinges | $50-100 |
| Tools | Circular saw, drill, level, measuring tape | $200-400* |
*Tool costs assume purchasing; borrowing or renting reduces expenses significantly.
Specialized Equipment
Power Tools Needed:
- Circular saw for cutting lumber and borders
- Power drill with various bit sizes
- Jigsaw for curved cuts and intricate shapes
- Orbital sander for smooth finishes
Hand Tools Required:
- Measuring tape (25-foot minimum)
- Level (4-foot recommended)
- Hammer for general construction
- Utility knife for turf cutting
- Chalk line for marking straight edges
Consider purchasing materials in phases to spread costs over time. Many home improvement stores offer bulk discounts on lumber and hardware when buying complete project packages.
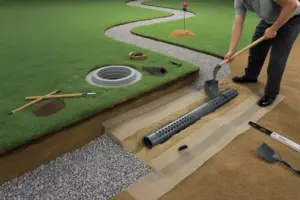
3. Preparing the Ground and Installing Surfaces

Ground preparation represents the most critical phase in building your ultimate DIY backyard putt putt golf course in 7 easy steps. Proper foundation work ensures consistent ball roll, prevents water damage, and extends the lifespan of your installation significantly.
Site Preparation Process
Step-by-Step Ground Preparation:
- Clear the Area: Remove all vegetation, rocks, and debris from designated hole locations
- Level the Surface: Use a rake and shovel to create relatively flat areas for each hole
- Compact the Soil: Walk over the area repeatedly or use a hand tamper for firm foundation
- Add Base Material: Spread a thin layer of sand or fine gravel for drainage and stability
- Final Grading: Ensure slight slopes direct water away from playing surfaces
Surface Installation Options
Artificial Turf Installation:
- Advantages: Realistic appearance, consistent ball roll, weather resistant
- Installation: Roll out sections, secure with landscape staples every 6 inches
- Cutting: Use sharp utility knife, cut from backing side for clean edges
- Seaming: Overlap edges slightly, secure with outdoor adhesive or staples
Alternative Surface Materials:
- Outdoor Carpet: Budget-friendly option, available in green colors
- Rubber Matting: Extremely durable, excellent for high-traffic areas
- Natural Grass: Requires ongoing maintenance but provides authentic feel
Professional Tip: Install surfaces during dry weather conditions to ensure proper adhesion and prevent moisture-related issues during the curing process.
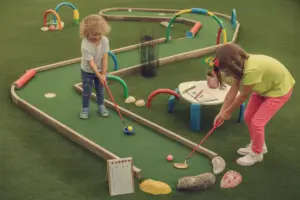
4. Designing and Building Creative Obstacles
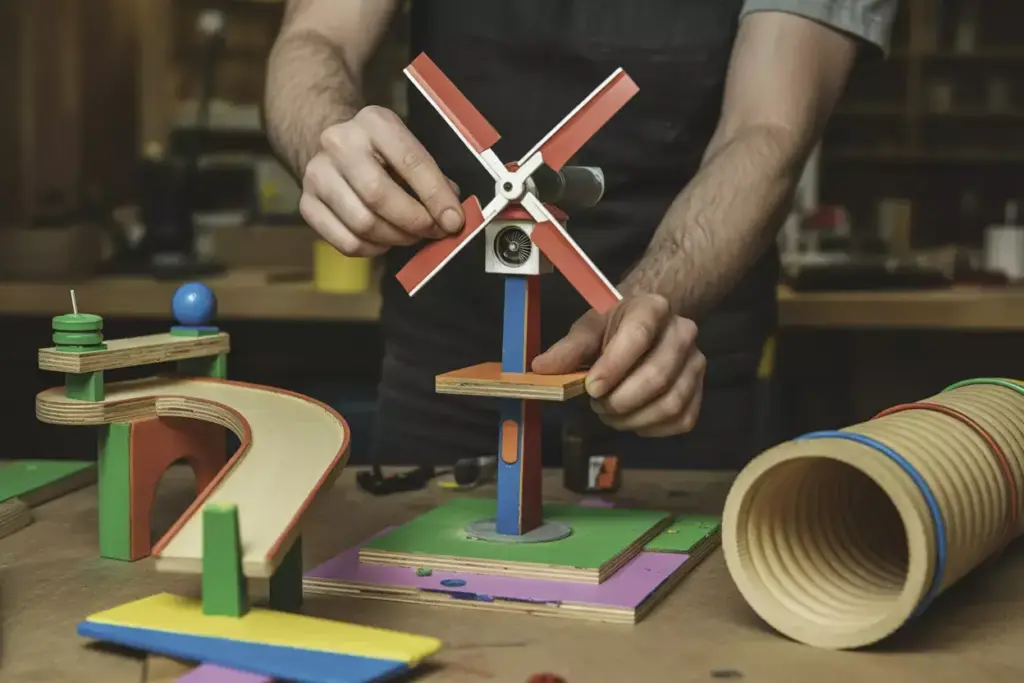
The obstacle design phase transforms your ultimate DIY backyard putt putt golf course in 7 easy steps from basic putting greens into an engaging entertainment experience. Creative obstacles challenge players while adding visual appeal and unique character to each hole.
Popular Obstacle Categories
Ramp and Bridge Obstacles:
- Simple Ramps: Cut 2×4 lumber at angles, sand smooth, paint bright colors
- Elevated Bridges: Create pathways over water features or decorative elements
- Curved Ramps: Use flexible materials like thin plywood for interesting ball paths
Tunnel and Pipe Systems:
- PVC Pipe Tunnels: 4-6 inch diameter pipes create exciting underground passages
- Wooden Box Tunnels: Build rectangular tunnels with removable tops for maintenance
- Natural Tunnels: Use large rocks or logs for rustic obstacle designs
Advanced Obstacle Ideas
Moving Elements:
- Windmill Obstacles: Construct rotating blades that players must time carefully
- Pendulum Barriers: Hanging obstacles that swing back and forth
- Spinning Wheels: Circular obstacles that change the ball’s direction randomly
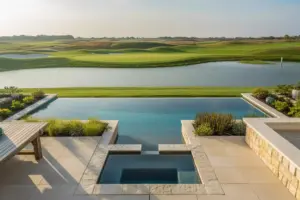
Water Features:
- Small Fountains: Battery-powered pumps create attractive water obstacles
- Stream Crossings: Shallow channels that balls must cross via bridges
- Pond Hazards: Decorative water features that add challenge and beauty
Themed Obstacles:
- Castle Walls: Medieval-themed barriers with multiple pathways
- Sports Themes: Football goalposts, basketball hoops, baseball diamonds
- Nature Themes: Rock gardens, artificial caves, tree trunk obstacles
“The best miniature golf obstacles combine visual appeal with strategic gameplay, creating memorable experiences that players want to repeat.” – Professional Course Designer
5. Installing Borders and Defining Hole Boundaries
Professional-quality borders elevate your ultimate DIY backyard putt putt golf course in 7 easy steps from amateur construction to polished entertainment venue. Well-designed boundaries contain balls effectively while enhancing the visual appeal of each hole design.
Border Material Selection
Wooden Borders:
- Pressure-Treated Lumber: Excellent durability, accepts stain and paint well
- Cedar Boards: Natural weather resistance, attractive appearance, higher cost
- Composite Materials: Low maintenance, consistent appearance, premium pricing
Alternative Border Options:
- Metal Edging: Clean lines, professional appearance, easy installation
- Stone or Brick: Permanent solution, attractive but labor-intensive
- Flexible Plastic: Curved designs, budget-friendly, less durable
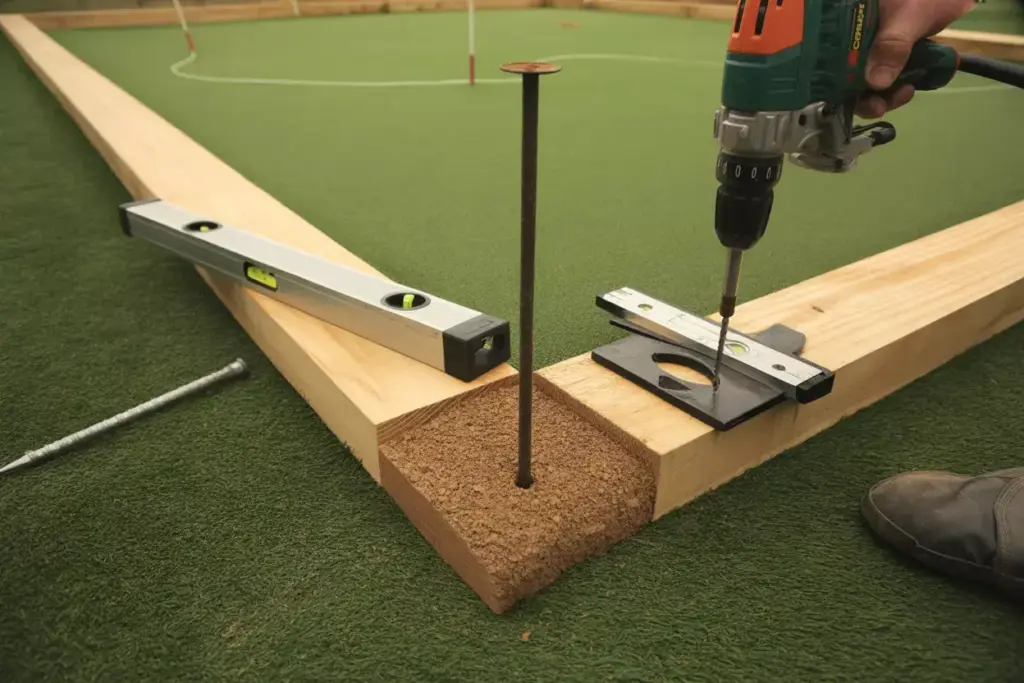
Installation Techniques
Wooden Border Installation Process:
- Measure and Cut: Use precise measurements, cut all pieces before installation
- Create Corners: Use 45-degree miter cuts for professional corner joints
- Secure to Ground: Drive stakes every 3-4 feet, attach boards with deck screws
- Level Adjustment: Use shims under boards to maintain consistent height
- Finishing: Sand rough edges, apply weather-resistant stain or paint
Height Recommendations:
- Standard Holes: 2-4 inches provides adequate ball containment
- Challenging Holes: 6-8 inches creates bank shot opportunities
- Water Features: Higher borders prevent ball loss in water elements
Professional Finishing Touches
Aesthetic Enhancements:
- Decorative Caps: Add finished lumber caps to board tops for polished appearance
- Color Coordination: Use consistent color schemes throughout the course
- Logo Integration: Add family names or custom designs to border faces
- Lighting Integration: Install low-voltage LED strips under border caps
Functional Improvements:
- Ball Return Systems: Create channels that guide balls back to players
- Score Keeping Areas: Integrate small scorecard holders into border designs
- Equipment Storage: Build small compartments for extra balls and putters
6. Adding Finishing Touches and Decorative Elements
The final aesthetic details complete your ultimate DIY backyard putt putt golf course in 7 easy steps, transforming functional putting areas into an immersive entertainment experience that impresses family and friends while providing years of enjoyment.
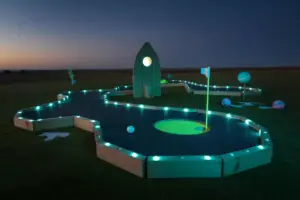
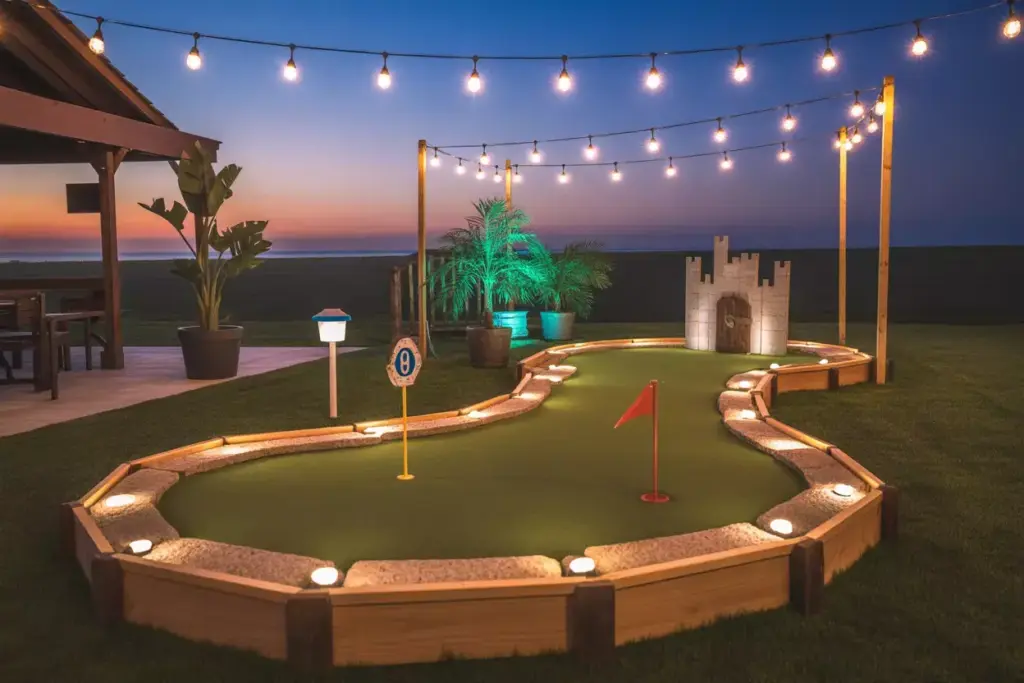
Lighting Solutions
Low-Voltage LED Systems:
- Pathway Lighting: Solar-powered stakes illuminate hole boundaries and walking paths
- Accent Lighting: Highlight special obstacles and water features for dramatic effect
- Color-Changing Options: RGB LED strips create festive atmospheres for evening play
- Timer Controls: Automatic on/off systems conserve energy and extend bulb life
Creative Lighting Ideas:
- Glow-in-the-Dark Elements: Paint obstacles with phosphorescent paint for unique night play
- String Light Canopies: Create magical overhead lighting for special occasions
- Underwater Lights: Illuminate water features for stunning visual effects
- Motion Sensors: Activate special lighting when players approach each hole
Decorative Theme Development
Popular Theme Categories:
Tropical Paradise:
- Palm trees, tiki torches, bamboo borders, sand traps
- Bright colors: turquoise, coral, sunny yellow
- Sound effects: ocean waves, tropical birds
Medieval Adventure:
- Castle walls, dragon obstacles, knight figures
- Color scheme: deep blues, royal purples, metallic accents
- Props: shields, swords, banners
Sports Stadium:
- Team colors, mascot figures, scoreboard elements
- Artificial crowd noise, victory music
- Equipment: miniature goal posts, basketball hoops
Landscaping Integration
Plant Selection:
- Low-Maintenance Options: Ornamental grasses, succulents, native plants
- Colorful Annuals: Marigolds, petunias, impatiens for seasonal color
- Evergreen Shrubs: Boxwood, juniper, holly for year-round structure
Hardscape Elements:
- Decorative Rocks: Create natural-looking obstacles and boundaries
- Mulched Areas: Define planting beds and reduce maintenance needs
- Pathways: Stepping stones or gravel paths connect holes attractively
7. Testing, Maintenance, and Seasonal Care
Comprehensive testing and ongoing maintenance ensure your ultimate DIY backyard putt putt golf course in 7 easy steps provides consistent enjoyment while protecting your investment through changing seasons and regular use.
Initial Testing Protocol
Gameplay Testing Checklist:
- Ball Roll Consistency: Test multiple balls on each surface, adjust high or low spots
- Obstacle Functionality: Verify all moving parts operate smoothly and safely
- Drainage Performance: Pour water on surfaces, ensure proper runoff direction
- Border Integrity: Check all connections, tighten loose screws and brackets
- Safety Inspection: Remove sharp edges, secure loose materials, test stability
Player Feedback Collection:
- Family Testing: Invite family members to play and provide honest feedback
- Difficulty Assessment: Ensure holes offer appropriate challenge levels for all ages
- Flow Evaluation: Monitor player movement between holes for congestion issues
- Timing Analysis: Measure average play time per hole for optimal pacing
Maintenance Schedule
Weekly Maintenance Tasks:
- Surface Cleaning: Remove leaves, debris, and pet waste from all playing areas
- Obstacle Inspection: Check moving parts, lubricate hinges and rotating elements
- Border Maintenance: Tighten loose connections, touch up paint as needed
- Equipment Check: Inspect putters, balls, and scorecards for damage or loss
Monthly Maintenance Activities:
- Deep Cleaning: Power wash surfaces, scrub obstacles, clean water features
- Landscape Care: Trim plants, edge borders, refresh mulch in planted areas
- Hardware Inspection: Check all screws, bolts, and brackets for loosening
- Surface Repairs: Address worn spots, replace damaged turf sections promptly
Seasonal Care Guidelines
Spring Preparation:
- Winter Damage Assessment: Inspect for frost damage, water damage, pest issues
- Deep Cleaning: Remove accumulated debris, pressure wash all surfaces
- Plant Refresh: Replace winter-damaged plants, add fresh mulch, fertilize
- Equipment Overhaul: Service moving parts, replace worn components, fresh paint
Summer Maintenance:
- Heat Protection: Provide shade for artificial surfaces, monitor for heat damage
- Increased Cleaning: More frequent debris removal due to higher usage
- Water Management: Ensure adequate irrigation for planted areas
- Safety Monitoring: Check for loose materials expanded by heat
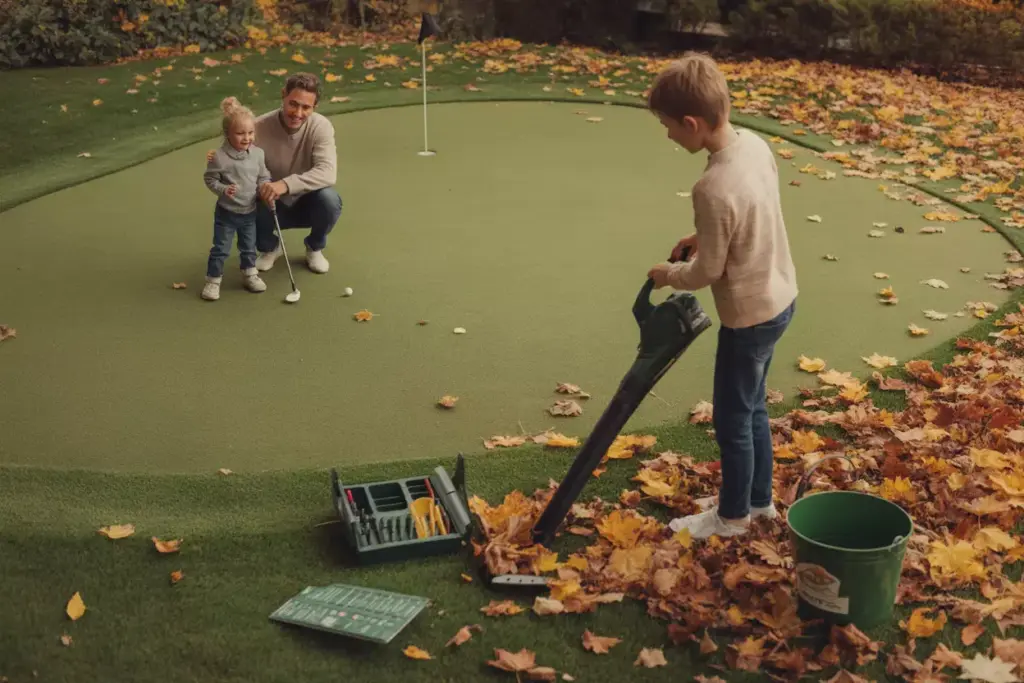
Fall Winterization:
- Leaf Management: Regular removal prevents staining and surface damage
- Water System Shutdown: Drain fountains and irrigation to prevent freeze damage
- Equipment Storage: Store removable elements in protected areas
- Surface Protection: Consider temporary covers for delicate areas
Winter Protection:
- Snow Removal: Gentle removal prevents surface damage from ice formation
- Ice Prevention: Apply safe ice melts, avoid salt that damages plants
- Structural Monitoring: Check for freeze-thaw damage to borders and obstacles
- Planning Phase: Use downtime to plan improvements and expansions
Conclusion
Building your ultimate DIY backyard putt putt golf course in 7 easy steps transforms any outdoor space into a premier entertainment destination that provides years of family fun while adding substantial value to your property. From initial planning through seasonal maintenance, each step contributes to creating a professional-quality miniature golf experience that rivals commercial installations.
The seven-step process outlined above—planning, material gathering, ground preparation, obstacle construction, border installation, finishing touches, and ongoing maintenance—provides a comprehensive roadmap for success. By following these detailed guidelines, homeowners can confidently tackle this rewarding project regardless of their previous construction experience.
Key success factors include thorough planning, quality material selection, proper installation techniques, and commitment to ongoing maintenance. The investment in time and materials pays dividends through countless hours of entertainment, increased property value, and the satisfaction of creating something unique and personal.
Take action today by measuring your available space and sketching initial hole designs. Start with a modest 6-hole layout that can be expanded over time as budget and enthusiasm allow. Remember that the best miniature golf courses evolve gradually, with new obstacles and improvements added seasonally.
Your backyard putt putt course will become the centerpiece of family gatherings, neighborhood parties, and quiet evening entertainment for years to come. The memories created and skills developed on your custom course will far exceed the initial investment in time and materials.