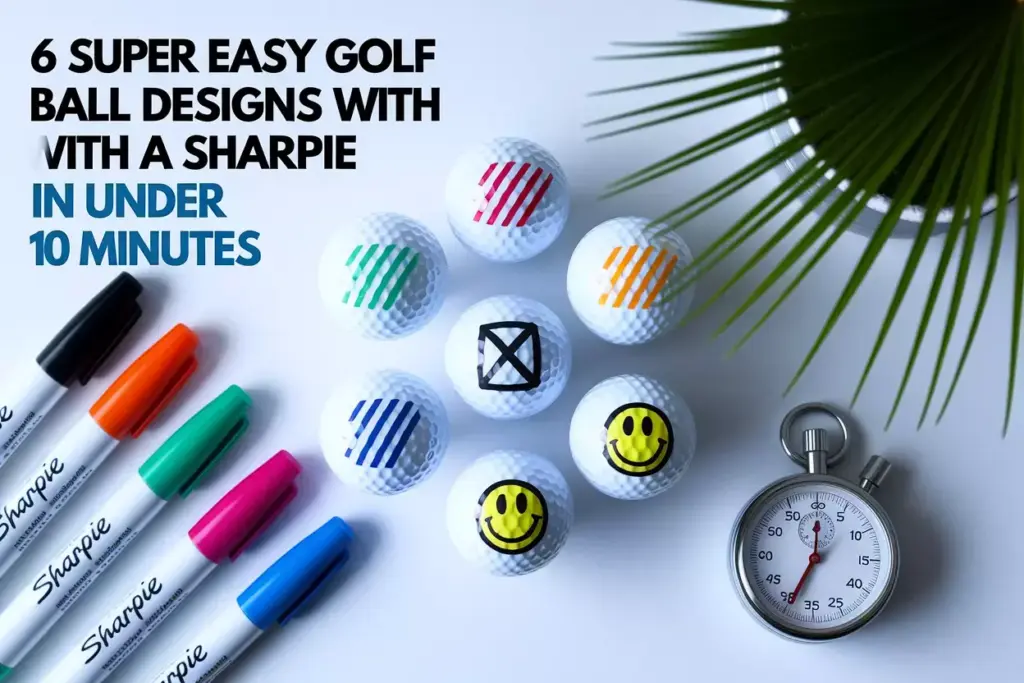
6 Super Easy Golf Ball Designs with a Sharpie in Under 10 Minutes
Picture this: you’re standing on the first tee, reaching into your golf bag, and pulling out a golf ball that’s uniquely yours—not just another plain white sphere, but a personalized masterpiece that catches everyone’s eye. Creating 6 Super Easy Golf Ball Designs with a Sharpie in Under 10 Minutes has become one of the most popular ways for golfers to add personality to their game while ensuring they never lose track of their ball on the course.
Disclosure: This post contains affiliate links. As an Amazon Associate, we earn from qualifying purchases, and at no extra cost to you.
Whether you’re a weekend warrior looking to stand out in your foursome or a parent wanting to help your junior golfer identify their ball easily, these simple Sharpie designs offer the perfect solution. The best part? You don’t need artistic talent, expensive equipment, or hours of time—just a few basic Sharpie markers and less than 10 minutes per ball.
Key Takeaways
- Quick customization: Each design takes 2-10 minutes to complete using only Sharpie markers
- Improved ball identification: Custom designs help golfers quickly spot their ball on the course
- Cost-effective personalization: Transform ordinary golf balls for under $5 in materials
- No artistic skills required: Simple patterns and shapes work just as effectively as complex designs
- Tournament legal: Most designs comply with USGA rules when applied properly
Why Customize Your Golf Balls? 🎯
Golf ball customization serves multiple practical purposes beyond mere aesthetics. Ball identification ranks as the primary reason golfers choose to personalize their equipment. According to the USGA, players must be able to identify their ball throughout the round, and custom markings significantly reduce confusion when multiple players use the same brand and model [1].
Custom designs also provide psychological benefits. Many golfers report feeling more confident and connected to their equipment when using personalized balls. This mental edge can translate into improved focus and performance on the course.
From a practical standpoint, customized golf balls are easier to spot in various course conditions—whether nestled in rough grass, sitting among fallen leaves, or positioned near other balls on the green. The time saved searching for balls can improve pace of play for entire groups.
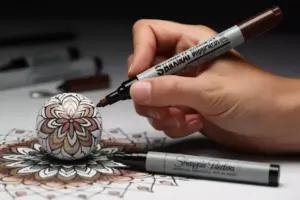
Essential Materials and Preparation
Required Materials
Creating 6 Super Easy Golf Ball Designs with a Sharpie in Under 10 Minutes requires minimal investment:
Sharpie Markers:
- Fine point (0.5mm) for detailed work
- Ultra-fine point (0.3mm) for intricate patterns
- Standard tip (1.0mm) for bold lines and filling
Recommended Colors:
- Black (essential for contrast)
- Red (highly visible)
- Blue (classic choice)
- Green (blends with course but adds style)
- Purple (unique and eye-catching)
Additional Supplies:
- Clean golf balls (new or gently used)
- Rubbing alcohol and cotton swabs
- Paper towels
- Protective work surface
Preparation Steps
- Clean the golf ball thoroughly with rubbing alcohol to remove oils, dirt, and residue
- Allow complete drying (2-3 minutes) before beginning any design work
- Set up workspace with good lighting and stable surface
- Test markers on a practice ball to ensure proper ink flow
The 6 Super Easy Golf Ball Designs with a Sharpie Masterlist
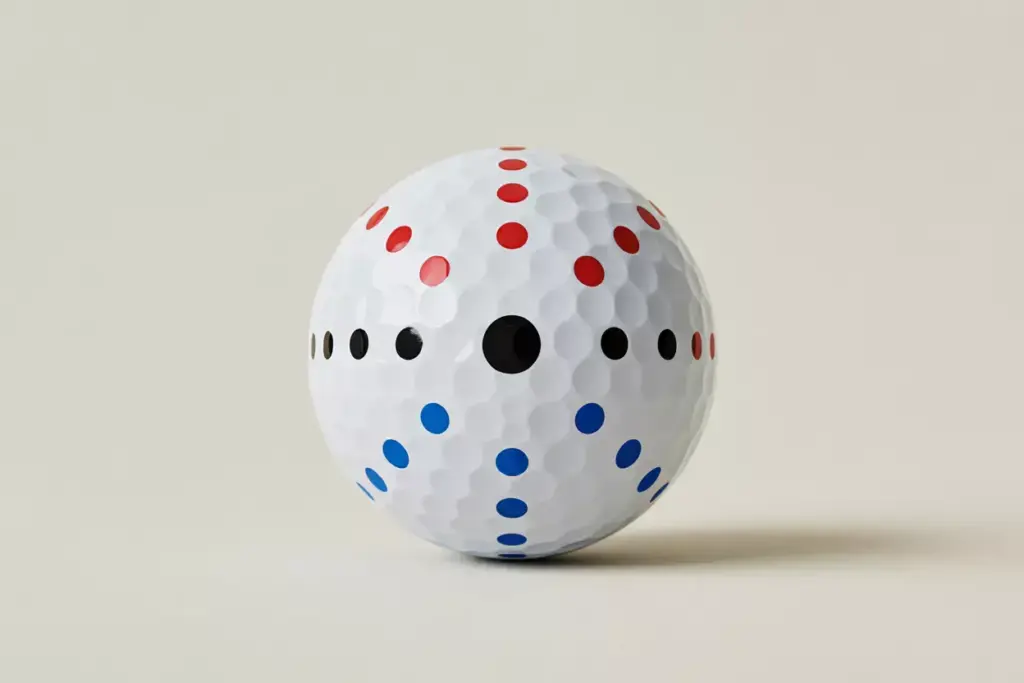
1. The Classic Dot Pattern ⚫
Time Required: 2-3 minutes
The dot pattern represents the most beginner-friendly design in our collection of 6 Super Easy Golf Ball Designs with a Sharpie in Under 10 Minutes. This timeless approach works for golfers of all skill levels and provides excellent ball identification.
Step-by-Step Instructions:
- Choose three different colored markers (black, red, blue work well)
- Start with black dots around the ball’s equator, spacing them evenly
- Add red dots between black ones in the upper hemisphere
- Finish with blue dots in remaining spaces on lower hemisphere
- Allow 30 seconds drying time between colors
- Maintain consistent dot sizes by using the same pressure
- Create patterns like triangles or lines with your dots
- Use the ball’s existing dimples as guides for spacing
2. Racing Stripes Design 🏁
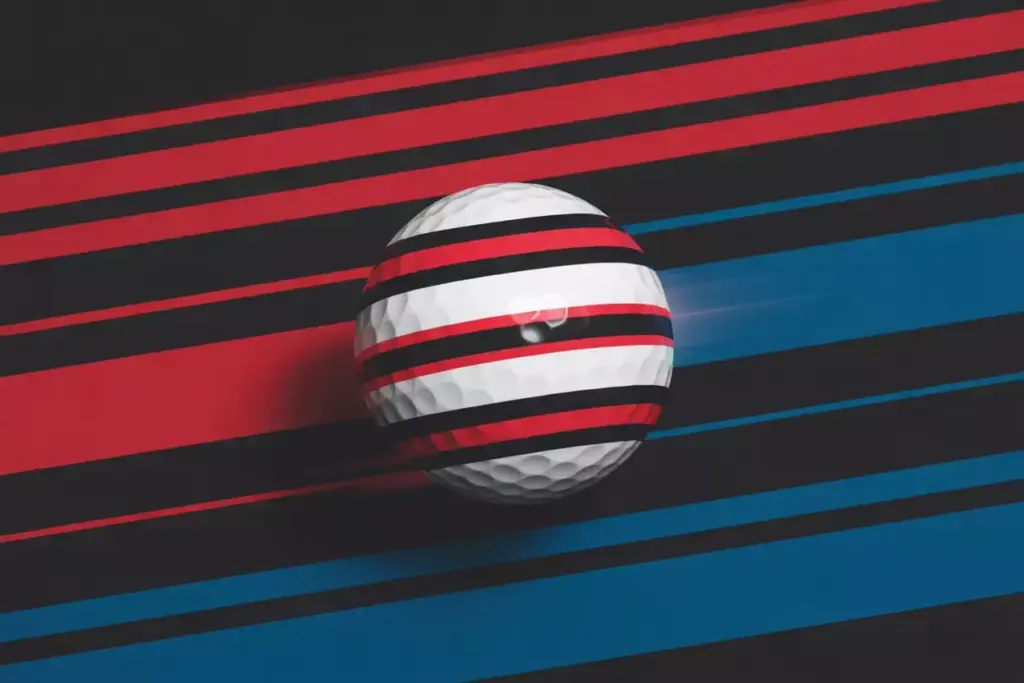
Time Required: 4-5 minutes
Racing stripes offer bold visibility and create a dynamic appearance both at rest and in motion. This design works particularly well for golfers who want maximum contrast for easy ball identification.
Design Process:
- Mark the “equator” of the ball with light pencil marks
- Draw two parallel lines approximately 1cm apart using black Sharpie
- Add contrasting color (red or blue) between the black lines
- Extend stripes around the entire circumference
- Clean up edges with fine-point marker
Variations:
- Triple stripes: Add a third color for more complexity
- Diagonal stripes: Angle lines for dynamic appearance
- Gradient effect: Use different shades of the same color
3. Personal Initials and Numbers 📝
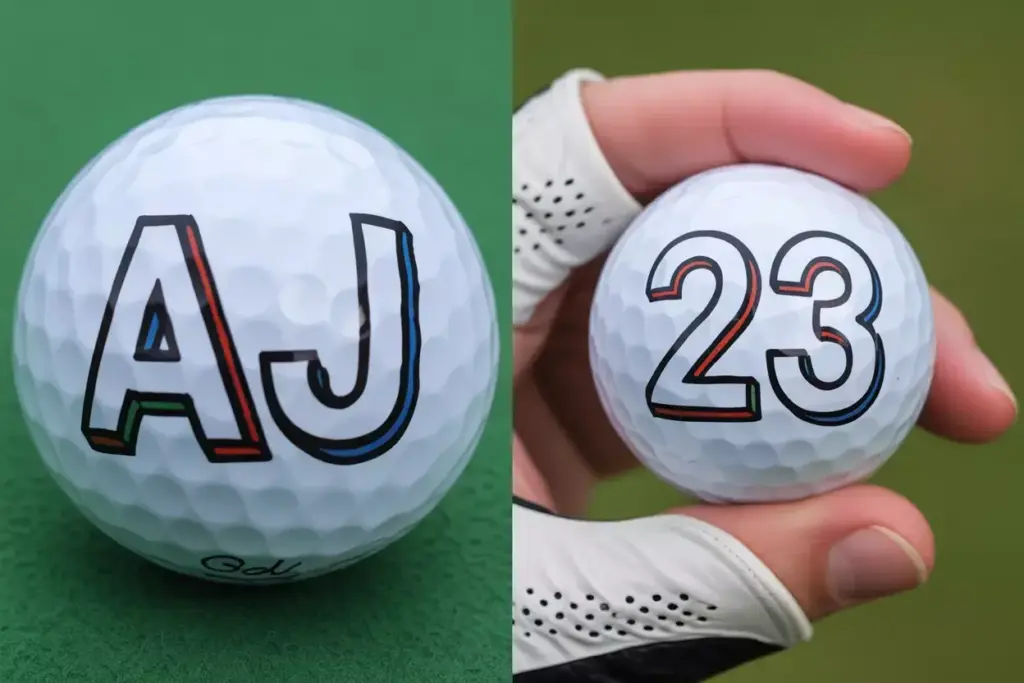
Time Required: 3-4 minutes
Personalizing golf balls with initials and lucky numbers creates the ultimate identification system while adding sentimental value to your equipment.
Implementation Steps:
- Choose placement (opposite sides of ball work best)
- Write initials in large, bold letters using black marker
- Add lucky number or significant date on opposite side
- Enhance with decorative borders using colored markers
- Apply clear protective coating if desired
Design Ideas:
- Block letters for maximum readability
- Cursive script for elegant appearance
- Bubble letters filled with color
- Shadow effects using multiple colors
4. Geometric Patterns 🔷
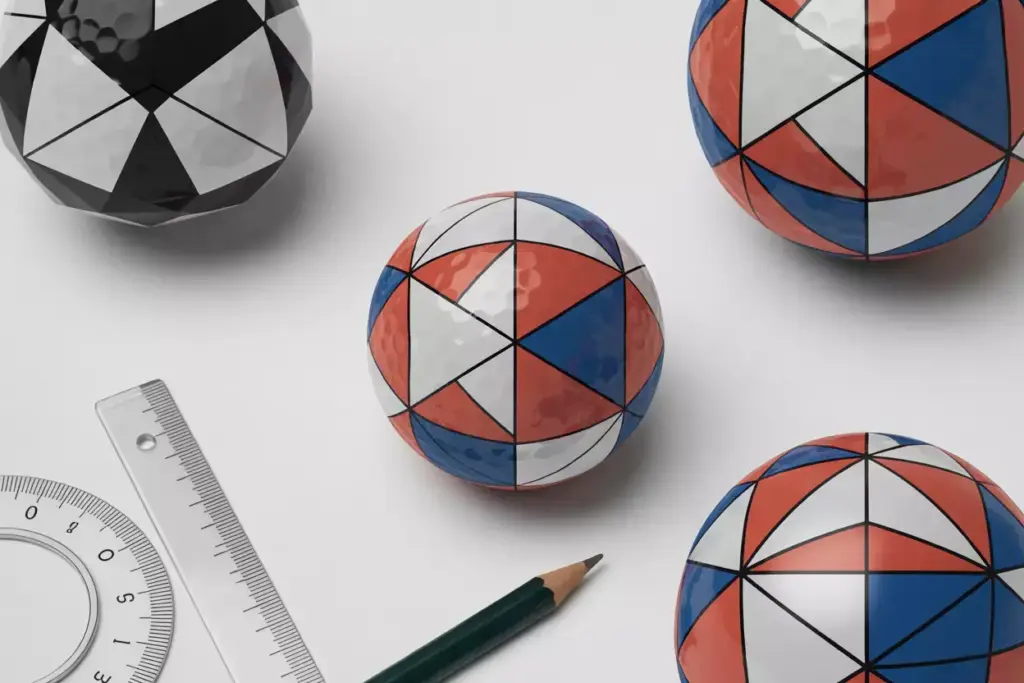
Time Required: 6-8 minutes
Geometric designs offer sophisticated aesthetics while maintaining the quick creation timeline essential to our 6 Super Easy Golf Ball Designs with a Sharpie in Under 10 Minutes concept.
Pattern Options:
Triangular Design:
- Create equilateral triangle using ruler or template
- Fill with alternating colors in sections
- Add border details with contrasting marker
- Repeat pattern on opposite hemisphere
Diamond Pattern:
- Draw diamond shape connecting four points
- Add internal geometric divisions
- Use three-color scheme for visual impact
- Include small accent details
Checkerboard Effect:
- Create grid pattern with light guidelines
- Fill alternating squares with black marker
- Add color accents in remaining squares
- Perfect edges with fine-point marker
5. Smiley Face and Fun Expressions 😊

Time Required: 3-4 minutes
Fun expressions bring personality and humor to your golf game while creating instantly recognizable ball identification. These designs particularly appeal to junior golfers and recreational players.
Basic Smiley Instructions:
- Draw large circle for face outline (optional)
- Add two dots for eyes using black marker
- Create curved smile with steady hand motion
- Enhance with color details (red cheeks, blue eyes)
- Add accessories like hats or sunglasses
Expression Variations:
- Winking face: One regular eye, one curved line
- Surprised expression: Round “O” mouth with raised eyebrows
- Cool character: Add sunglasses and confident smile
- Seasonal themes: Santa hat for winter, beach hat for summer
6. Arrow and Directional Designs ➡️
Time Required: 5-6 minutes
Directional designs serve dual purposes—creating unique identification while potentially providing visual alignment aids for putting and ball positioning.
Arrow Design Process:
- Plan arrow direction (pointing toward brand logo works well)
- Draw arrow shaft with thick black line
- Add arrowhead with sharp, clean angles
- Include fletching details at arrow base
- Enhance with color accents along shaft
Advanced Directional Ideas:
- Compass design: N, S, E, W markings with decorative compass rose
- Target pattern: Concentric circles with center bullseye
- Spiral design: Curved lines creating motion effect
- Lightning bolt: Zigzag pattern with energy appearance
Pro Tips for Perfect Sharpie Designs
Marker Technique Mastery
Pressure Control: Apply consistent, moderate pressure throughout each stroke. Heavy pressure can cause ink bleeding, while light pressure creates uneven lines.
Steady Hand Movement: Rotate the ball rather than moving your hand for curved lines. This technique ensures smoother, more professional-looking results.
Layering Colors: Allow each color to dry completely (30-60 seconds) before adding adjacent colors. This prevents bleeding and maintains crisp edges.
Design Longevity Tips
Surface Preparation: Clean balls with rubbing alcohol remove oils that can cause ink to bead or fade prematurely.
Ink Setting: Allow 5-10 minutes of complete drying time before handling designed balls.
Storage Considerations: Store in cool, dry conditions to maximize design lifespan and prevent fading.
Troubleshooting Common Design Issues
Ink Bleeding Problems
Cause: Usually results from insufficient surface cleaning or applying new colors over wet ink.
Solution:
- Clean ball thoroughly with rubbing alcohol
- Wait for complete drying between color applications
- Use high-quality Sharpie markers designed for multiple surfaces
Uneven Line Quality
Cause: Inconsistent pressure or moving the marker too quickly across the ball’s curved surface.
Solution:
- Practice on old balls before working on good equipment
- Rotate ball slowly while keeping marker stationary
- Use shorter strokes for better control on curved surfaces
Design Smudging
Cause: Handling balls before ink has completely set or using low-quality markers.
Solution:
- Allow extended drying time (10+ minutes) for complex designs
- Invest in permanent markers specifically designed for sports equipment
- Apply thin clear coat for additional protection (optional)
USGA Rules and Tournament Considerations
Legal Design Guidelines
The USGA permits golf ball markings under specific conditions outlined in Rule 4.2a [2]. Acceptable modifications include:
- Identification markings using pens, markers, or stamps
- Alignment aids that don’t exceed specific size limitations
- Decorative designs that don’t affect ball performance
Prohibited Modifications
Avoid these design elements in tournament play:
- Raised materials that alter ball aerodynamics
- Reflective surfaces that could distract other players
- Excessive markings covering more than 50% of ball surface
- Performance-enhancing indicators beyond simple alignment aids
Best Practices for Competition
- Check local rules before tournaments, as some events have additional restrictions
- Prepare backup balls with identical designs for consistency
- Document designs with photos for rules officials if questioned
- Keep designs simple for tournament play to avoid potential issues
Maintenance and Care for Designed Golf Balls
Cleaning Designed Balls
During Play:
- Use ball washers carefully to avoid scrubbing off designs
- Pat dry rather than rubbing to preserve marker integrity
- Avoid harsh chemicals that might dissolve Sharpie ink
Post-Round Care:
- Rinse with cool water to remove dirt and debris
- Air dry completely before storage
- Inspect designs for wear and touch up as needed
Design Refresh Timeline
Most Sharpie designs last 3-5 rounds depending on playing conditions and ball contact. Refresh indicators include:
- Fading color intensity
- Chipped or worn edges
- Partial design loss from club contact
Touch-up Process:
- Clean affected areas with rubbing alcohol
- Allow complete drying before reapplication
- Match original colors as closely as possible
- Blend new ink with existing design edges
Advanced Design Techniques
Multi-Layer Designs
For golfers wanting to explore beyond basic 6 Super Easy Golf Ball Designs with a Sharpie in Under 10 Minutes, layered approaches offer increased complexity:
Base Layer: Apply solid color background in sections
Detail Layer: Add fine lines, patterns, or text over base
Accent Layer: Include highlights, shadows, or dimensional effects
Seasonal Design Rotation
Spring Themes: Flowers, green growth patterns, pastel colors
Summer Themes: Bright colors, sun motifs, beach elements
Fall Themes: Orange and red leaves, harvest symbols
Winter Themes: Snowflakes, holiday colors, winter sports icons
Team and Group Coordination
Foursome Matching: Create complementary designs for regular playing partners
Tournament Teams: Develop signature designs for team identification
Club Events: Coordinate colors or themes for special occasions
Cost Analysis and Value Proposition
Investment Breakdown
Initial Setup Costs:
- Sharpie marker set (6 colors): $8-12
- Cleaning supplies: $3-5
- Practice balls: $5-10
- Total investment: $16-27
Per-Ball Costs:
- Marker usage: $0.25-0.50 per ball
- Time investment: 2-10 minutes per ball
- Effective cost: Under $1 per customized ball
Value Comparison
Professional Custom Balls: $15-25 per dozen
DIY Sharpie Designs: $3-6 per dozen (including ball cost)
Savings Potential: 60-80% cost reduction
Environmental and Safety Considerations
Eco-Friendly Practices
Marker Selection: Choose non-toxic, permanent markers that won’t leach harmful chemicals
Ball Reuse: Extend golf ball lifespan through customization rather than replacement
Waste Reduction: Repurpose damaged balls for practice with creative designs
Safety Guidelines
Ventilation: Work in well-ventilated areas when using multiple markers
Skin Contact: Avoid prolonged skin contact with marker chemicals
Storage: Keep markers capped and stored properly to prevent drying
Conclusion
Mastering these 6 Super Easy Golf Ball Designs with a Sharpie in Under 10 Minutes opens up a world of personalization possibilities for golfers at every skill level. From the simple elegance of dot patterns to the bold statement of racing stripes, each design offers unique benefits for ball identification, personal expression, and enhanced enjoyment of the game.
The beauty of Sharpie customization lies in its accessibility—requiring minimal investment, basic materials, and just a few minutes of time. Whether you’re preparing for a casual round with friends or organizing balls for tournament play, these techniques provide professional-looking results without professional-level complexity.
Take action today by gathering your materials and trying the classic dot pattern on a practice ball. Once you’ve mastered that basic technique, progress through the remaining designs, experimenting with color combinations and personal variations. Remember that practice makes perfect, and each ball you customize becomes a learning opportunity for the next.
Your next steps:
- Purchase a basic Sharpie marker set with at least four colors
- Clean and prepare 2-3 practice golf balls
- Start with Design #1 (dot pattern) to build confidence
- Progress through the remaining designs at your own pace
- Develop your signature style for regular play
The golf course awaits your newly personalized equipment—balls that are uniquely yours and impossible to mistake for anyone else’s. Transform your ordinary golf balls into conversation starters, confidence boosters, and practical identification tools with these simple yet effective Sharpie techniques.
References
[1] United States Golf Association. “Rules of Golf: Equipment Standards.” USGA.org, 2025.
[2] United States Golf Association. “Rule 4.2a: Ball Modifications and Markings.” Official Rules of Golf, 2025 Edition.