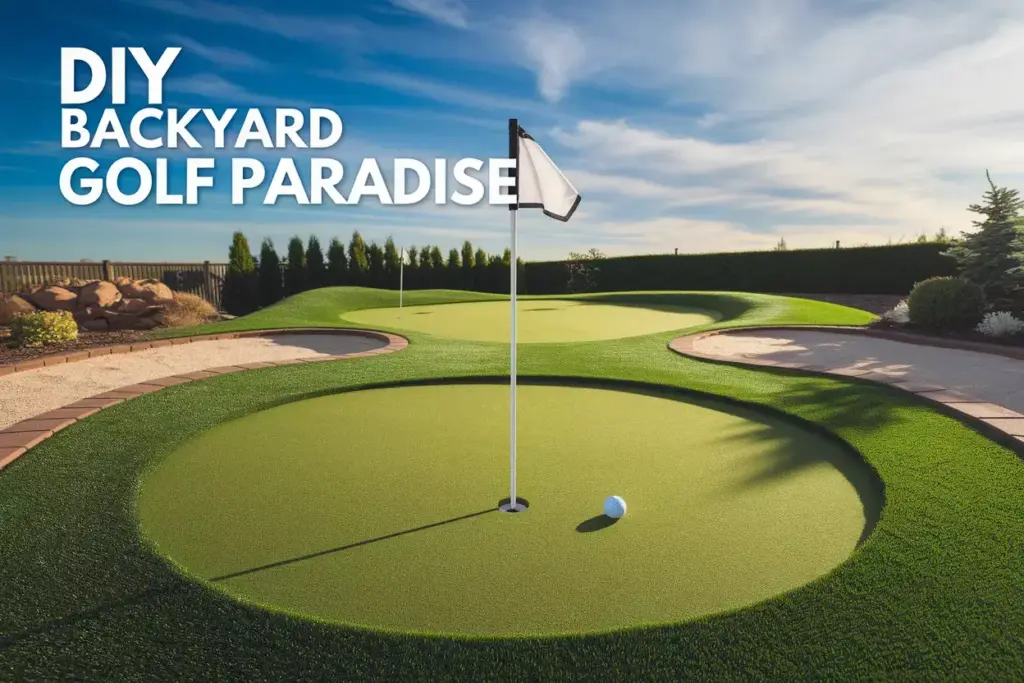
How to Build a DIY Backyard Golf Course: 7 Essential Holes
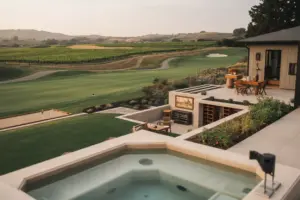
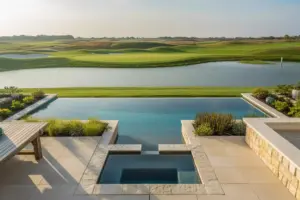
Imagine stepping out your back door and onto your very own miniature golf paradise, complete with challenging holes that rival professional putting greens. Building a DIY backyard golf course has become one of the most rewarding home improvement projects for golf enthusiasts in 2025, offering endless entertainment while potentially increasing property value by up to 15%.
Whether you’re a weekend warrior looking to perfect your short game or a family seeking a unique outdoor activity, learning how to build a DIY backyard golf course: 7 essential holes transforms any ordinary yard into an extraordinary recreational space. This comprehensive guide reveals the secrets to creating professional-quality holes that challenge players of all skill levels while working within typical residential constraints.
Key Takeaways
- Strategic hole design incorporating straight putts, doglegs, elevation changes, and obstacles creates a challenging yet enjoyable course experience
- Proper planning and measurement ensures optimal use of available space while maintaining realistic golf course proportions and flow
- Quality materials including artificial turf, sand, proper drainage, and durable edging significantly impact long-term course performance and maintenance
- Professional installation techniques for each hole type guarantee consistent ball roll, appropriate difficulty levels, and weather resistance
- Regular maintenance schedules preserve course quality and extend the lifespan of your investment for years of family enjoyment
Planning Your DIY Backyard Golf Course Layout
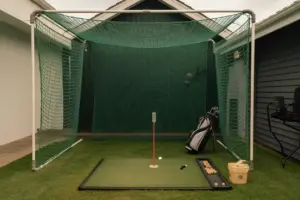
Assessing Available Space and Terrain
Before diving into construction, successful backyard golf course design begins with thorough space evaluation. Most residential properties can accommodate a 7-hole course within 1,500 to 3,000 square feet, though creative layouts work in smaller areas.
Essential measurements to consider:
- Individual hole lengths: 8-25 feet
- Hole widths: 6-12 feet
- Buffer zones between holes: 3-4 feet
- Tee areas: 4×4 feet minimum
- Total walking path: 2-3 feet wide
🏡 Pro Tip: Slopes and natural terrain features often enhance hole difficulty rather than hinder design. Embrace existing landscape elements!
Designing for Maximum Challenge and Flow
The secret to building engaging DIY golf holes lies in creating varied challenges that test different putting skills. Professional course architects recommend including these elements across your 7 holes:
- Distance variety: Short (8-12 feet), medium (13-18 feet), and long (19-25 feet) putts
- Directional changes: Straight shots, gentle curves, and sharp doglegs
- Elevation differences: Uphill, downhill, and multi-level holes
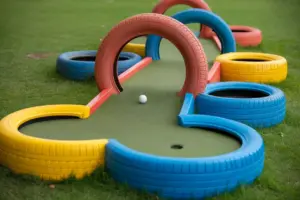
- Strategic obstacles: Bunkers, water features, and landscaping elements
Material Selection and Budget Planning
Quality materials form the foundation of any successful DIY backyard golf course project. Budget-conscious builders can expect to invest $2,500-$7,500 for a complete 7-hole course, depending on material choices and complexity.
| Component | Budget Option | Premium Option | Cost Range |
|---|---|---|---|
| Artificial Turf | Basic putting green turf | Professional-grade bent grass simulation | $3-12 per sq ft |
| Edging | Plastic landscape edging | Steel or composite borders | $2-8 per linear ft |
| Sand | Play sand | Specialized bunker sand | $30-80 per cubic yard |
| Drainage | Basic gravel base | Professional drainage system | $200-1,500 total |
| Accessories | Standard flags and cups | Custom-designed elements | $150-800 total |
Essential Tools and Materials for Construction
Must-Have Construction Equipment
Professional-quality results require the right tools for excavation, installation, and finishing work. Smart DIY builders often rent specialized equipment for weekend projects rather than purchasing expensive tools used only once.
Essential tool checklist:
- Sod cutter or sharp spade for turf removal
- Mini excavator or shovel for soil excavation
- Plate compactor for base preparation
- Level (4-foot minimum) for grade checking
- Utility knife for turf cutting
- Wheelbarrow for material transport
- Garden rake for fine grading
- Measuring tape (100-foot recommended)
Specialized Golf Course Materials
The difference between amateur and professional-looking results often comes down to material quality and proper installation techniques. Investing in golf-specific products pays dividends in performance and longevity.
Premium material recommendations:
- Artificial turf: 15mm pile height with 60-80 oz face weight
- Infill material: Silica sand with rounded edges
- Base material: Decomposed granite or crushed limestone
- Drainage aggregate: 3/4-inch clean gravel
- Edge restraint: Commercial-grade aluminum or steel
- Cups and flags: Regulation 4.25-inch diameter cups
“The key to building a backyard golf course that stands the test of time is never compromising on the foundation. Proper drainage and base preparation prevent 90% of future problems.” – Professional Landscape Architect
How to Build a DIY Backyard Golf Course: 7 Essential Holes – Planning Phase
1. The Classic Straight Putt (Beginner-Friendly)
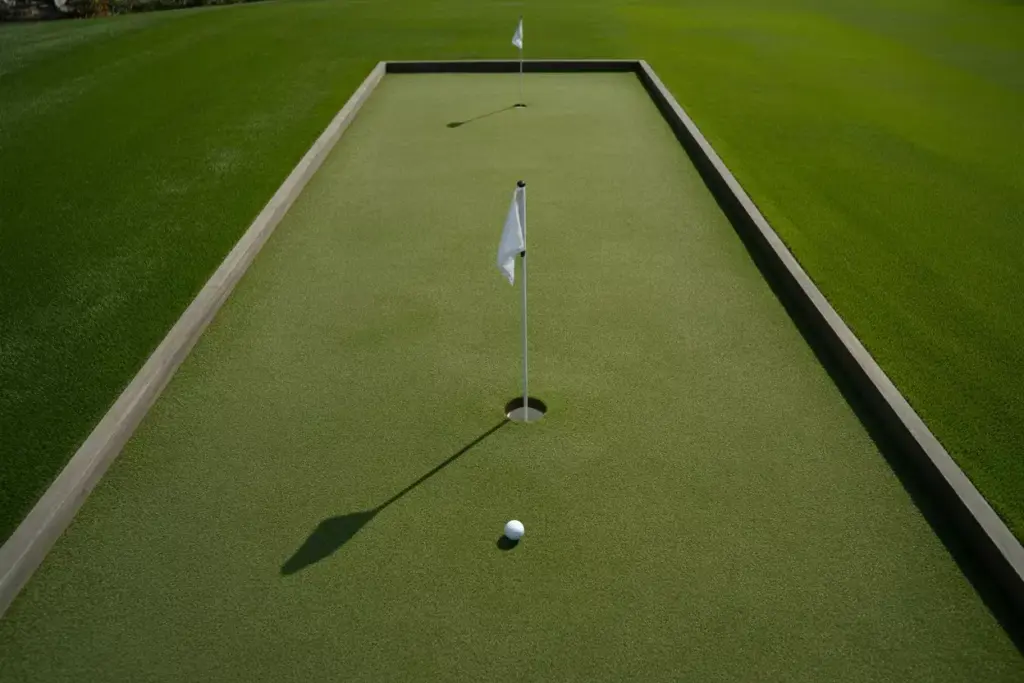
Every great golf course needs a confidence-building opening hole, and the classic straight putt delivers exactly that experience. This fundamental design teaches proper putting fundamentals while providing achievable success for players of all ages.
Design specifications:
- Length: 12-15 feet
- Width: 8 feet
- Slope: Minimal (1-2% grade toward hole)
- Difficulty: Beginner (2/10)
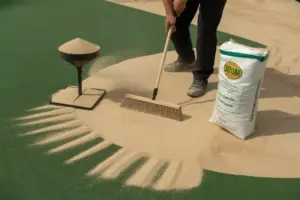
The straight putt hole requires precise leveling and consistent surface texture to ensure true ball roll. Construction begins with excavation to a depth of 6-8 inches, followed by a compacted gravel base and smooth sand leveling layer.
2. The Gentle Dogleg (Intermediate Challenge)
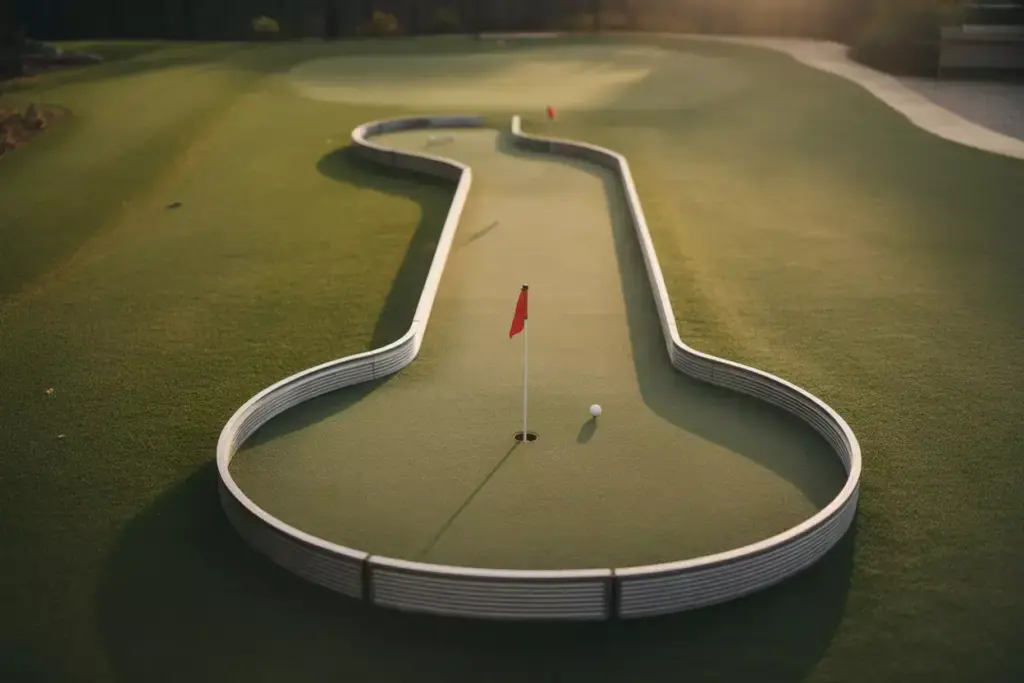
Strategic thinking enters the game with a well-designed dogleg hole that rewards accuracy over power. This classic golf architecture element teaches players to visualize ball path and plan multi-part putts.
Design specifications:
- Length: 18-22 feet total
- Turn angle: 30-45 degrees
- Width: 6-8 feet
- Difficulty: Intermediate (5/10)
Construction tip: Use landscape edging to create smooth curves rather than sharp angles. The turning radius should allow natural ball roll without requiring perfect precision.
3. The Uphill Challenge (Advanced Difficulty)
Nothing tests putting strength and accuracy quite like a well-crafted uphill hole. This design element adds significant difficulty while teaching players to adjust for elevation changes commonly found on real golf courses.
Design specifications:
- Length: 15-18 feet
- Elevation gain: 8-12 inches
- Grade: 15-20% slope
- Difficulty: Advanced (7/10)
Engineering considerations: Proper drainage becomes critical on sloped holes. Install French drains along the low side to prevent water accumulation during heavy rainfall.
4. The Downhill Speed Test (Precision Required)

Controlling ball speed on downhill putts separates good players from great ones. This hole type teaches delicate touch while providing thrilling fast-paced action that keeps players engaged.
Design specifications:
- Length: 20-25 feet
- Elevation drop: 6-10 inches
- Grade: 12-18% slope
- Difficulty: Advanced (8/10)
Safety considerations require gentle transitions at the bottom to prevent balls from rolling off the green. Install a slight uphill catch area beyond the hole location.
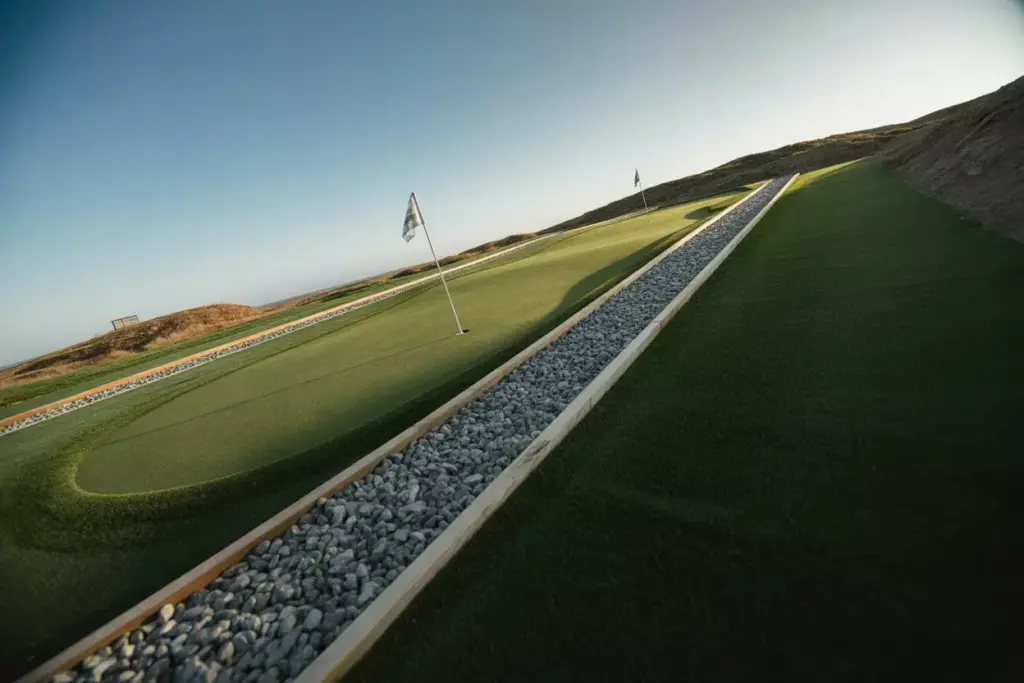
5. The Sand Trap Navigator (Strategic Thinking)
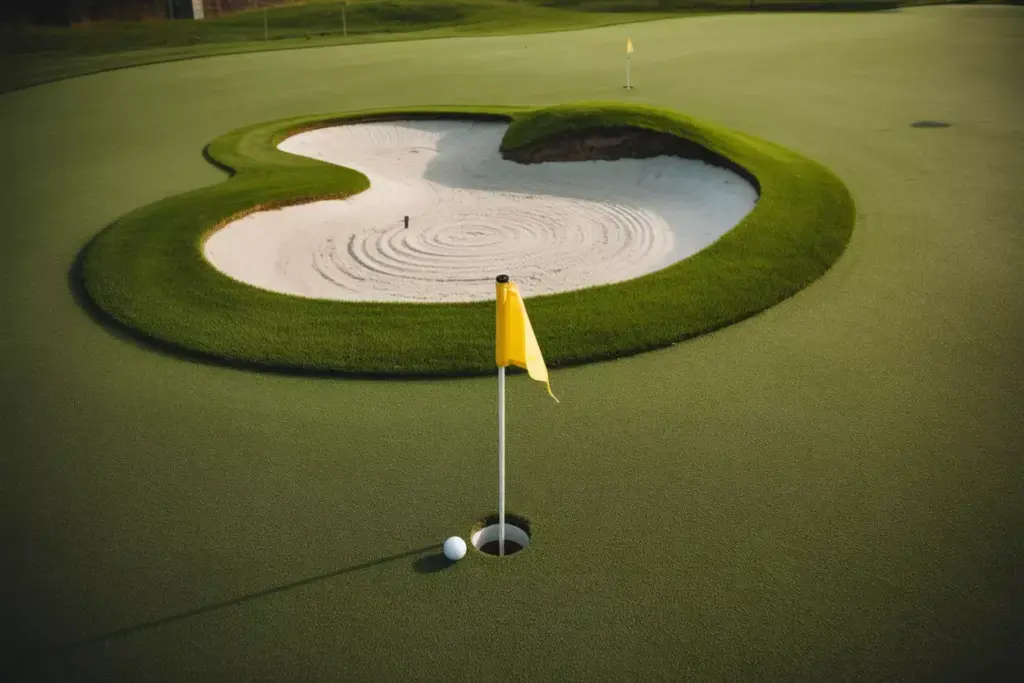
Bunkers add visual appeal and strategic complexity to any backyard golf course. This hole teaches players to navigate hazards while creating Instagram-worthy aesthetics that impress neighbors and guests.
Design specifications:
- Length: 16-20 feet
- Bunker size: 3×4 feet
- Sand depth: 2-3 inches
- Difficulty: Intermediate (6/10)
Construction details: Line bunker areas with landscape fabric before adding sand. This prevents weeds while allowing proper drainage during wet weather.
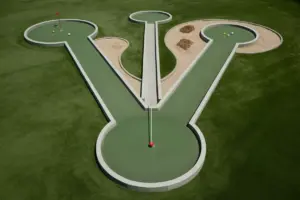
6. The Island Green (Ultimate Challenge)
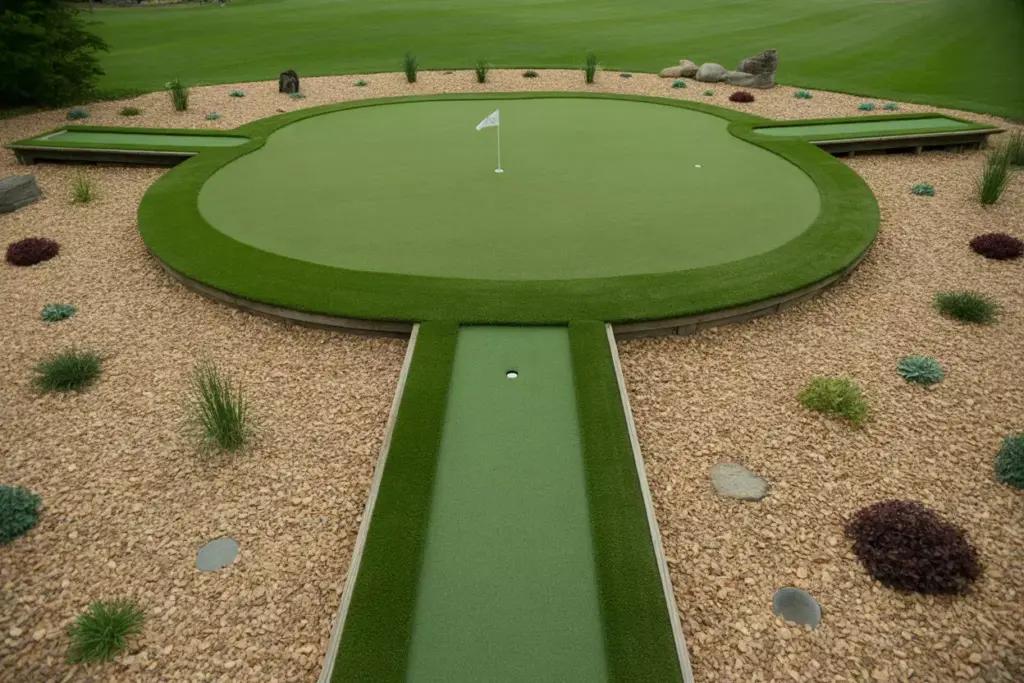
Nothing creates excitement quite like an island green surrounded by decorative elements or challenging terrain. This signature hole becomes the centerpiece of your backyard course and a favorite photo opportunity.
Design specifications:
- Green size: 6×8 feet
- Surrounding area: Decorative rock or mulch
- Approach length: 12-15 feet
- Difficulty: Expert (9/10)
Pro design tip: Create multiple approach angles to accommodate different skill levels. Advanced players can attempt direct shots while beginners use safer routes.
7. The Grand Finale (Multi-Level Complexity)
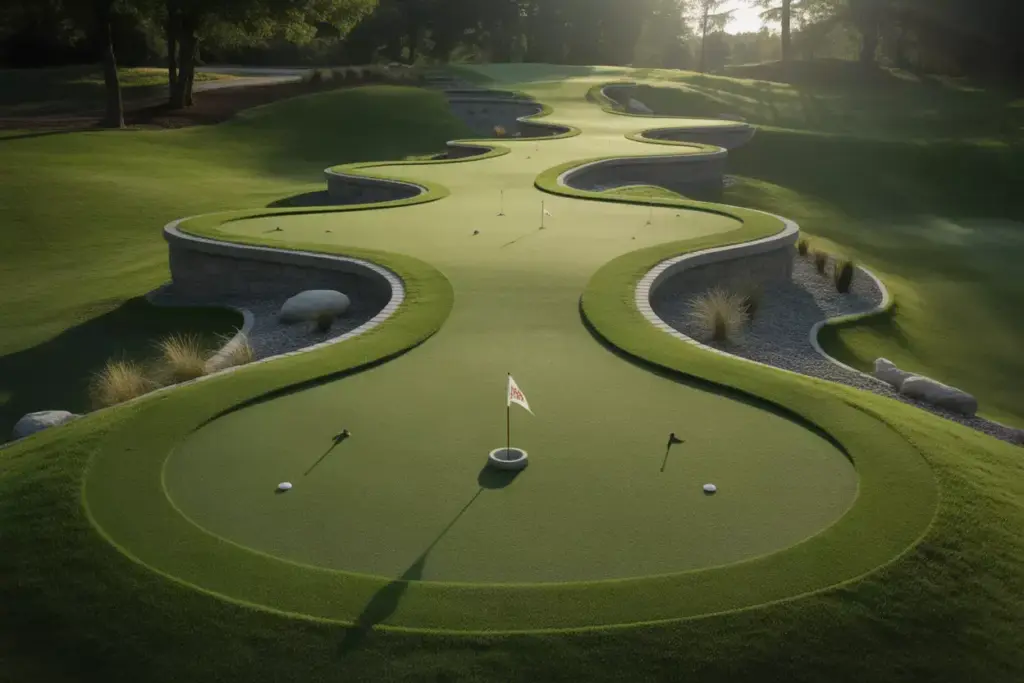
Course-closing holes should leave lasting impressions through creative design and moderate difficulty that encourages repeat play. This final challenge incorporates multiple elements from previous holes.
Design specifications:
- Length: 22-28 feet
- Multiple elevation changes
- Strategic obstacles
- Difficulty: Advanced (8/10)
Design elements to include:
- Elevated tee area
- Mid-hole plateau
- Downhill approach to green
- Optional risk/reward shortcuts
How to Build a DIY Backyard Golf Course: 7 Essential Holes – Construction and Maintenance
Professional Installation Techniques
Achieving professional-quality results requires attention to detail during every construction phase. The difference between amateur and expert installations often comes down to proper base preparation and precise grading techniques.
Step-by-step installation process:
- Excavation and base preparation (Days 1-2)
- Remove existing grass and vegetation
- Excavate to 6-8 inch depth
- Install drainage systems where needed
- Add and compact gravel base layer
- Fine grading and leveling (Day 3)
- Add sand leveling layer
- Achieve precise grades using laser level
- Compact all surfaces thoroughly
- Check drainage flow patterns
- Turf installation (Days 4-5)
- Roll out artificial turf sections
- Cut precise edges and seams
- Secure edges with landscape spikes
- Add infill material and brush upright
- Finishing touches (Day 6)
- Install cups and flags
- Add decorative elements
- Create walking paths
- Final cleanup and inspection
Maintenance Schedules and Best Practices
Long-term course quality depends on consistent maintenance routines that preserve playing conditions and extend material lifespan. Professional golf course superintendents recommend weekly, monthly, and seasonal maintenance tasks.
Weekly maintenance tasks:
- 🧹 Brush turf fibers upright with stiff broom
- 🍂 Remove leaves and debris
- 🚩 Check flag and cup conditions
- 💧 Inspect drainage areas after rainfall
Monthly maintenance tasks:
- 🏌️ Redistribute infill material evenly
- ✂️ Trim surrounding landscape elements
- 🔍 Inspect edge restraints for damage
- 🧽 Deep clean artificial turf surfaces
Seasonal maintenance schedule:
| Season | Primary Tasks | Frequency |
|---|---|---|
| Spring | Deep cleaning, infill refresh, damage assessment | Once |
| Summer | Regular brushing, weed control, irrigation checks | Weekly |
| Fall | Leaf removal, drainage clearing, winterization prep | Bi-weekly |
| Winter | Snow removal, equipment storage, planning improvements | As needed |
Troubleshooting Common Issues
Even well-constructed courses encounter occasional problems that require quick solutions. Identifying and addressing issues early prevents minor problems from becoming major renovations.
Common problems and solutions:
Drainage issues: Standing water after rainfall
- Solution: Install additional French drains or improve base drainage
- Prevention: Proper initial grading and drainage planning
Uneven ball roll: Inconsistent putting surface
- Solution: Re-level affected areas and redistribute infill
- Prevention: Thorough base compaction during installation
Edge separation: Turf pulling away from borders
- Solution: Re-secure with additional landscape spikes
- Prevention: Quality edge restraint systems and proper installation
Weed growth: Vegetation growing through turf
- Solution: Apply pre-emergent herbicide and improve drainage
- Prevention: Quality landscape fabric and proper base preparation
Enhancing Your Course Over Time
Successful backyard golf courses evolve through thoughtful improvements and creative additions that maintain player interest while increasing property value.
Popular enhancement ideas:
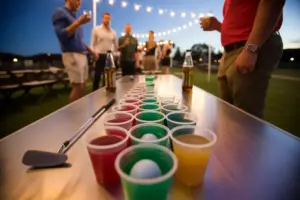
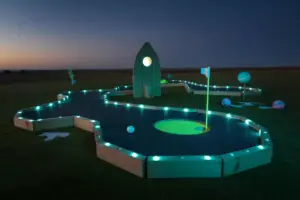
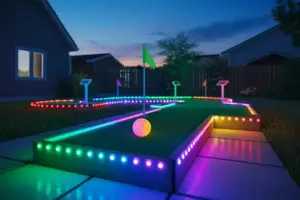
- 💡 LED lighting for evening play
- 🎵 Bluetooth speakers for ambient music
- 🏆 Scorecards and tournament organization
- 🌊 Water features and fountains
- 🌸 Seasonal landscaping themes
- 📱 Mobile apps for score tracking
Advanced features for serious golfers:
- Ball return systems for practice holes
- Multiple tee positions for varied difficulty
- Weather monitoring stations
- Professional-grade maintenance equipment storage
- Spectator seating areas
“The most successful backyard golf courses are those that grow and improve over time. Start with solid fundamentals, then add creative elements that reflect your family’s personality and playing style.” – Certified Golf Course Architect
Conclusion
Creating a professional-quality DIY backyard golf course with 7 essential holes represents one of the most rewarding home improvement projects available to golf enthusiasts in 2025. The combination of strategic planning, quality materials, and proper construction techniques transforms ordinary outdoor spaces into extraordinary recreational destinations that provide years of family entertainment.
Success depends on three critical factors: thorough planning that maximizes available space, investment in quality materials that withstand weather and heavy use, and commitment to regular maintenance that preserves playing conditions. The 7 essential hole types outlined in this guide – from beginner-friendly straight putts to challenging multi-level designs – create a comprehensive course experience that develops putting skills while maintaining long-term player interest.
Your next steps should include:
- Measuring and sketching your available space
- Selecting materials that fit your budget and quality expectations
- Creating a realistic construction timeline
- Establishing maintenance routines from day one
- Planning future enhancements and improvements
The investment in building your own backyard golf course pays dividends through improved property value, enhanced family recreation opportunities, and the satisfaction of creating something truly unique. Start planning your dream course today and join the growing community of homeowners who have discovered the joy of having a personal putting paradise just steps from their back door.