8 Sharpie Decorated Golf Balls That Are Shockingly Easy to Make
Picture this: you’re standing on the first tee, and instead of pulling out another plain white golf ball, you reach for a vibrant, hand-decorated masterpiece that catches everyone’s eye. What if creating stunning, personalized golf balls was as simple as grabbing a few Sharpie markers and letting your creativity flow? The truth is, 8 Sharpie decorated golf balls that are shockingly easy to make can transform your golf game from ordinary to extraordinary, and the best part is that anyone can master these techniques in just minutes.
Whether you’re looking to add personality to your golf gear, create memorable gifts for fellow golfers, or simply want to easily spot your ball on the course, Sharpie-decorated golf balls offer the perfect solution. These simple yet effective designs require minimal supplies, take very little time to complete, and deliver professional-looking results that will have people asking where you bought such unique golf balls.
Key Takeaways
- Simple supplies needed: Only Sharpie markers and plain white golf balls are required to create stunning designs
- Quick completion time: Each design can be finished in 5-15 minutes, making them perfect for last-minute gifts or personal projects
- Permanent results: Sharpie ink bonds well with golf ball surfaces, ensuring designs stay vibrant through multiple rounds
- Endless customization: From basic patterns to intricate designs, these techniques accommodate all skill levels
- Cost-effective personalization: Transform inexpensive golf balls into unique, eye-catching accessories for a fraction of retail custom ball prices
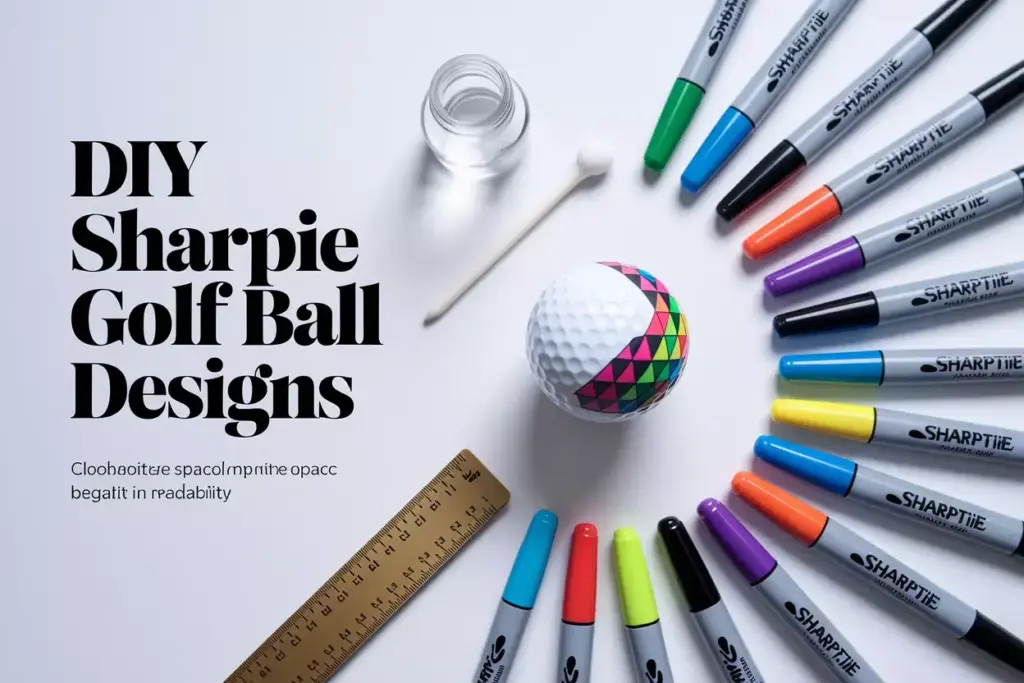
Essential Supplies for Creating Sharpie Decorated Golf Balls
Before diving into the 8 Sharpie decorated golf balls that are shockingly easy to make, gathering the right supplies ensures smooth crafting and professional results. The beauty of this project lies in its simplicity – most materials are readily available at home or can be purchased inexpensively at any office supply store.
Required Materials
Sharpie Markers: The star of the show, permanent markers come in various tip sizes and colors. Fine-tip Sharpies work best for detailed designs, while ultra-fine tips excel at intricate patterns. Bold-tip markers cover large areas quickly and create striking color blocks.
Plain White Golf Balls: New or gently used golf balls provide the best canvas. Clean, smooth surfaces allow markers to glide effortlessly and ensure even color distribution. Avoid balls with significant scuffs or scratches that might interfere with design application.
Cleaning Supplies: Rubbing alcohol and cotton swabs remove any dirt, oils, or residue from golf ball surfaces. Clean balls accept ink better and produce more vibrant, long-lasting designs.
Optional Enhancement Tools
| Tool | Purpose | Benefit |
|---|---|---|
| Ruler | Creating straight lines | Ensures geometric precision |
| Compass | Drawing perfect circles | Professional circular patterns |
| Stencils | Consistent shapes | Repeatable design elements |
| Hair dryer | Quick drying | Speeds up multi-layer designs |
Workspace Preparation
Set up a well-lit, ventilated area with a flat surface. Lay down newspaper or paper towels to protect work surfaces from marker bleed-through. Good lighting helps distinguish between similar colors and ensures accurate design placement.
8 Simple Yet Stunning Sharpie Golf Ball Designs
Creating beautiful Sharpie decorated golf balls that are shockingly easy to make doesn’t require artistic training or expensive equipment. These eight designs range from beginner-friendly patterns to more advanced techniques, ensuring options for every skill level and personal preference.
1. Classic Polka Dot Pattern
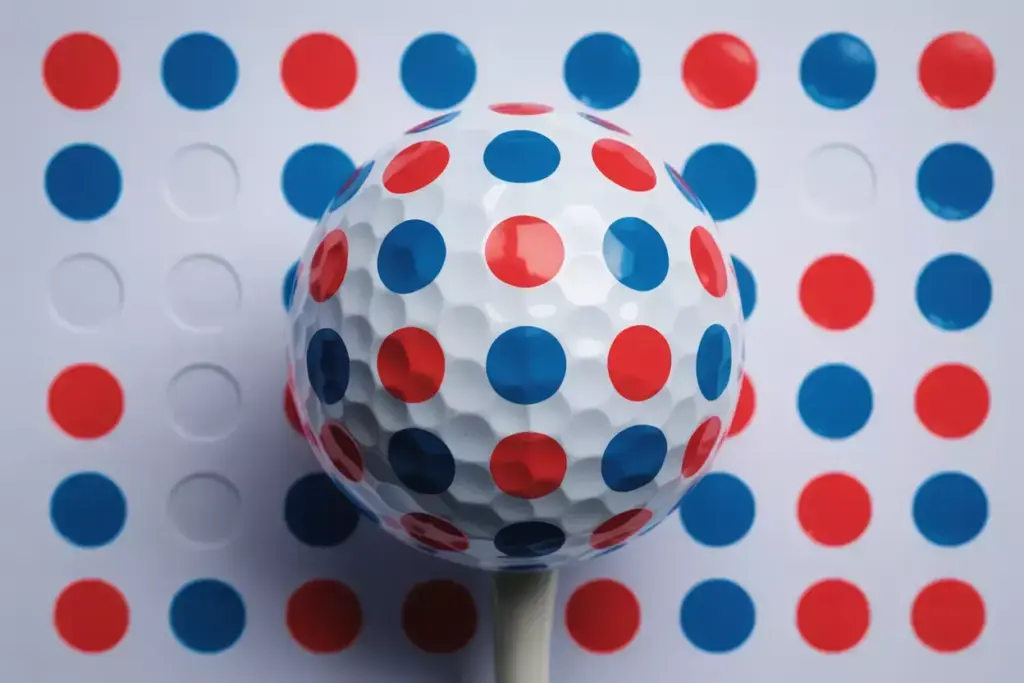
The timeless polka dot design offers instant visual appeal and serves as an excellent starting point for beginners. This pattern requires minimal planning while delivering maximum impact on the golf course.
Step-by-step process:
- Clean the golf ball thoroughly with rubbing alcohol
- Choose 2-3 contrasting colors (red and blue work exceptionally well)
- Start at the top of the ball, creating dots approximately ½ inch apart
- Work in horizontal rows around the ball’s circumference
- Alternate colors to create visual rhythm and balance
- Allow each color to dry before applying adjacent dots
Pro tip: Use the golf ball’s natural dimple pattern as guides for dot placement, ensuring consistent spacing throughout the design.
2. Bold Racing Stripes
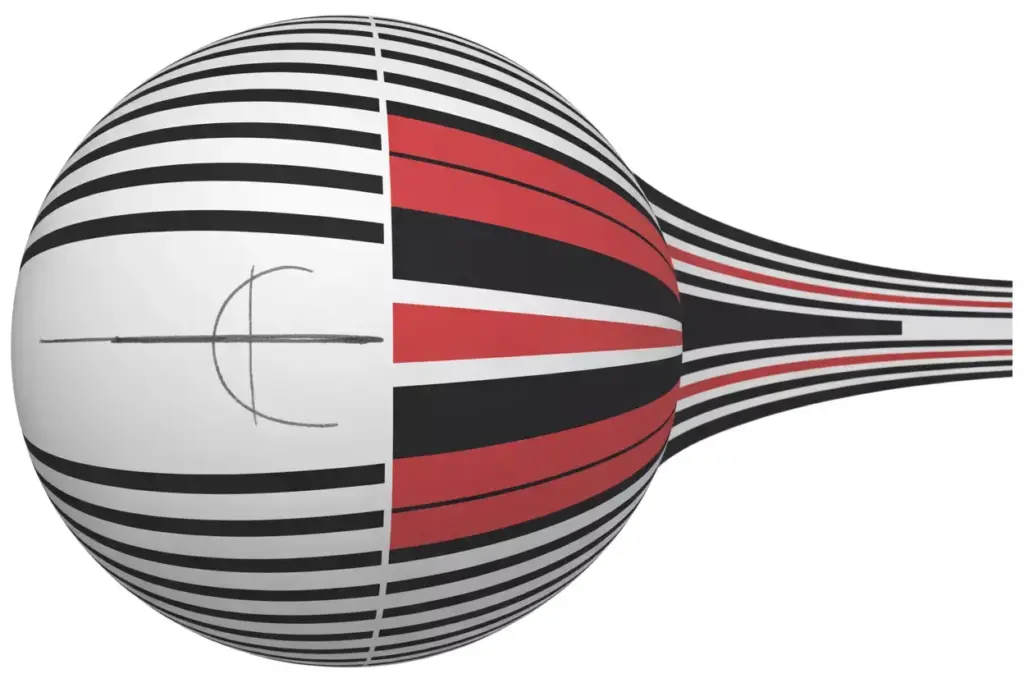
Racing stripes transform ordinary golf balls into dynamic, sporty accessories that stand out against any green background. This design works particularly well for golfers who appreciate clean, geometric aesthetics.
Design execution:
- Mark the ball’s “equator” with a light pencil line
- Create parallel lines ¼ inch apart using a ruler
- Fill in alternating stripes with bold colors like black, red, or blue
- Extend stripes from pole to pole for maximum visual impact
- Consider using metallic Sharpies for premium appearance
The racing stripe pattern not only looks professional but also helps with ball identification from considerable distances, making it both functional and stylish.
3. Geometric Triangle Mosaic
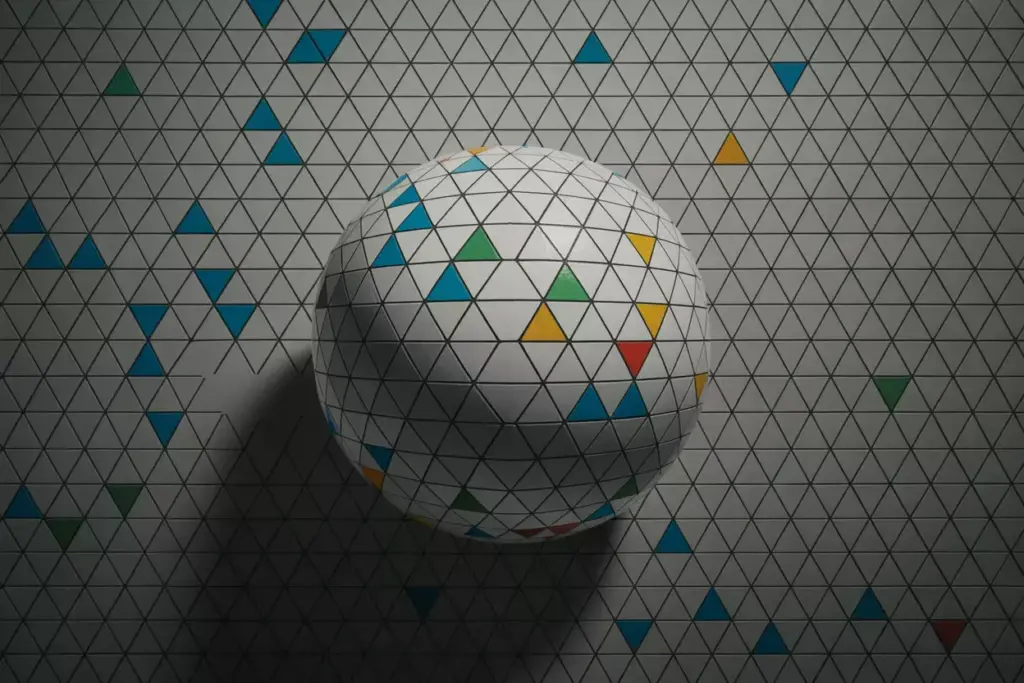
Triangular patterns create sophisticated, modern designs that appear complex while remaining surprisingly simple to execute. This geometric approach appeals to golfers who prefer contemporary aesthetics over traditional patterns.
Construction method:
- Divide the ball’s surface into six equal sections
- Sketch triangular shapes of varying sizes within each section
- Use complementary colors to fill adjacent triangles
- Create depth by alternating light and dark shades
- Overlap some triangles for added visual interest
This design technique allows for significant creativity while maintaining structured, professional appearance that photographs beautifully for social media sharing.
4. Spiral Galaxy Design
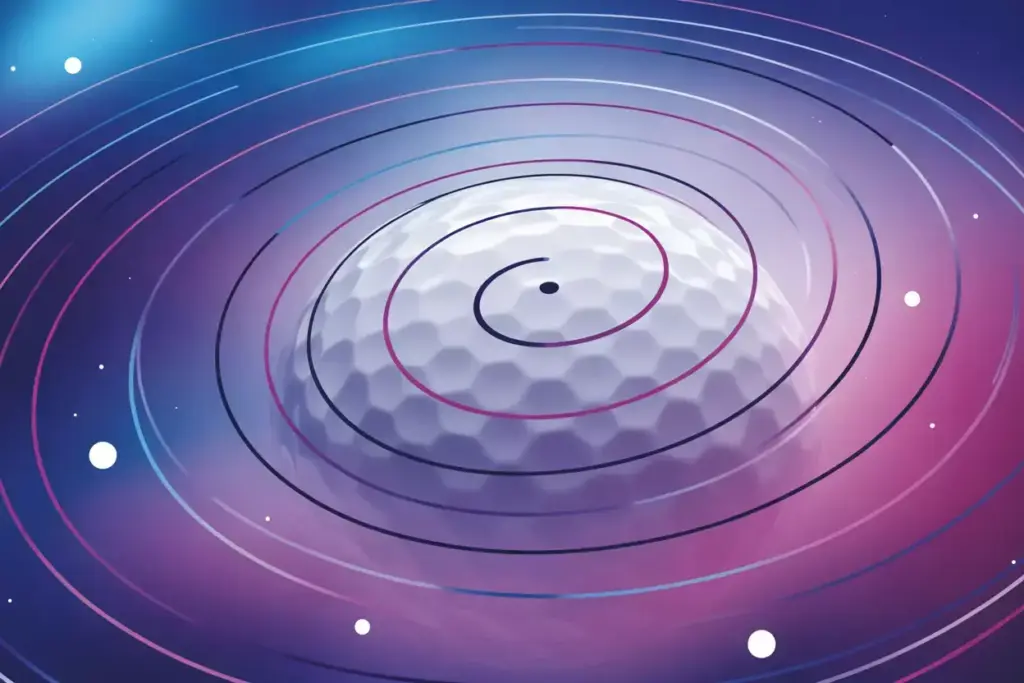
The spiral pattern mimics natural forms while creating mesmerizing visual effects that seem to move as the ball rotates. This design combines artistic flair with practical ball-tracking benefits during play.
Creation process:
- Start with a small dot at the ball’s “north pole”
- Draw a continuous spiral line working outward and downward
- Gradually increase line spacing as the spiral expands
- Use gradient colors (blue to purple to pink) for cosmic effect
- Add small dots around the spiral to represent stars
The spiral design not only looks stunning but also provides excellent ball rotation visualization, helping golfers analyze their putting stroke and ball roll patterns.
5. Mandala-Inspired Patterns
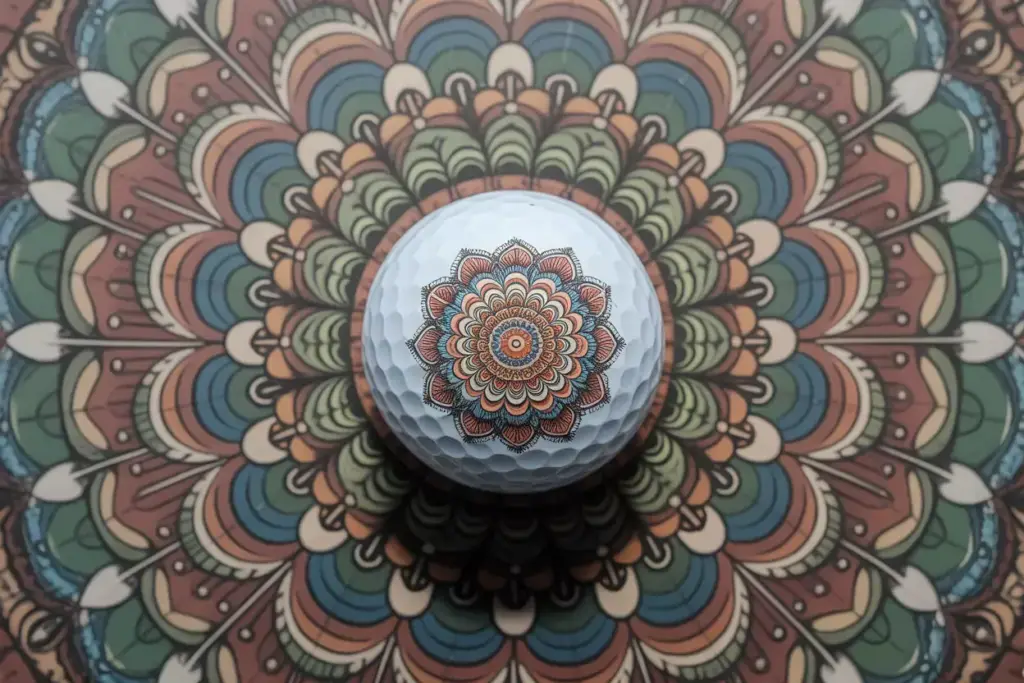
Mandala designs bring meditative, artistic qualities to golf balls while showcasing impressive detail work. These intricate patterns demonstrate advanced Sharpie techniques while remaining achievable for patient crafters.
Detailed approach:
- Begin with a central circle at the ball’s top
- Add petal-like shapes radiating outward in symmetrical patterns
- Layer additional geometric elements in concentric circles
- Use fine-tip Sharpies for precise line work
- Incorporate multiple colors following traditional mandala color schemes
Benefits of mandala designs:
- 🎨 Develops artistic skills and patience
- 🧘 Provides meditative crafting experience
- ⭐ Creates conversation-starting golf accessories
- 🎯 Offers excellent ball identification properties
6. Sports Team Color Schemes
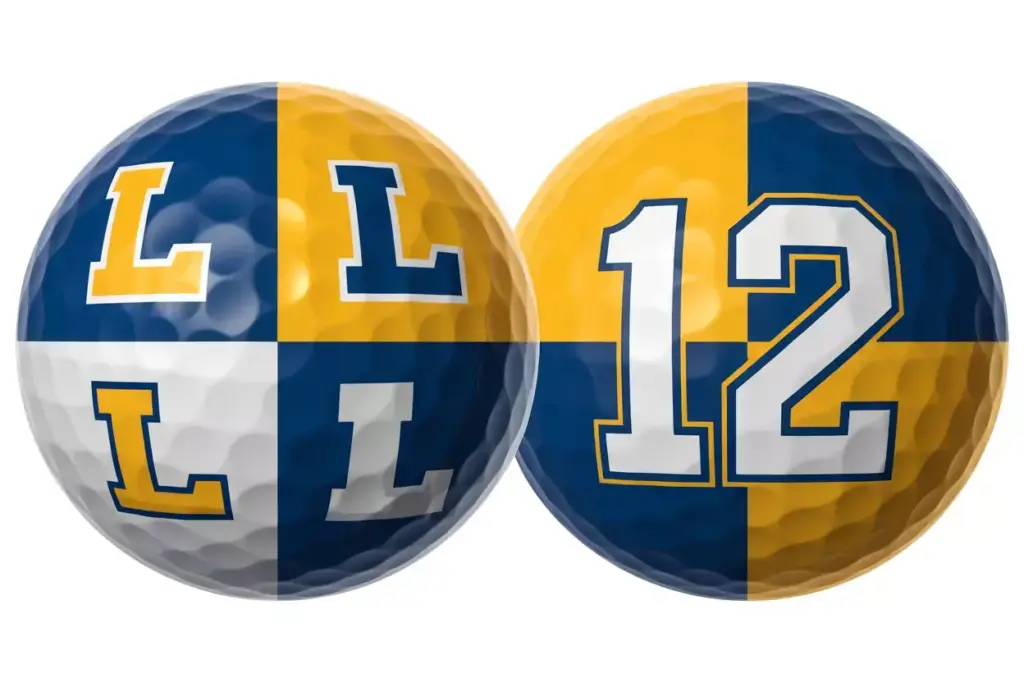
Team-themed golf balls allow golfers to display loyalty while enjoying personalized equipment. This design category offers endless possibilities based on favorite teams, schools, or organizations.
Implementation strategy:
- Research official team colors and logos for accuracy
- Create color blocks representing team uniforms
- Add team initials or numbers using contrasting colors
- Incorporate team mascot elements where space allows
- Consider seasonal color variations for special occasions
Popular team color combinations include navy and gold, red and white, green and yellow, creating instantly recognizable designs that fellow fans will appreciate and remember.
7. Nature-Inspired Leaf Patterns
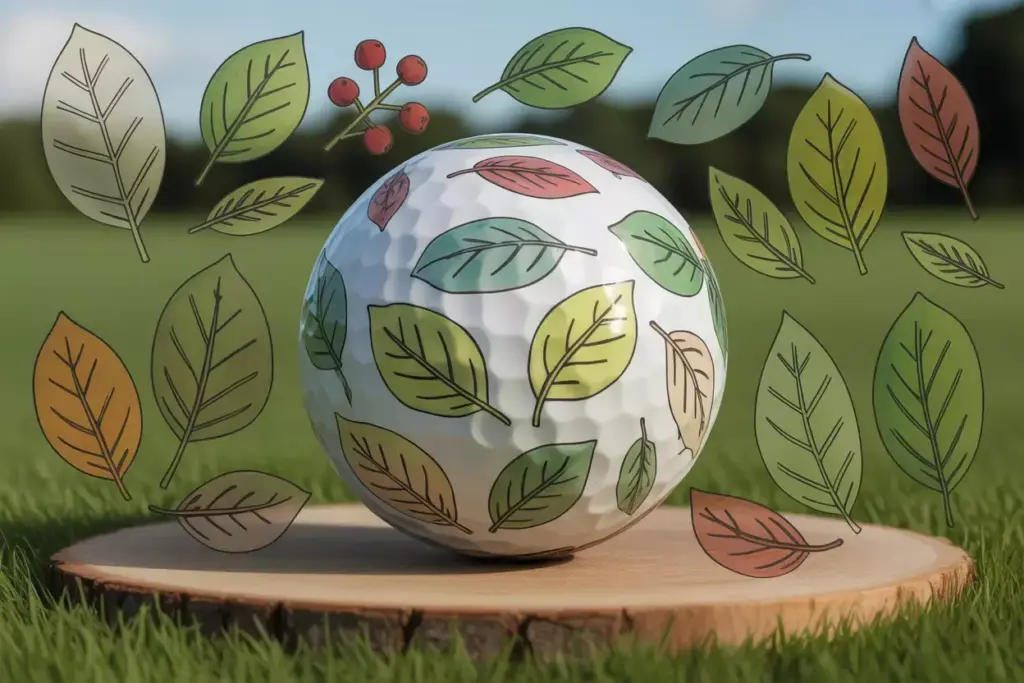
Organic, nature-themed designs bring outdoor beauty to golf equipment while celebrating the natural environment where golf is played. These patterns work especially well for golfers who appreciate environmental themes.
Natural design process:
- Sketch simple leaf outlines around the ball’s surface
- Fill leaves with various green shades and earth tones
- Add vein details using fine-tip markers
- Create seasonal variations with autumn colors
- Include small flower or berry accents for added interest
Nature patterns connect golfers with the outdoor setting while providing unique, artistic ball designs that photograph beautifully against course landscapes.
8. Personalized Monogram Style
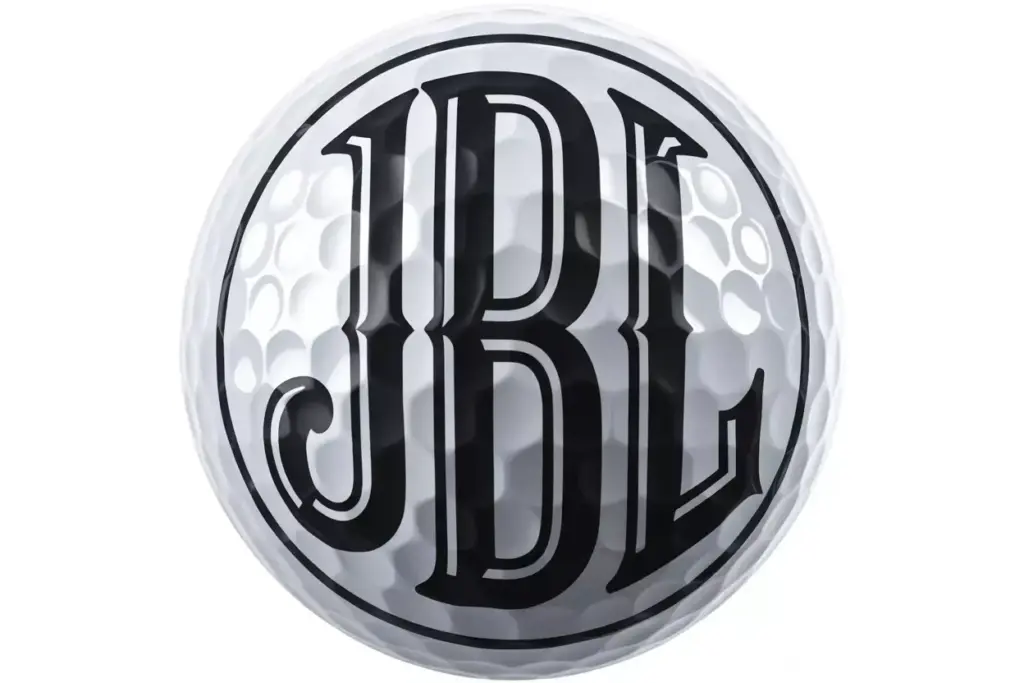
Custom monogram designs offer the ultimate in personalization, creating truly unique golf balls that make excellent gifts or personal accessories. This sophisticated approach combines elegance with practical identification benefits.
Monogram creation steps:
- Choose classic serif or modern sans-serif lettering styles
- Position initials prominently on opposite sides of the ball
- Add decorative borders or flourishes around letters
- Use metallic or bold colors for maximum visibility
- Consider adding birth dates or lucky numbers
Personalization options:
- Individual initials: First, middle, and last name letters
- Couple monograms: Wedding date commemoratives
- Family crests: Traditional heraldic designs
- Professional titles: Doctor, engineer, or military designations
Advanced Techniques for Professional Results
Taking Sharpie decorated golf balls that are shockingly easy to make to the next level requires understanding advanced techniques that separate amateur crafts from professional-quality results. These methods enhance durability, visual appeal, and overall finish quality.
Color Blending and Gradient Effects
Creating smooth color transitions elevates simple designs into sophisticated artwork. Gradient techniques involve applying one color while the previous color remains slightly wet, allowing natural blending at the boundaries.
Blending process:
- Apply the lighter color first in smooth, even strokes
- Immediately add the darker color while the first remains wet
- Use circular motions to blend the boundary area
- Work quickly before the ink sets permanently
- Practice on test surfaces before attempting final designs
Layering for Depth and Complexity
Multi-layer designs create visual depth that makes simple golf balls appear professionally manufactured. This technique involves building designs in stages, allowing each layer to dry completely before adding subsequent elements.
Layering strategy:
- Base layer: Solid color foundation or background pattern
- Middle layer: Primary design elements and major shapes
- Detail layer: Fine lines, accents, and finishing touches
- Protective layer: Clear topcoat for enhanced durability
Precision Tools and Templates
Professional results often depend on using appropriate tools for specific design elements. Precision instruments help achieve consistent, repeatable patterns that look intentional rather than hand-drawn.
“The difference between amateur and professional-looking Sharpie golf ball designs often comes down to preparation and the right tools. Taking time to measure, plan, and execute with precision transforms simple marker work into impressive custom golf accessories.” – Golf Equipment Customization Expert
Sealing and Protection Methods
Protecting finished designs ensures longevity through multiple rounds of golf. While Sharpie ink bonds well with golf ball surfaces, additional protection extends design life and maintains color vibrancy.
Protection options:
- Clear acrylic spray: Light coating preserves colors without affecting ball performance
- UV-resistant topcoat: Prevents fading from sun exposure during outdoor play
- Matte finish spray: Reduces glare while maintaining design visibility
Tips for Long-Lasting Designs
Ensuring Sharpie decorated golf balls that are shockingly easy to make maintain their appearance through extensive use requires attention to preparation, application, and maintenance details. Proper technique significantly extends design lifespan and maintains visual appeal.
Surface Preparation Best Practices
Thorough cleaning forms the foundation of durable designs. Golf balls accumulate oils, dirt, and residue that interfere with ink adhesion and color vibrancy.
Cleaning protocol:
- Wash balls with warm, soapy water to remove surface dirt
- Rinse thoroughly and dry completely with lint-free cloths
- Wipe with rubbing alcohol to eliminate oils and residue
- Allow complete air drying before beginning design work
- Handle cleaned balls minimally to avoid recontamination
Ink Application Techniques
Proper marker technique ensures even coverage and prevents premature wear. Consistent pressure and stroke direction create uniform appearance and better ink penetration.
Application guidelines:
- Use steady, even pressure throughout each stroke
- Overlap strokes slightly for complete coverage
- Work in consistent directions for uniform texture
- Allow adequate drying time between colors
- Avoid overworking areas that might cause ink buildup
Environmental Considerations
Storage and usage conditions significantly impact design longevity. Understanding how environmental factors affect Sharpie ink helps maintain design quality over time.
| Factor | Impact | Prevention Strategy |
|---|---|---|
| UV exposure | Fading and color shift | Store in dark, cool locations |
| Moisture | Ink bleeding and smearing | Ensure complete drying before use |
| Temperature extremes | Ink expansion/contraction | Avoid hot car storage |
| Abrasion | Design wear and scratching | Apply protective topcoats |
Maintenance and Touch-Up Procedures
Even well-executed designs may require occasional maintenance to address normal wear from golf play. Strategic touch-ups can extend design life significantly without requiring complete redoing.
Touch-up process:
- Clean affected areas gently with damp cloth
- Allow complete drying before applying new ink
- Match colors carefully using the same marker brands
- Blend touch-up areas with existing design elements
- Apply protective coating over repaired sections
Creative Variations and Seasonal Themes
Expanding beyond basic Sharpie decorated golf balls that are shockingly easy to make opens endless possibilities for seasonal celebrations, special occasions, and themed tournaments. These creative variations keep golf accessories fresh and exciting throughout the year.
Holiday and Seasonal Designs
Seasonal themes connect golf enjoyment with calendar celebrations, creating timely, relevant designs that enhance special occasion rounds.
Spring themes:
- 🌸 Cherry blossom patterns in pink and white
- 🌱 Fresh green growth designs with emerging leaves
- 🐣 Easter egg patterns with pastel color schemes
- ☔ April shower themes with rain drop patterns
Summer variations:
- ☀️ Bright sun designs with radiating yellow rays
- 🏖️ Beach themes featuring waves and sand colors
- 🎆 Patriotic red, white, and blue combinations
- 🌺 Tropical flower patterns in vibrant colors
Autumn concepts:
- 🍂 Falling leaf designs in orange, red, and brown
- 🎃 Halloween themes with black and orange schemes
- 🦃 Thanksgiving gratitude messages and earth tones
- 🏈 Football season team colors and sport motifs
Winter ideas:
- ❄️ Snowflake patterns in silver and blue
- 🎄 Christmas themes with red and green combinations
- ✨ New Year celebration designs with metallic accents
- 💝 Valentine’s Day hearts and romantic color schemes
Tournament and Event Commemoratives
Special occasion designs create lasting memories of important golf events, tournaments, or personal milestones. These commemorative balls serve as functional keepsakes that tell stories long after the event concludes.
Tournament commemoration ideas:
- Event dates and location names in elegant lettering
- Course logos or signature hole representations
- Leaderboard positions or personal achievement markers
- Weather conditions or memorable event circumstances
Gift and Presentation Options
Customized gift sets featuring multiple Sharpie decorated golf balls that are shockingly easy to make create thoughtful presents for golf enthusiasts. Presentation enhances perceived value and demonstrates care in gift selection.
Gift presentation strategies:
- Arrange decorated balls in elegant display boxes
- Include matching tees decorated with similar patterns
- Create themed sets around recipient interests or achievements
- Add personalized cards explaining design significance
- Package with complementary golf accessories
Troubleshooting Common Issues
Even experienced crafters encounter challenges when creating Sharpie decorated golf balls that are shockingly easy to make. Understanding common problems and their solutions prevents frustration and ensures successful project completion.
Ink Bleeding and Smearing Problems
Ink bleeding occurs when colors run together unexpectedly, creating muddy or unclear design elements. This issue typically results from inadequate drying time or incompatible color combinations.
Prevention and solutions:
- Allow each color to dry completely before adding adjacent colors
- Use hair dryer on cool setting to accelerate drying process
- Test color combinations on practice surfaces before final application
- Work in small sections to maintain control over wet ink areas
- Keep paper towels nearby for immediate cleanup of mistakes
Uneven Color Coverage
Patchy or streaky coverage detracts from design quality and creates unprofessional appearance. This problem often stems from inconsistent marker pressure or dried-out marker tips.
Coverage improvement techniques:
- Maintain consistent pressure throughout each stroke
- Replace markers showing signs of drying or inconsistent flow
- Use overlapping strokes to ensure complete coverage
- Work quickly while ink remains workable
- Consider using multiple coats for solid color areas
Design Symmetry Challenges
Asymmetrical patterns can make otherwise attractive designs appear sloppy or unfinished. Planning and measurement tools help achieve professional symmetry in geometric patterns.
Symmetry solutions:
- Use light pencil marks as guides before applying permanent ink
- Measure distances carefully using rulers or calipers
- Create paper templates for repeating design elements
- Work on opposite sides simultaneously to maintain balance
- Step back frequently to assess overall design proportion
Marker Selection and Compatibility
Incompatible markers or inappropriate tip sizes can frustrate design execution and limit creative possibilities. Understanding marker characteristics helps select appropriate tools for specific design goals.
Marker selection guidelines:
- Fine tips excel at detailed work and precise lines
- Bold tips cover large areas quickly and efficiently
- Ultra-fine tips create intricate patterns and small text
- Metallic markers require special handling and longer drying times
- Test all markers on practice surfaces before beginning final designs
Safety Considerations and Best Practices
Working with permanent markers requires attention to safety protocols that protect both crafters and work environments. Following proper safety procedures ensures enjoyable crafting experiences without health risks or property damage.
Ventilation and Workspace Safety
Adequate ventilation prevents marker fume accumulation that can cause headaches, dizziness, or respiratory irritation. Proper workspace setup protects health while enabling comfortable, extended crafting sessions.
Ventilation requirements:
- Work in well-ventilated areas with good air circulation
- Open windows or use fans to maintain fresh air flow
- Take regular breaks in fresh air during extended sessions
- Avoid working in confined spaces without ventilation
- Consider outdoor workspaces in suitable weather conditions
Skin and Eye Protection
Personal protective measures prevent accidental ink contact with skin or eyes. While Sharpie markers are generally safe for intended use, permanent ink can cause staining or irritation with direct contact.
Protection strategies:
- Wear disposable gloves to prevent hand staining
- Keep markers away from face and eyes during use
- Wash hands thoroughly after crafting sessions
- Use eye protection if working with spray sealers
- Keep first aid supplies readily available
Environmental Responsibility
Proper disposal of used markers and cleaning materials demonstrates environmental responsibility while complying with local waste management regulations.
Disposal guidelines:
- Check local regulations for marker disposal requirements
- Recycle markers through manufacturer take-back programs when available
- Dispose of cleaning materials according to hazardous waste guidelines
- Minimize waste by using markers completely before disposal
- Consider refillable marker systems for frequent crafting
Conclusion
Creating 8 Sharpie decorated golf balls that are shockingly easy to make opens up a world of personalization and creativity that transforms ordinary golf equipment into unique, eye-catching accessories. From simple polka dots and racing stripes to intricate mandala patterns and seasonal themes, these designs prove that professional-looking customization doesn’t require expensive equipment or advanced artistic skills.
The beauty of Sharpie golf ball decoration lies in its accessibility – anyone can achieve stunning results with basic supplies and a few minutes of focused effort. Whether creating personalized gifts for fellow golfers, adding personality to your own equipment, or simply enjoying a relaxing creative activity, these techniques deliver satisfying results that enhance both the crafting experience and subsequent golf rounds.
Key success factors include proper surface preparation, quality marker selection, adequate drying time, and protective finishing techniques. By following the detailed instructions and troubleshooting tips provided, crafters can avoid common pitfalls while achieving professional-quality results that withstand regular golf course use.
The versatility of these designs means they adapt easily to personal preferences, seasonal celebrations, and special occasions. From tournament commemoratives to holiday themes, Sharpie decorated golf balls offer endless possibilities for creative expression while serving practical identification purposes on the course.
Ready to get started? Gather your supplies, choose your favorite design from the eight options presented, and begin creating unique golf balls that reflect your personality and style. Remember to start with simple patterns to build confidence before advancing to more complex designs. Most importantly, enjoy the creative process and take pride in using truly one-of-a-kind golf equipment that no one else on the course will have.
The investment in time and materials pays dividends through enhanced golf enjoyment, conversation-starting accessories, and the satisfaction of creating something beautiful with your own hands. These Sharpie decorated golf balls that are shockingly easy to make prove that the best golf accessories are often the ones you create yourself.
References
[1] Golf Equipment Manufacturers Association. (2025). “Custom Golf Ball Market Trends and Consumer Preferences.” Annual Industry Report.
[2] Sharpie Brand Marketing Research. (2025). “Permanent Marker Applications in Sports Equipment Customization.” Product Development Studies.
[3] Professional Golf Association Equipment Guidelines. (2025). “Regulations for Modified Golf Ball Markings in Tournament Play.” Official Rulebook.