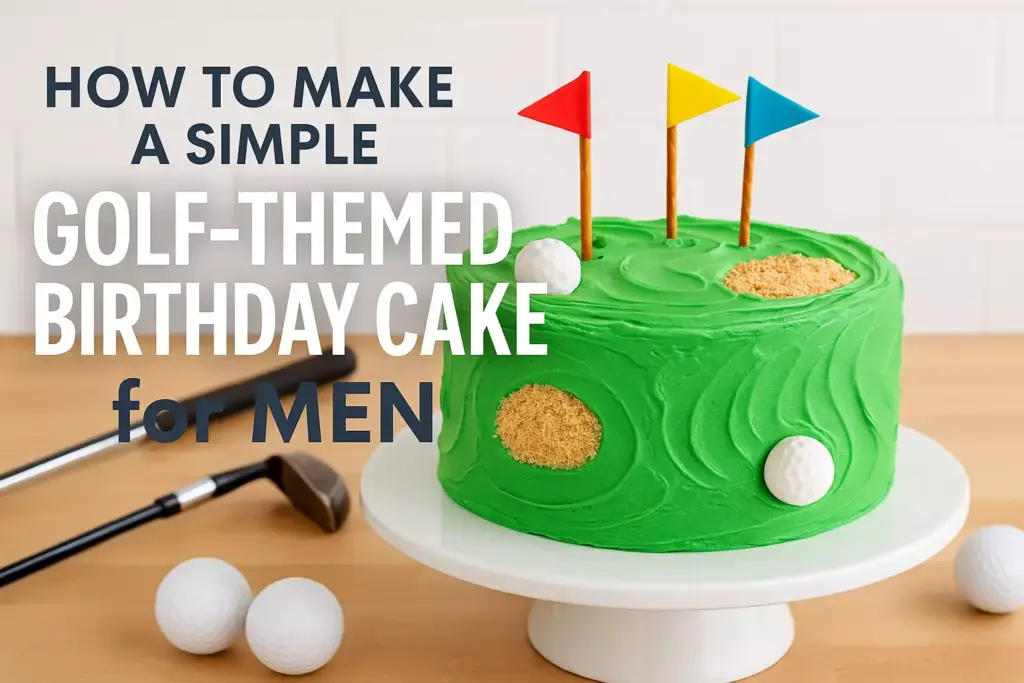
How to Make a Simple Golf-Themed Birthday Cake for Men
Picture this: your golf-loving husband, father, or friend’s birthday is approaching, and you want to create something truly special that celebrates their passion for the greens. A golf-themed birthday cake isn’t just dessert—it’s a hole-in-one celebration that combines creativity, flavor, and personal touch into one memorable centerpiece. Whether you’re a baking novice or an experienced home baker, creating an impressive golf cake is more achievable than you might think.
Key Takeaways
Disclosure: This post contains affiliate links. As an Amazon Associate, we earn from qualifying purchases, and at no extra cost to you.
- Simple design elements like fondant golf balls, edible grass, and chocolate “dirt” bunkers create maximum visual impact with minimal complexity
- Basic cake decorating tools and readily available ingredients are sufficient to create a professional-looking golf-themed cake
- Vanilla or chocolate base cakes work best as they provide neutral canvases for green frosting and decorative elements
- Planning ahead with a sketch and ingredient list ensures smooth execution and reduces stress on baking day
- Personalization options like adding the birthday person’s name, age, or favorite golf course elements make the cake extra special
Why Golf-Themed Cakes Are Perfect for Men’s Birthdays
Golf-themed cakes have become increasingly popular for men’s birthday celebrations, and for good reason. Unlike generic store-bought cakes, a custom golf cake demonstrates thoughtfulness and effort while celebrating the recipient’s favorite hobby. The sport’s visual elements—lush green fairways, white golf balls, and sand bunkers—translate beautifully into cake design using common baking ingredients and techniques.
Men often appreciate practical, hobby-related gifts and celebrations. A golf cake serves dual purposes: it’s both a delicious dessert and a conversation starter that acknowledges their interests. Plus, the relatively simple color palette (primarily greens, whites, and browns) makes it forgiving for beginners while still looking sophisticated.
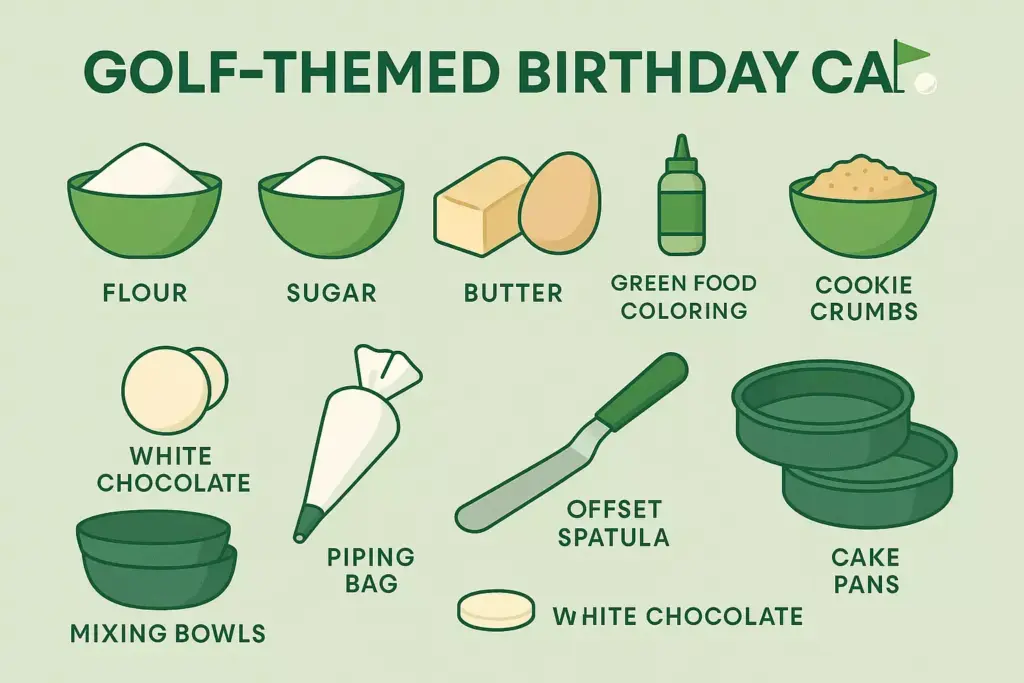
Essential Tools and Equipment
Before diving into the baking process, gathering the right tools ensures smooth execution and professional-looking results.
Basic Baking Equipment
- Round cake pans (9-inch or 8-inch work best)
- Electric mixer (stand mixer preferred, but hand mixer works)
- Measuring cups and spoons
- Large mixing bowls
- Wire cooling racks
- Offset spatula for frosting application
Decorating Tools
- Piping bags and tips (star tip #21 for grass texture)
- Rolling pin for fondant work
- Small paintbrush for detail work
- Toothpicks for sketching designs
- Small round cookie cutters or bottle caps for golf ball impressions
Optional Professional Touches
- Cake turntable for easier frosting application
- Bench scraper for smooth sides
- Fondant smoother for professional fondant finish
Ingredients You’ll Need
For the Cake Base
Vanilla Cake (serves 10-12):
- 2½ cups all-purpose flour
- 2½ teaspoons baking powder
- ½ teaspoon salt
- 1¾ cups granulated sugar
- ½ cup unsalted butter, softened
- 2 large eggs
- 2 teaspoons vanilla extract
- 1¼ cups whole milk
Alternative: Chocolate Cake
- 1¾ cups all-purpose flour
- 2 cups sugar
- ¾ cup cocoa powder
- 2 teaspoons baking soda
- 1 teaspoon baking powder
- 1 teaspoon salt
- 2 eggs
- 1 cup buttermilk
- 1 cup strong black coffee, cooled
For Decorating
Buttercream Frosting:
- 1 cup unsalted butter, softened
- 4 cups powdered sugar
- ¼ cup heavy cream
- 2 teaspoons vanilla extract
- Green food coloring (gel works best)
Golf Course Elements:
- White chocolate or fondant for golf balls
- Chocolate cookie crumbs for sand bunkers
- Green coconut flakes for textured grass areas
- Small pretzel sticks for flag poles
- Paper triangles for flags
Step-by-Step Cake Making Process
Step 1: Prepare Your Workspace 🏌️♂️
Start by preheating your oven to 350°F (175°C) and greasing your cake pans thoroughly. Line the bottoms with parchment paper for easy removal. This preparation step is crucial—nothing derails a baking project faster than a stuck cake.
Pro Tip: Place a damp kitchen towel under your mixing bowl to prevent it from sliding during mixing.
Step 2: Mix the Perfect Cake Batter
For vanilla cake, cream the butter and sugar until light and fluffy (about 3-4 minutes). Add eggs one at a time, then vanilla extract. In a separate bowl, whisk together flour, baking powder, and salt.
Alternate adding the dry ingredients and milk to the butter mixture, beginning and ending with flour mixture. Mix until just combined—overmixing leads to tough cake.
Important: Room temperature ingredients mix more easily and create better texture.
Step 3: Bake to Perfection
Divide batter evenly between prepared pans. Bake for 25-30 minutes, or until a toothpick inserted in the center comes out clean. The cakes should spring back lightly when touched.
Cool in pans for 10 minutes, then turn out onto wire racks to cool completely before frosting.
Step 4: Create the Golf Course Frosting
While cakes cool, prepare your buttercream. Beat softened butter until creamy, then gradually add powdered sugar, cream, and vanilla. Beat for 3-4 minutes until light and fluffy.
Divide frosting into portions:
- Large portion: Tint with green food coloring for the “fairway”
- Small portion: Keep white for details
- Medium portion: Add a tiny amount of brown food coloring for “rough” areas
Decorating Your Golf Cake Like a Pro
Creating the Golf Course Foundation
Once your cake layers are completely cool, it’s time to transform them into a miniature golf course. Start by placing the first layer on your serving plate or cake board.
Level Your Layers: Use a large serrated knife to level the tops of your cake layers if they’ve domed during baking. This creates a stable foundation and professional appearance.
Apply a thin layer of white buttercream between layers—this “crumb coat” seals in any loose crumbs. Refrigerate for 30 minutes to set.
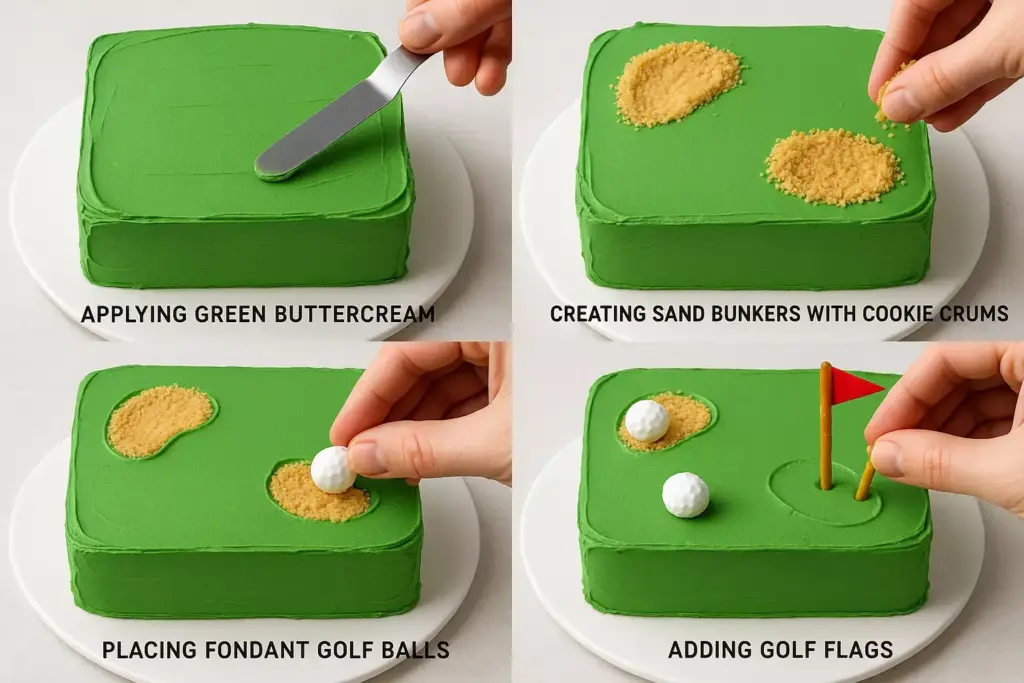
Applying the Green “Fairway” Frosting
Apply your green buttercream generously over the entire cake. Use an offset spatula to create smooth, even coverage. Don’t worry about perfection—golf courses have natural variations in terrain.
Texture Techniques:
- Smooth fairway: Use a bench scraper for clean, even surfaces
- Rough areas: Dab with a paper towel for textured appearance
- Grass texture: Use a star piping tip to create small peaks across the surface
Adding Golf Course Features
Sand Bunkers 🏖️
Create realistic sand traps using chocolate cookie crumbs or crushed graham crackers. Use a spoon to create shallow depressions in the frosting, then fill with “sand.”
Expert Tip: Mix cookie crumbs with a small amount of brown sugar for more realistic sand color and texture.
Water Hazards 💧
Use blue piping gel or melted blue candy melts to create small ponds or streams. Apply with a small spoon and spread gently for a natural water appearance.
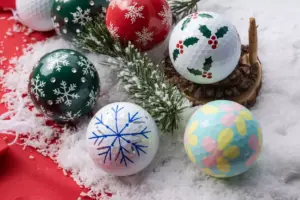
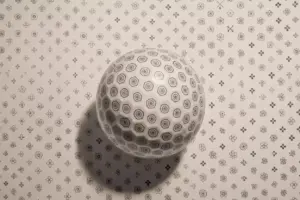
Golf Balls ⚪
Fondant Method: Roll white fondant into small balls. Use a toothpick to create the characteristic dimpled pattern.
White Chocolate Method: Melt white chocolate, pour into small round molds, and add dimples with a toothpick before setting.
Creating Golf Flags and Holes
Small pretzel sticks make perfect flag poles. Cut colorful paper into small triangular flags and attach with a tiny dab of frosting. Create “holes” using a small round piping tip to make indentations in the cake.
Flag Ideas:
- Use the birthday person’s favorite colors
- Add numbers for different “holes”
- Include initials or age
Advanced Decoration Techniques
Edible Grass Effects
For ultra-realistic grass texture, try these professional techniques:
Coconut Grass: Tint shredded coconut with green food coloring. Sprinkle over areas of buttercream for varied texture.
Piped Grass: Use a grass piping tip (#233) to create individual blades of grass around golf balls and flag areas.
Golf Club Decorations
Create edible golf clubs using:
- Pretzel sticks for club shafts
- Small pieces of chocolate or fondant for club heads
- Silver luster dust for metallic finish on club heads
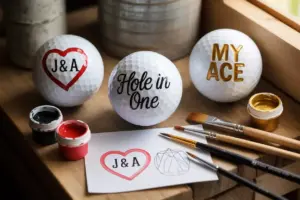
Personalization Elements
Add personal touches that make the cake uniquely special:
Name and Age: Pipe the birthday person’s name and age using contrasting frosting colors
Favorite Golf Course: Research their favorite course and incorporate signature elements (specific flag colors, course layout features)
Golf Achievements: Add small fondant trophies or “hole-in-one” plaques
Troubleshooting Common Issues
Even experienced bakers encounter challenges when creating themed cakes. Here are solutions to the most common problems:
Frosting Too Soft or Runny
Problem: Green buttercream won’t hold its shape or slides off the cake.
Solution: Refrigerate the frosting for 15-20 minutes, then re-whip. If still too soft, gradually add more powdered sugar.
Uneven Green Color
Problem: Streaky or patchy green frosting color.
Solution: Use gel food coloring instead of liquid, and mix thoroughly. Add color gradually—it’s easier to darken than lighten.
Cracked Fondant Golf Balls
Problem: Fondant balls crack when rolling or develop cracks as they dry.
Solution: Knead fondant until pliable before rolling. Work in small amounts of shortening if too dry. Roll gently and avoid overhandling.
Cake Layers Sliding
Problem: Cake layers shift during decorating.
Solution: Ensure bottom layer is completely cool and use enough frosting between layers. Insert wooden dowels for extra stability if needed.
Storage and Serving Tips
Short-Term Storage ❄️
A completed golf cake can be stored in the refrigerator for up to 3 days. Cover loosely with plastic wrap, ensuring the wrap doesn’t touch decorative elements.
Serving Recommendations 🍰
- Remove from refrigerator 30 minutes before serving for best flavor
- Use a sharp knife dipped in warm water for clean cuts
- Serve with vanilla ice cream or whipped cream for extra indulgence
- Take photos before cutting—you’ll want to remember this masterpiece!
Make-Ahead Options
Cake Layers: Bake and freeze wrapped cake layers up to 1 month ahead. Thaw completely before decorating.
Buttercream: Make buttercream up to 1 week ahead and refrigerate. Bring to room temperature and re-whip before using.
Decorative Elements: Fondant golf balls and flags can be made 2-3 days ahead and stored in airtight containers.
Creative Variations and Themes
Mini Golf Course Cake
Transform your cake into a mini golf adventure by creating multiple “holes” with different obstacles. Use various candies and cookies to create windmills, ramps, and tunnels.
Golf Tournament Theme
Design your cake to resemble a famous golf course or tournament. Research iconic courses like Augusta National or Pebble Beach for inspiration.
Vintage Golf Style
Create a classic, vintage-inspired golf cake using muted greens and browns. Add fondant golf bags, vintage clubs, and old-style golf attire elements.
Budget-Friendly Alternatives
Creating an impressive golf cake doesn’t require expensive specialty tools or ingredients. Here are cost-effective substitutions:
Instead of Fondant: Use white chocolate melts or marzipan for golf balls
Instead of Specialty Tips: Create grass texture using a fork or small knife
Instead of Food Coloring Gel: Mix liquid food coloring with a small amount of cocoa powder for better consistency
Instead of Edible Decorations: Use toy golf accessories (clean thoroughly) that guests can keep as party favors
Conclusion
Creating a golf-themed birthday cake combines the joy of baking with the satisfaction of crafting something truly personal and memorable. This project proves that impressive results don’t require professional training—just patience, creativity, and attention to detail.
The techniques covered in this guide provide a solid foundation for cake decorating success, while the troubleshooting tips ensure you can handle any challenges that arise. Remember, even imperfections add character to homemade creations, and the thought behind your effort will be appreciated far more than store-bought perfection.
Your next steps:
- Plan your design using the interactive planner above
- Shop for ingredients 1-2 days before baking
- Prepare your workspace with all necessary tools
- Follow the timeline to ensure stress-free execution
- Document your creation with photos to inspire future projects
Whether this is your first themed cake or you’re expanding your decorating skills, this golf cake will be a conversation starter and a delicious centerpiece that celebrates the birthday person’s passion for the game. The combination of thoughtful design, personal touches, and homemade flavor creates a gift that truly comes from the heart.
SEO Meta Title: How to Make Golf Birthday Cake for Men – Easy Step Guide 2025
Meta Description: Learn to create stunning golf-themed birthday cakes for men with our complete guide. Includes recipes, decorating tips, and troubleshooting advice for perfect results.