Stop Guessing! Use Our 6 Essential Golf Yardage Charts to Lower Your Score
Picture this: You’re standing on the tee box, staring down a 150-yard approach shot to a tucked pin. The wind is swirling, the pin is back-right, and you’re debating between a smooth 7-iron or a hard 8-iron. Sound familiar? Every golfer faces this moment of uncertainty, but the difference between shooting in the 70s versus the 90s often comes down to one simple factor: eliminating guesswork from your distance control. When you stop guessing and start using proven yardage charts to lower your score, you transform from a hopeful hacker into a strategic player who attacks every shot with confidence and precision.
Disclosure: This post contains affiliate links. As an Amazon Associate, we earn from qualifying purchases, and at no extra cost to you.
Key Takeaways
- Accurate distance knowledge is the foundation of consistent scoring and course management
- Six essential yardage charts cover every aspect of distance control from tee to green
- Personalized yardage data beats generic club distances every time for better shot selection
- Weather and course conditions significantly impact distances and require adjustment charts
- Consistent practice with charts leads to automatic distance recognition and lower scores
Why Distance Control Separates Good Golfers from Great Golfers
Golf is a game of precision, and nothing matters more than knowing your exact distances. Tour professionals don’t guess their yardages—they know precisely how far each club carries under different conditions. This systematic approach to distance control is what separates weekend warriors from serious competitors.
The hidden cost of guessing distances extends far beyond the occasional missed green. When golfers estimate their yardages, they create a cascade of poor decisions that compound throughout the round. Short shots leave difficult up-and-downs, while long shots find trouble behind greens or in hazards.
Research from the PGA Tour shows that proximity to the pin from approach shots is the strongest predictor of scoring average. Players who consistently hit approach shots within 20 feet of the pin average significantly lower scores than those who scatter their approaches around the green.
The Mental Game of Confident Distance Selection
When golfers know their exact distances, they swing with confidence and commitment. Doubt creates tentative swings, which produce inconsistent contact and poor results. Conversely, standing over a shot with complete confidence in club selection allows for aggressive, committed swings that produce pure strikes.
Yardage charts eliminate second-guessing during the swing. Instead of wondering if you chose the right club, you can focus entirely on making solid contact and executing your target line. This mental clarity is invaluable for consistent scoring.
1. Personal Club Distance Chart: Your Foundation for Success
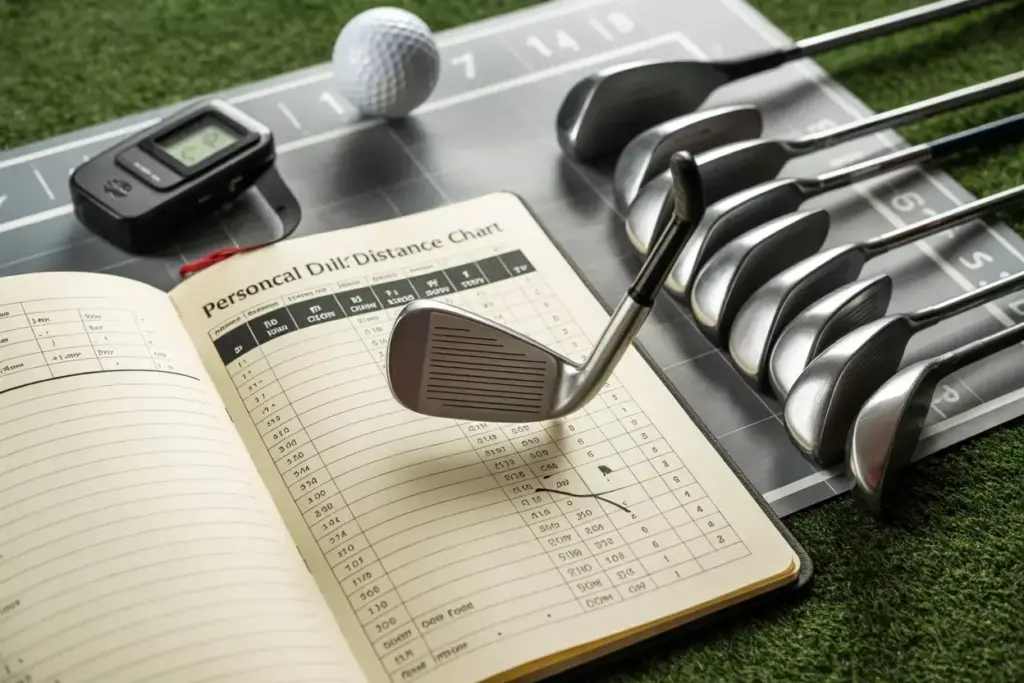
The most important chart in any golfer’s arsenal is their personal club distance chart. Generic distance guides found in magazines or online provide rough estimates, but they can’t account for your unique swing speed, launch angle, and ball flight characteristics.
Creating an accurate personal distance chart requires systematic data collection over multiple practice sessions. The goal is to establish your carry distances for each club under neutral conditions (no wind, flat lie, normal temperature).
Building Your Personal Distance Chart
Start with your wedges and work up through your set. Hit 10-15 shots with each club, discarding the longest and shortest shots to eliminate outliers. Focus on your average carry distance, not your maximum distance.
| Club | Carry Distance | Total Distance | Notes |
|---|---|---|---|
| Driver | 245 yards | 265 yards | Roll varies by course |
| 3-Wood | 220 yards | 235 yards | Lower ball flight |
| 5-Iron | 165 yards | 175 yards | Stock yardage |
| 7-Iron | 145 yards | 155 yards | Most consistent club |
| 9-Iron | 125 yards | 130 yards | High trajectory |
| PW | 110 yards | 115 yards | Spin and stop |
| SW | 85 yards | 90 yards | Full swing only |
Temperature and altitude significantly affect ball flight. Create separate columns for hot weather (add 5-8 yards) and cold weather (subtract 5-8 yards). If you frequently play at altitude, develop a separate high-altitude chart.
Tracking Your Progress
Update your chart regularly as your swing evolves. Strength training, technique changes, and equipment modifications all impact distances. Review and adjust your numbers at least twice per season.
Digital tools and apps can streamline data collection. Many golfers use shot-tracking apps that automatically record distances and compile statistics over time. However, don’t rely solely on technology—verify your numbers with on-course observation.
2. Weather Adjustment Chart: Mastering Environmental Factors
Weather conditions dramatically impact ball flight, yet most amateur golfers fail to make proper adjustments. Professional golfers adjust for wind, temperature, humidity, and altitude on every shot, and recreational players should follow suit.
Wind is the most obvious factor, but temperature and humidity create subtle changes that add up over 18 holes. A 20-degree temperature difference can change your 7-iron distance by 10-15 yards.
Wind Adjustment Guidelines
Headwinds and tailwinds don’t affect distances equally. A 10-mph headwind typically costs more distance than a 10-mph tailwind adds. This occurs because headwinds increase backspin and create a steeper descent angle.
Crosswinds require both distance and directional adjustments. A strong crosswind can reduce carry distance by 5-10 yards while significantly affecting ball flight direction.
| Wind Condition | Distance Adjustment | Club Selection |
|---|---|---|
| 10 mph headwind | Subtract 10-15 yards | Take 1-2 more clubs |
| 10 mph tailwind | Add 5-10 yards | Take 1 less club |
| 15 mph crosswind | Subtract 5-8 yards | Account for drift |
Temperature and Altitude Effects
Hot weather increases distance because warmer air is less dense. For every 10 degrees above 70°F, add approximately 2-3 yards to your iron shots. Conversely, subtract 2-3 yards for every 10 degrees below 70°F.
Altitude dramatically affects ball flight. At 5,000 feet elevation, expect your shots to carry 8-10% farther than at sea level. Denver golfers often struggle when playing at sea level because they’re accustomed to the thin air advantage.
Humidity has a counterintuitive effect. Humid air is actually less dense than dry air, so expect slightly longer distances on muggy days. The difference is subtle (2-3 yards) but worth noting for precise approach shots.
3. Course Management Yardage Book: Strategic Distance Planning
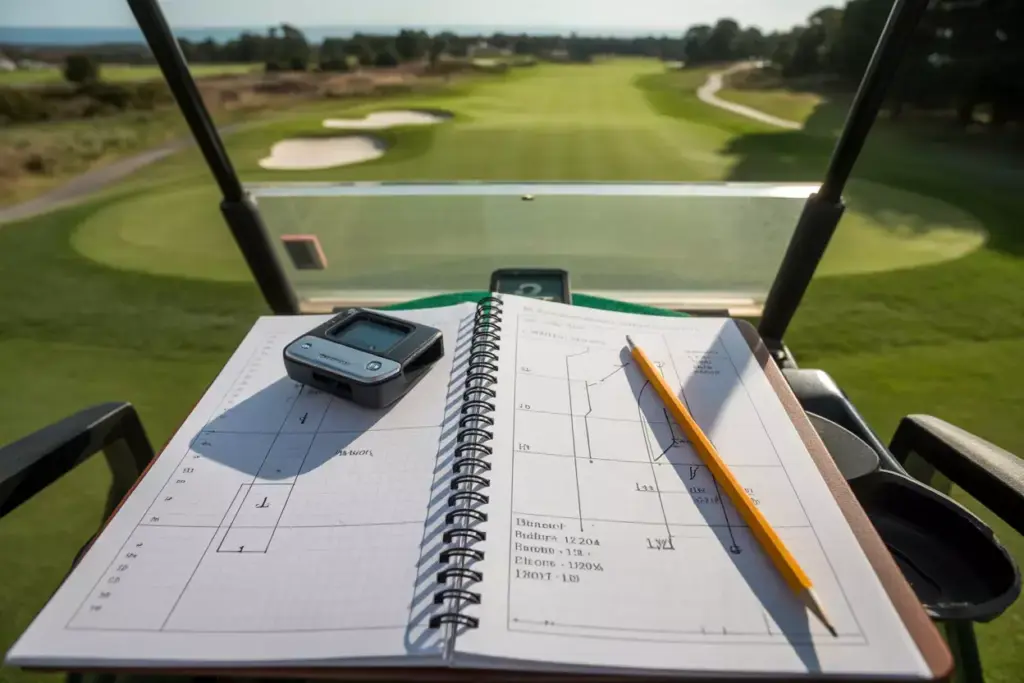
Course management separates smart golfers from long golfers. Creating a detailed yardage book for your home course—and studying yardage books for unfamiliar courses—allows you to make strategic decisions that minimize big numbers.
A comprehensive yardage book includes front, middle, and back pin positions for every green, along with hazard distances and preferred angles of approach. This information guides club selection from the tee and approach shot planning.
Essential Yardage Book Elements
Tee shot planning starts with working backward from ideal approach distances. If your favorite approach club is a 7-iron (145 yards), identify the ideal driving distance for each hole to leave that yardage.
Hazard mapping prevents disaster holes. Note the carry distances to clear bunkers, water hazards, and forced carries. Include both conservative and aggressive lines for different pin positions.
Green depth and pin position notes help with approach shot selection. A green that’s 25 yards deep requires different club selection for front versus back pins.
Sample Hole Analysis
Hole 7 – Par 4, 385 yards:
- Driver leaves 140 yards (perfect 8-iron)
- Front pin: 125 yards to pin, 135 to back
- Middle pin: 140 yards to pin
- Back pin: 155 yards to pin, 165 to back
- Bunker short-right: 120 yards from tee
- Ideal approach angle: Left side of fairway
Strategic notes: Driver is optimal unless wind is strongly against. Back pin requires extra club and aggressive line. Front pin allows for conservative approach to center of green.
4. Wedge Distance Chart: Mastering Scoring Shots
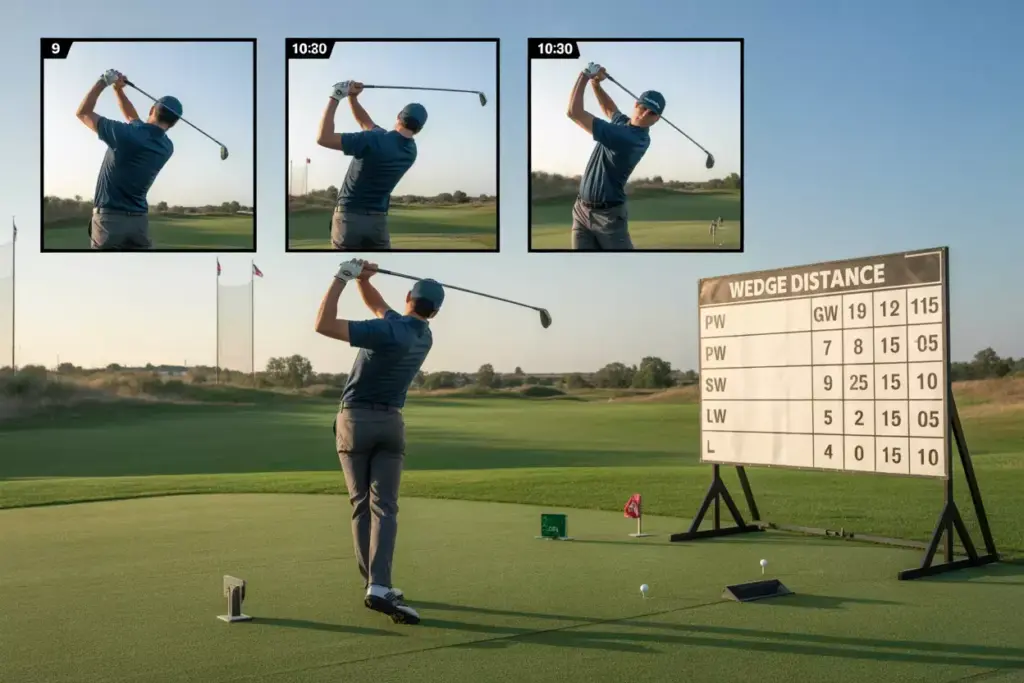
Wedge play determines scoring potential more than any other aspect of golf. While most golfers have one distance for each wedge (full swing), developing a comprehensive wedge chart with multiple yardages transforms short game effectiveness.
Clock system wedge charts provide precise distance control for approach shots inside 100 yards. By varying swing length rather than swing speed, golfers achieve consistent contact and predictable distances.
Building Your Wedge Arsenal
Start with your most reliable wedge (usually pitching wedge or sand wedge) and develop three distinct swing lengths:
- 9 o’clock swing (hands reach hip height)
- 10:30 swing (hands reach chest height)
- Full swing (complete shoulder turn)
| Wedge | 9 O’Clock | 10:30 | Full Swing |
|---|---|---|---|
| PW (46°) | 75 yards | 95 yards | 115 yards |
| GW (50°) | 65 yards | 85 yards | 105 yards |
| SW (54°) | 55 yards | 75 yards | 95 yards |
| LW (58°) | 45 yards | 65 yards | 85 yards |
Advanced Wedge Techniques
Trajectory control adds another dimension to wedge play. Practice hitting the same distance with different trajectories by adjusting ball position and swing plane. Low shots penetrate wind, while high shots stop quickly on firm greens.
Spin control comes from understanding how different wedges and swing techniques affect ball behavior. Clean grooves and proper contact create maximum spin, while slightly worn grooves or thin contact reduce spin.
Practice routine consistency ensures reliable wedge distances. Use the same pre-shot routine, tempo, and follow-through for each swing length. Mechanical consistency produces distance consistency.
5. Putting Distance Chart: Reading Greens Like a Pro
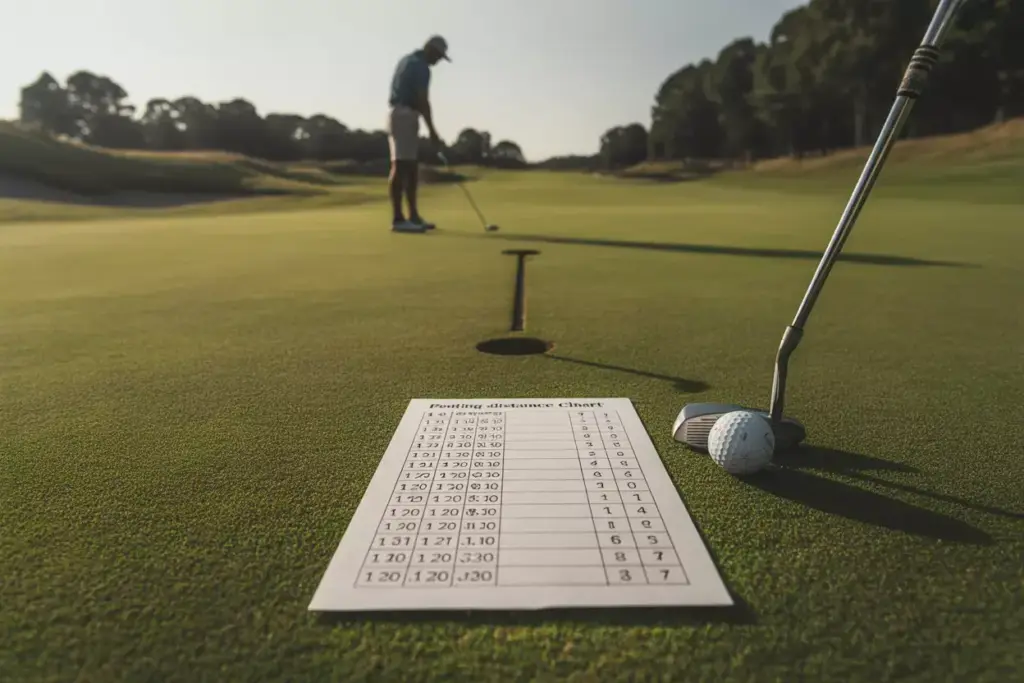
Putting accounts for roughly 40% of all strokes in a typical round, yet most golfers spend minimal time developing systematic putting distance control. A comprehensive putting chart addresses both flat putts and slope adjustments.
Lag putting improvement has the biggest impact on scoring. Three-putts devastate scorecards, while consistent two-putting from long range maintains momentum and confidence.
Developing Putting Touch
Pace putting drills build distance control foundation. Practice putting to specific distances (10, 20, 30, 40 feet) without regard for holing putts. Focus entirely on speed control and stopping the ball within a three-foot circle.
Uphill and downhill adjustments require separate practice sessions. Uphill putts need approximately 20-30% more force, while downhill putts require 20-30% less force. These percentages vary based on green speed and slope severity.
| Distance | Flat | Uphill | Downhill |
|---|---|---|---|
| 10 feet | Normal stroke | +20% force | -20% force |
| 20 feet | Normal stroke | +25% force | -25% force |
| 30 feet | Normal stroke | +30% force | -30% force |
Green Reading Integration
Slope affects both direction and distance. A putt that breaks significantly will travel farther than a straight putt of the same starting distance. Account for the actual ball path, not just the straight-line distance to the hole.
Green speed variations occur throughout the day and across different areas of the green. Morning greens are typically slower due to moisture, while afternoon greens run faster after drying. Adjust your distance chart accordingly.
6. Elevation Change Calculator: Conquering Uphill and Downhill Shots
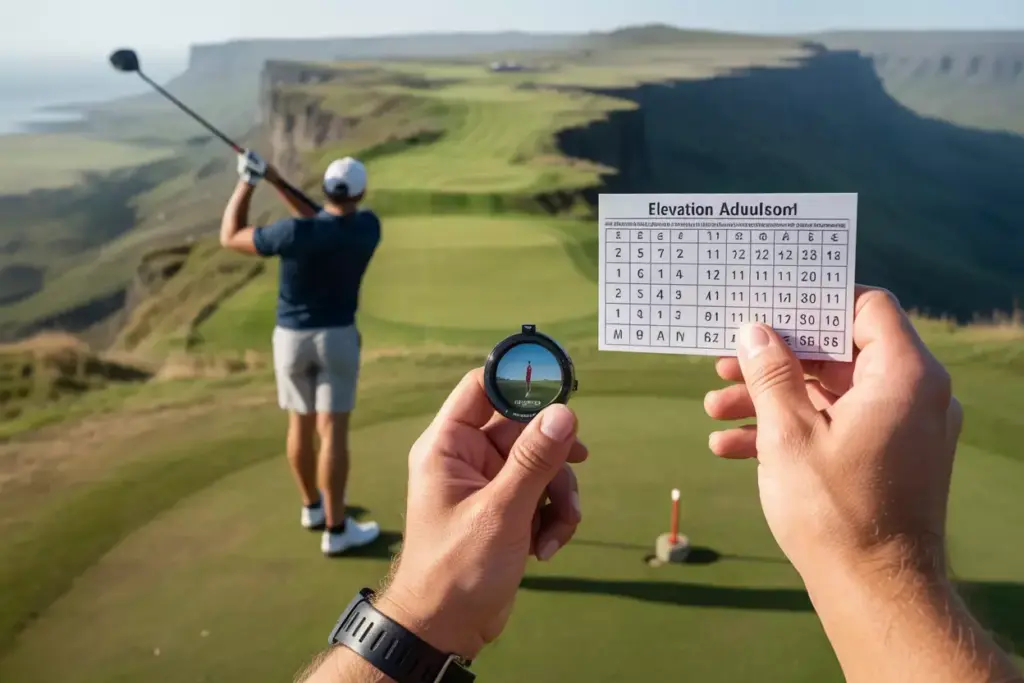
Elevation changes confuse even experienced golfers because the effects are dramatic and often underestimated. A comprehensive elevation chart prevents the common mistakes of coming up short on uphill shots and flying greens on downhill approaches.
The general rule of thumb is to add or subtract one yard for every yard of elevation change, but this oversimplifies the physics involved. Longer clubs and steeper elevation changes require more significant adjustments.
Uphill Shot Adjustments
Uphill shots play longer because gravity works against ball flight throughout the trajectory. The steeper the uphill angle, the more dramatic the effect becomes.
Club selection changes for uphill shots often require taking 1-2 extra clubs, depending on the severity of the slope. A 20-yard uphill shot to an elevated green might play like 35-40 yards.
| Elevation Change | Distance Adjustment | Club Change |
|---|---|---|
| 10 yards uphill | Add 10-15 yards | 1 extra club |
| 20 yards uphill | Add 20-30 yards | 2 extra clubs |
| 30 yards uphill | Add 30-45 yards | 3 extra clubs |
Downhill Shot Considerations
Downhill shots play shorter and often carry farther than expected because gravity assists ball flight. However, the landing angle becomes shallower, creating more roll and less spin effectiveness.
Club selection for downhill shots typically requires taking 1-2 less clubs, but consider the landing area firmness and green receptiveness. Hard greens amplify the effect of downhill approaches.
Trajectory adjustments help control downhill shots. Taking less club and making a more aggressive swing often produces better results than taking the “correct” club and making an easy swing.
Stop Guessing! Use Our 6 Essential Golf Yardage Charts to Lower Your Score: Implementation Strategy
Implementing these six charts systematically creates a comprehensive distance control system that eliminates guesswork and builds confidence. Start with your personal club distance chart, then gradually incorporate the other charts as you become comfortable with each system.
Practice integration is crucial for success. Spend dedicated practice time with each chart, testing your numbers under various conditions. The goal is to internalize these distances so they become automatic during play.
Building Chart Confidence
Start conservatively with your adjustments until you verify the accuracy of your charts. It’s better to be slightly short and have an uphill putt than to fly a green and face a difficult recovery shot.
Track your results during rounds to refine your charts. Note when your distance calculations were accurate and when they needed adjustment. This feedback loop continuously improves your system.
Mental rehearsal helps integrate chart usage into your pre-shot routine. Visualize consulting your charts and making confident club selections before you reach the course.
Creating Your Personal Yardage System
Developing a personalized yardage system requires commitment and systematic data collection, but the scoring benefits are immediate and lasting. Stop guessing and start using our 6 essential golf yardage charts to lower your score by following a structured implementation plan.
Week 1-2: Personal Club Distances
Focus exclusively on establishing accurate carry distances for each club. Hit balls in calm conditions and record your results meticulously.
Week 3-4: Weather Adjustments
Practice in various weather conditions and note how wind, temperature, and humidity affect your distances. Start making conscious adjustments during play.
Week 5-6: Course Management
Create detailed yardage books for your most frequently played courses. Include hazard distances, green depths, and preferred approach angles.
Week 7-8: Wedge Precision
Develop your clock system for wedge distances. Practice the three swing lengths until they become automatic.
Week 9-10: Putting Distance Control
Work on lag putting and develop feel for different green speeds and slopes. Create your putting adjustment chart.
Week 11-12: Elevation Mastery
Practice elevation shots and refine your adjustment calculations. Test your numbers on courses with significant elevation changes.
Technology Integration
Modern golf technology can enhance your yardage system without replacing fundamental distance knowledge. GPS devices, rangefinders, and shot-tracking apps provide valuable data, but they work best when combined with personal experience.
Rangefinders excel at precise distance measurement but can’t account for wind, temperature, or your personal ball flight characteristics. Use them to verify your chart distances and make real-time adjustments.
Shot-tracking apps compile long-term distance data and identify trends in your game. They’re particularly valuable for tracking improvements and identifying clubs that need attention.
Advanced Distance Control Strategies
Elite golfers use sophisticated distance control strategies that go beyond basic yardage charts. These advanced techniques separate good players from great players and can dramatically improve scoring for dedicated golfers.
Trajectory Matching
Different trajectories produce different distances even with the same club. Learning to hit high, medium, and low shots with each iron provides precise distance control and helps navigate course conditions.
Wind penetration improves dramatically when golfers can control trajectory. Low shots bore through headwinds, while high shots take advantage of tailwinds.
Spin Rate Management
Controlling spin rates affects both distance and stopping power. Clean contact with sharp grooves maximizes spin, while slightly thin contact reduces spin and increases roll.
Green conditions dictate spin requirements. Firm greens need maximum spin to stop shots, while soft greens accept lower-spinning shots that release to the pin.
Precision Landing Zones
Advanced course management involves identifying specific landing zones rather than just aiming at greens. These zones account for pin position, green slope, and preferred leave angles for potential misses.
Risk-reward calculations become more sophisticated when golfers know their precise distances and dispersion patterns. This knowledge enables aggressive plays when appropriate and conservative strategies when prudent.
Conclusion
Transforming your golf game starts with eliminating distance guesswork and implementing a systematic approach to yardage control. The six essential charts outlined in this guide—personal club distances, weather adjustments, course management, wedge precision, putting control, and elevation calculations—provide the foundation for consistent scoring improvement.
Stop guessing! Use our 6 essential golf yardage charts to lower your score by committing to the systematic development and implementation of each chart. The initial time investment in data collection and practice pays dividends for years to come through improved confidence, better course management, and lower scores.
Your next steps are clear: Start building your personal club distance chart this week. Dedicate practice time to accurate data collection, and begin incorporating weather adjustments into your course play. As each chart becomes second nature, add the next component until you have a complete distance control system.
The difference between hoping and knowing your distances is the difference between occasional good rounds and consistent scoring improvement. Professional golfers never guess their yardages, and neither should you. Implement these six essential charts, practice them diligently, and watch your scores drop as your confidence and precision soar. 🏌️♂️