9 Key Components for Building the Ultimate Home Golf Simulator Room
Picture this: it’s a cold winter evening in 2026, and while other golfers are stuck indoors watching highlights, you’re perfecting your swing on Pebble Beach‘s 18th hole—right from your basement. Building the ultimate home golf simulator room isn’t just about buying expensive equipment; it’s about creating a comprehensive system where every component works in harmony to deliver an authentic golfing experience. Whether you’re looking to improve your handicap or simply enjoy year-round golf, understanding the 9 key components for building the ultimate home golf simulator room will transform your vision into reality.
Disclosure: This post contains affiliate links. As an Amazon Associate, we earn from qualifying purchases, and at no extra cost to you.
Key Takeaways
- Space requirements are non-negotiable: You need minimum 8.5-9 feet ceiling height, 12-15 feet depth, and 10+ feet width for a functional setup
- Launch monitors are your biggest investment: Expect to spend $1,500-$20,000 on this centerpiece technology that captures all ball and club data
- Professional-grade hitting surfaces matter: Quality mats like TrueStrike or Fiberbuilt cannot be upgraded through software—invest wisely from the start
- Budget planning spans three tiers: Entry-level ($2,000-$5,000), mid-range ($4,000-$12,000), and premium ($13,000-$25,000+) setups each serve different needs
- Integration is everything: Each component must work seamlessly with others—from projector throw ratios to launch monitor positioning
1. Proper Room Dimensions and Space Planning
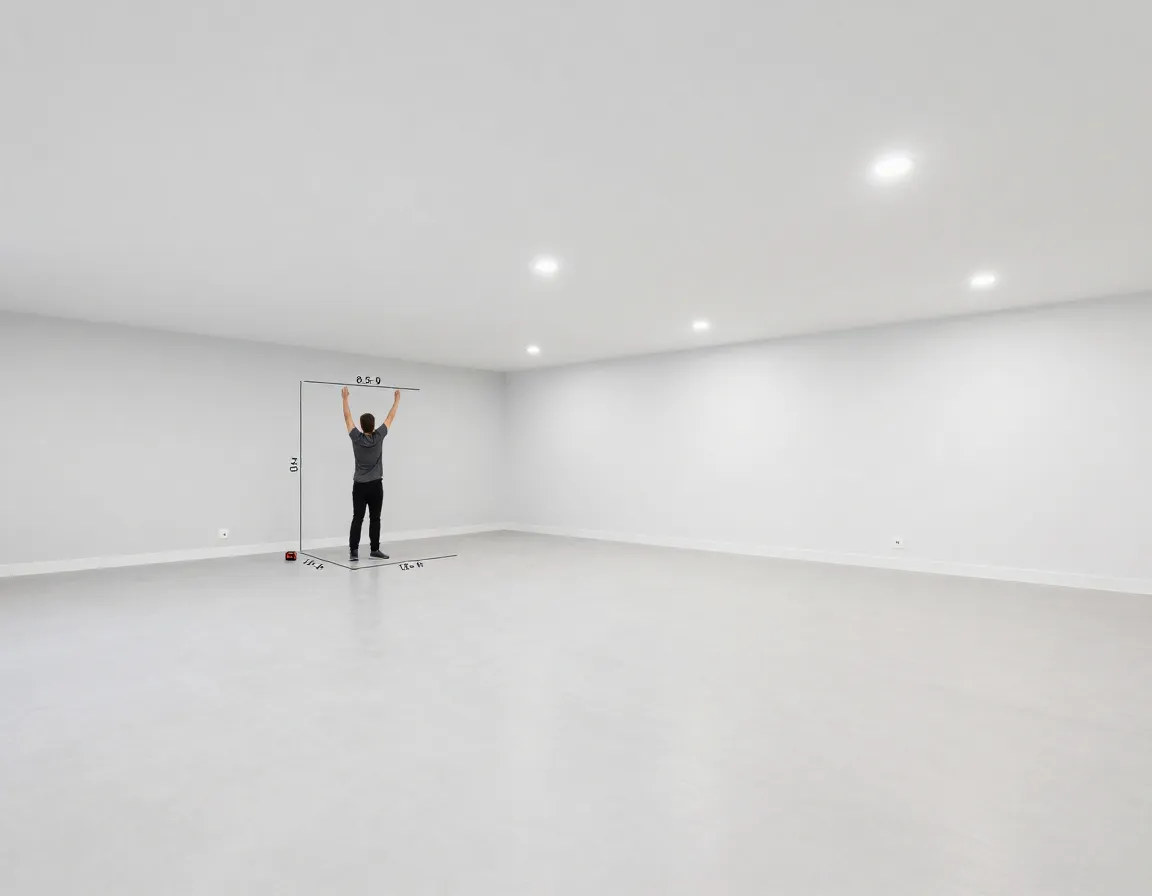
The foundation of any successful golf simulator starts with adequate space. I’ve seen too many enthusiasts rush into equipment purchases only to discover their room can’t accommodate a proper setup.
Ceiling Height Requirements 🏠
Your ceiling height directly impacts swing comfort and safety. A minimum of 8.5-9 feet is required for most golfers, but I strongly recommend 10+ feet for optimal performance[2][3]. Taller golfers or those with steeper swing planes need this extra clearance to avoid hitting the ceiling during their backswing.
Room Depth Considerations
Plan for at least 12-15 feet of length to accommodate ball travel into the screen and ensure accurate launch monitor readings[2]. Radar-based systems like TrackMan require additional space behind the hitting area for proper flight calculations. This isn’t negotiable—insufficient depth leads to inaccurate data and poor simulation quality.
Width Requirements
While a baseline of 10 feet works for most setups, I recommend 12-15 feet for better flexibility[2]. This extra width allows for:
- Centered hitting position
- Accommodation of both left-handed and right-handed golfers
- Comfortable movement around the simulator
- Future equipment upgrades
Essential Technology Components for Your Simulator
When building one of the 9 key components for building the ultimate home golf simulator room, the technology stack forms the heart of your system. These components work together to create an immersive, accurate golfing experience.
2. Launch Monitor Selection
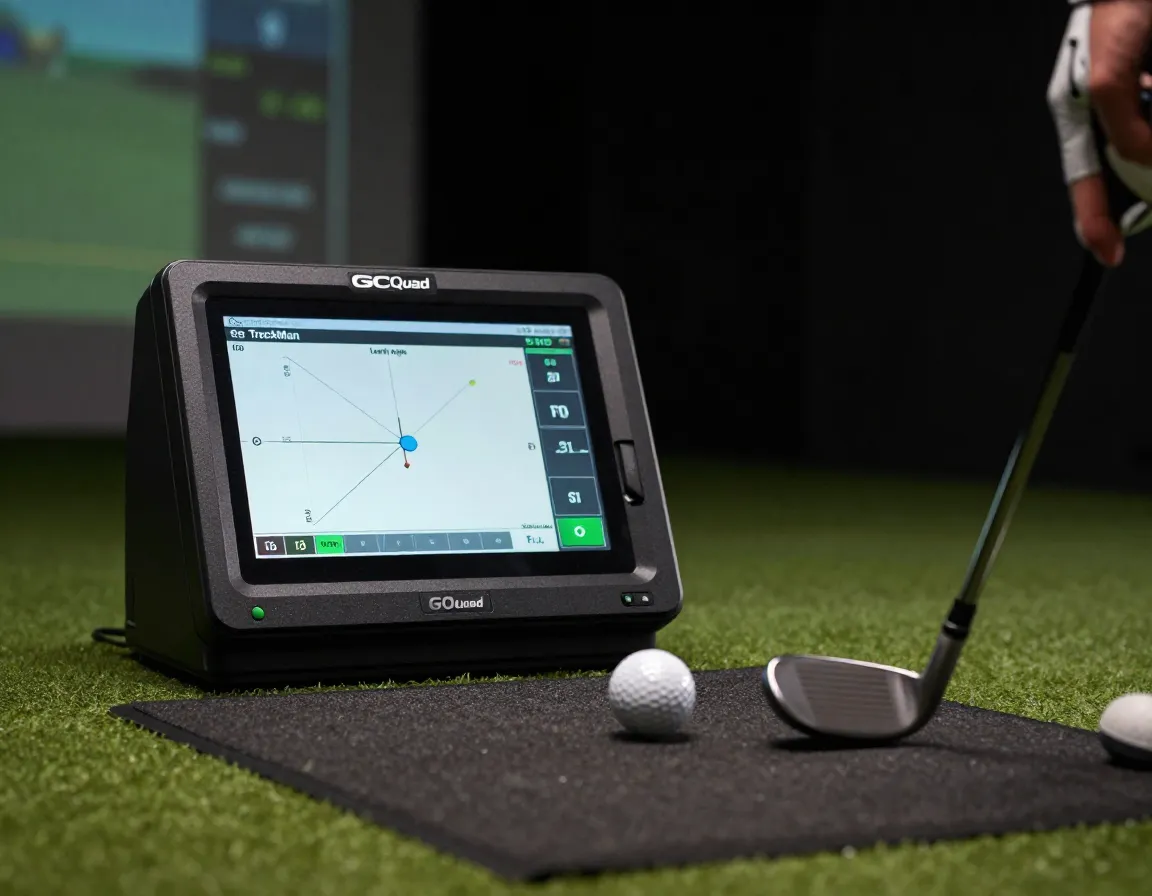
The launch monitor serves as your system’s centerpiece, capturing critical ball and club data that drives the entire simulation[3]. This represents your most significant budget item, ranging from $1,500 to $20,000.
Popular Mid-Range Options:
- SkyTrak+: Excellent value for recreational golfers
- FlightScope Mevo+: Portable with solid accuracy
- Uneekor: Professional-grade indoor performance
- GCQuad: Industry standard for accuracy
- TrackMan iO: Premium radar technology[1][2]
“The launch monitor is the one component you cannot compromise on—it’s the brain of your entire simulator system.”
3. Gaming Computer and Processing Power
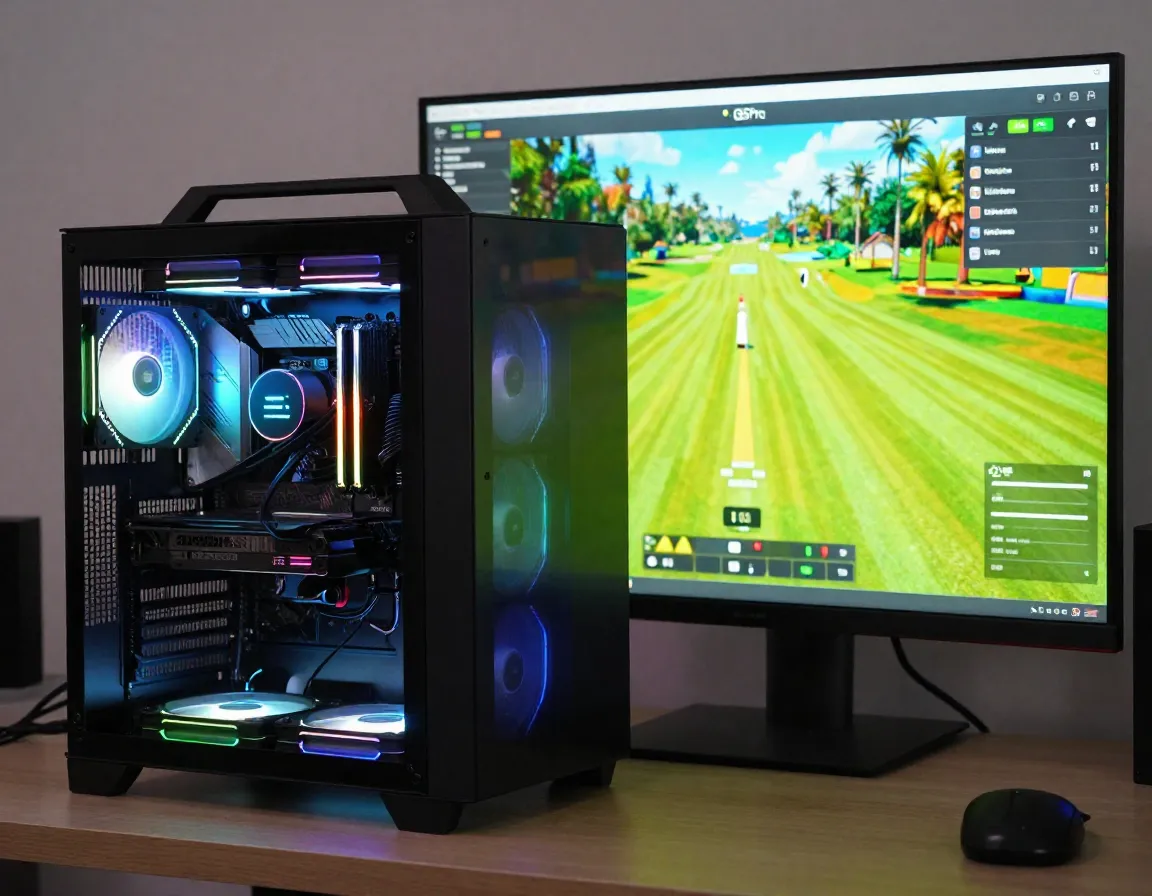
Most modern simulators require a dedicated gaming-class PC with robust specifications[3]. Budget $800-$2,000+ for a system that can:
- Handle complex 3D course renderings
- Process real-time ball flight calculations
- Support multiple monitor outputs
- Run simulation software smoothly
Minimum Specifications:
- GPU: NVIDIA RTX 3060 or equivalent
- RAM: 16GB DDR4
- Processor: Intel i5 or AMD Ryzen 5
- Storage: 1TB SSD for fast loading
4. Simulator Software Platform
Your software choice determines available courses, graphics quality, and ongoing costs. Popular options include[2][3]:
| Software | Strengths | Annual Cost |
|---|---|---|
| GSPro | Realistic graphics, active community | $250/year |
| E6 Connect | Comprehensive course library | Varies |
| TGC 2019 | User-generated courses | One-time |
Physical Infrastructure Components
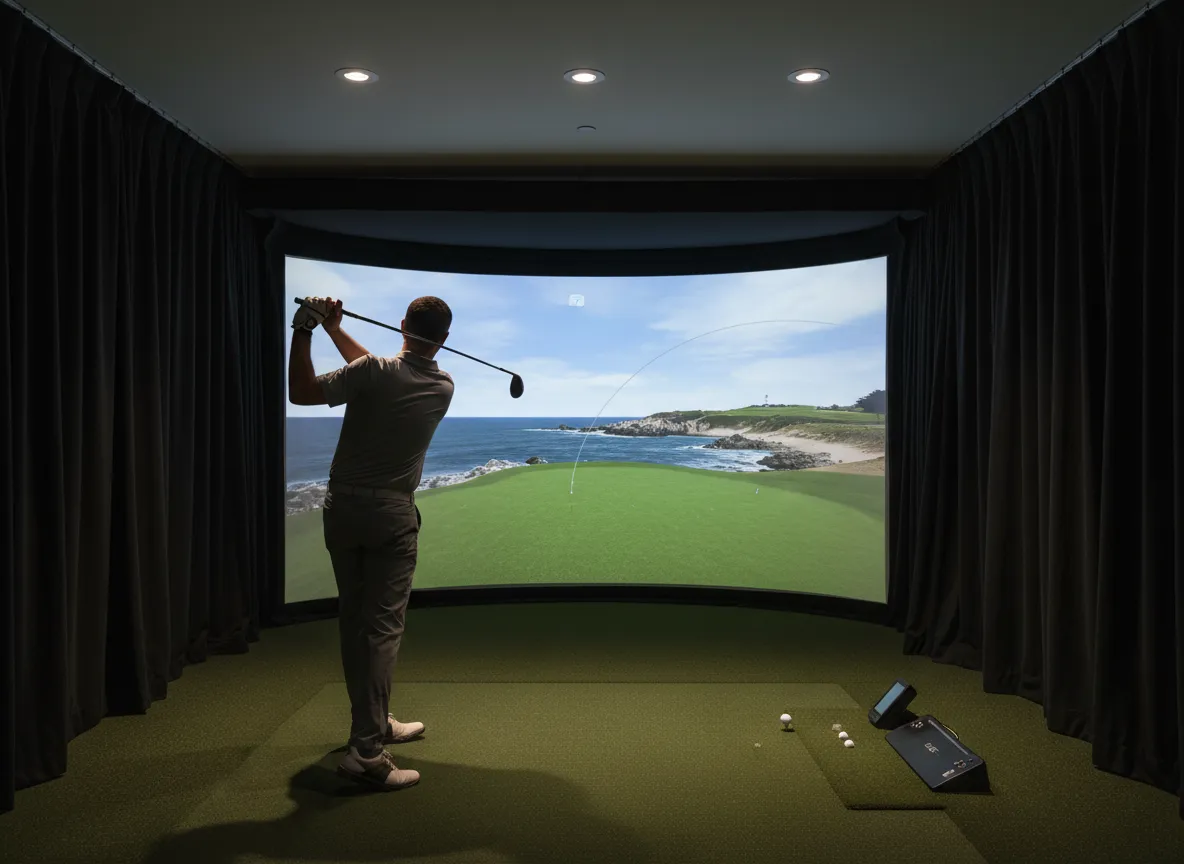
5. Impact Screen and Enclosure System
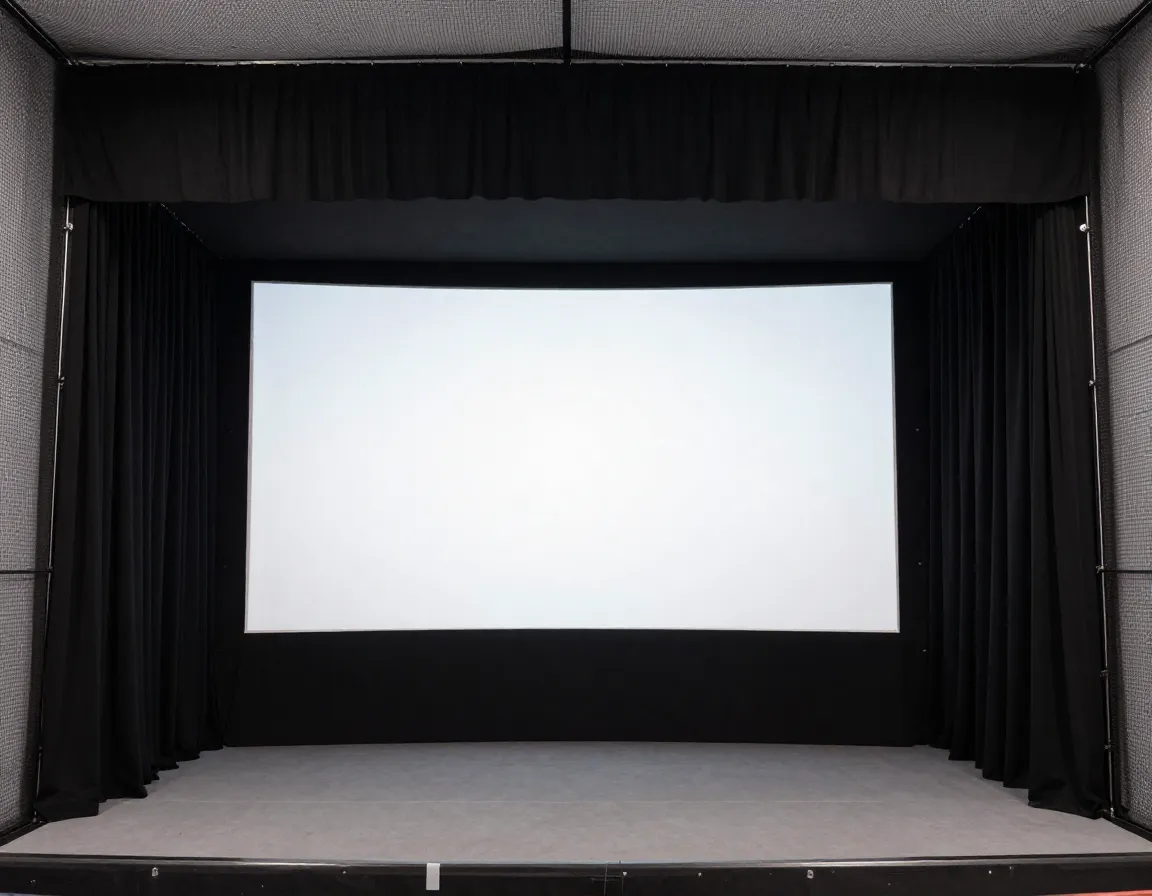
Full enclosures with ballistics-grade impact screens provide the most immersive experience[1]. These systems include:
- Impact-resistant screens that can handle driver speeds
- Blackout side and top curtains for proper projection
- Protective netting to contain errant shots
For simpler setups, ballistics-grade nets offer portable alternatives, though they sacrifice some visual immersion for convenience and lower cost.
6. Professional-Grade Hitting Surface
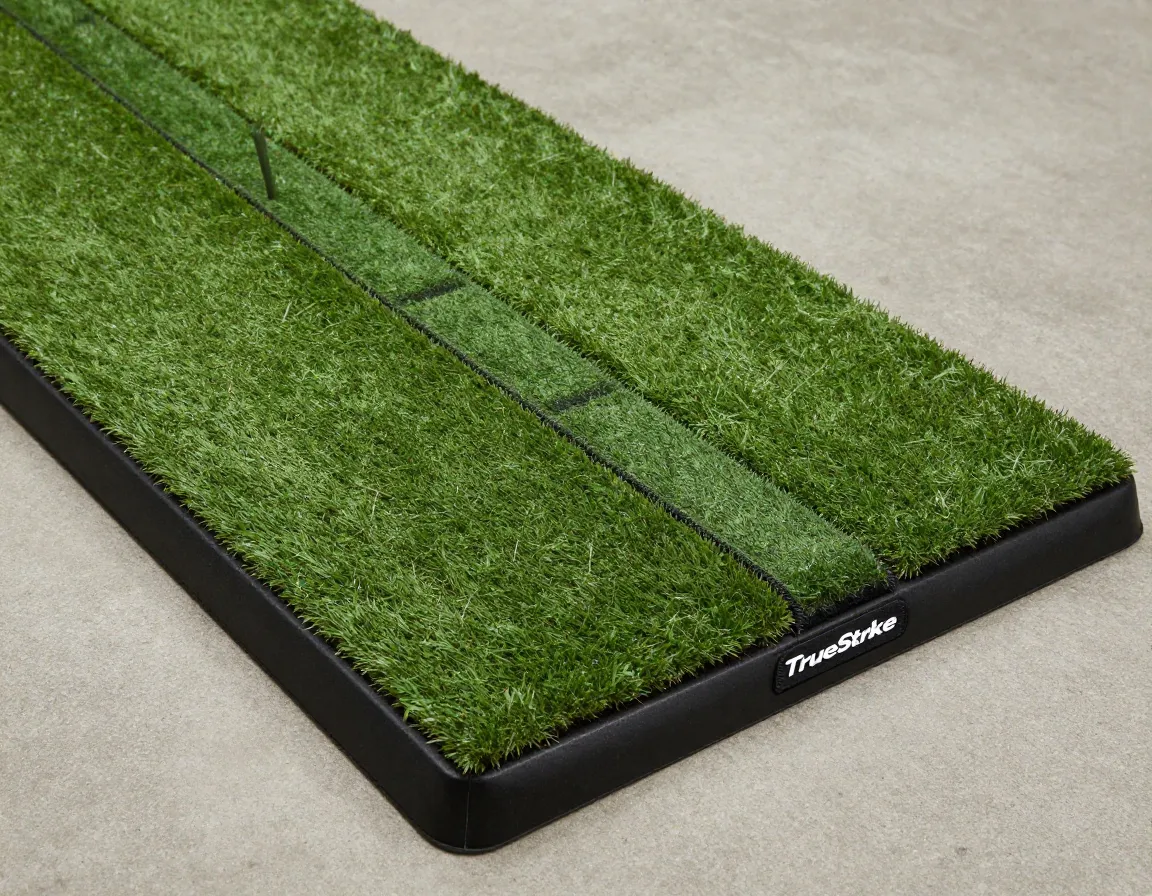
This is one component you cannot effectively upgrade later through software updates[2][3]. Invest in quality from the start with options like:
Top Hitting Mat Brands:
- TrueStrike: Realistic turf feel with replaceable strips
- Fiberbuilt: Excellent shock absorption
- SwingTurf: Professional-grade durability
- Country Club Elite: Premium materials and construction
The hitting surface affects:
- Shot accuracy and feedback
- Joint comfort during extended sessions
- Long-term durability and maintenance
- Overall simulation realism
7. Projector and Mounting System
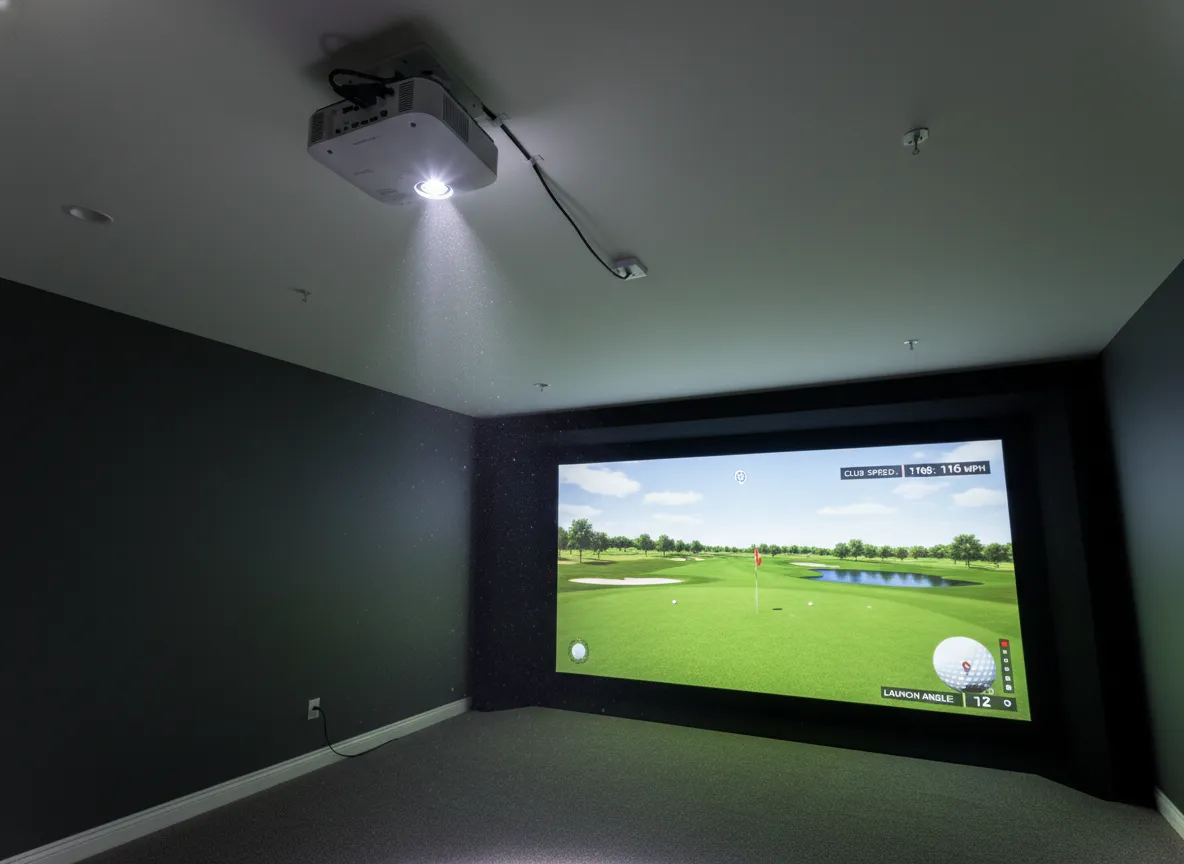
Short-throw projectors optimized for simulator environments are essential for proper image quality[1][3]. Key considerations include:
Technical Requirements:
- Throw ratio calculations: Distance ÷ width must be calculated before purchase
- Ceiling mounting systems with 25′ HDMI cables
- Brightness: Minimum 3,000 lumens for clear daytime viewing
- Resolution: 1080p minimum, 4K preferred
Mounting Position:
Position your projector to minimize shadows from your swing while maintaining optimal image quality. Most setups require ceiling mounting directly above or slightly behind the hitting position.
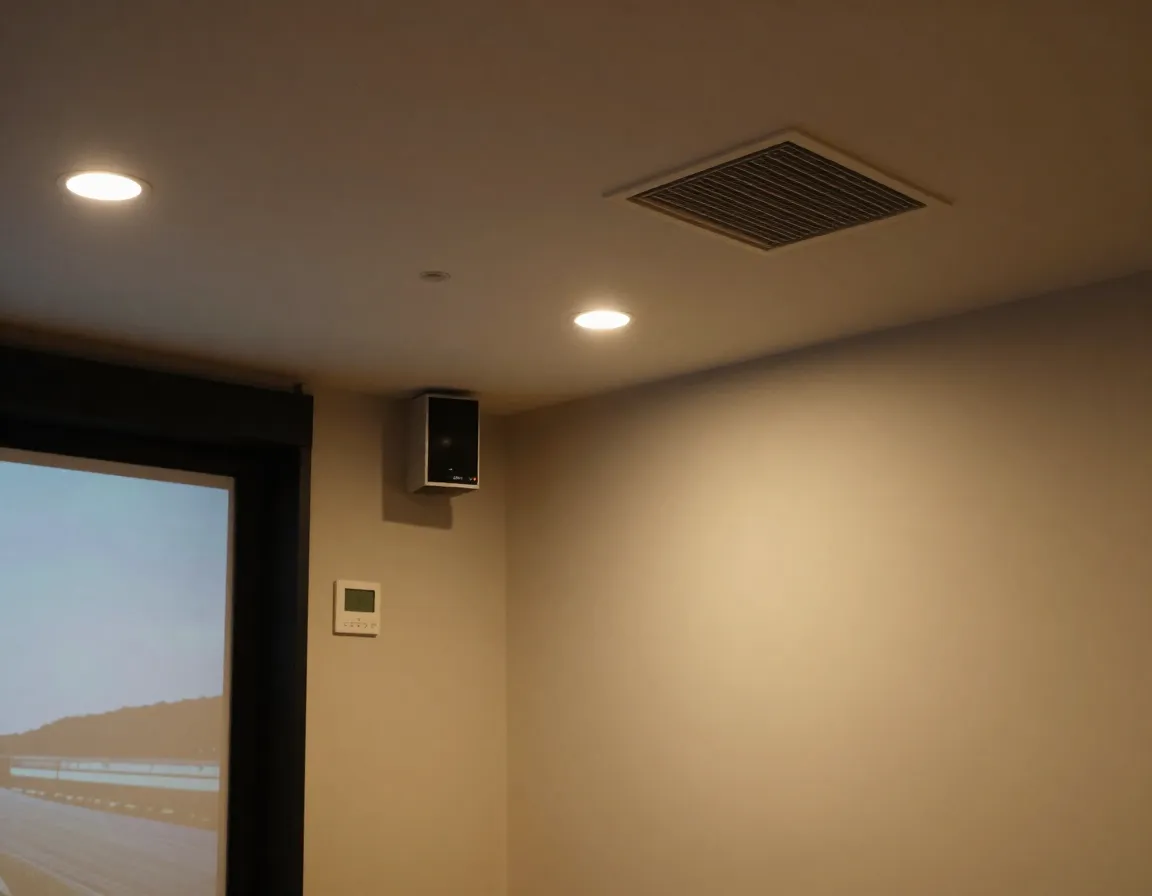
8. Lighting and Environmental Controls
Proper lighting transforms your simulator from functional to professional. Consider:
Lighting Strategy:
- Ambient lighting that doesn’t interfere with projection
- Adjustable brightness for different times of day
- Color temperature matching outdoor golf conditions
- Shadow elimination around the hitting area
Climate Control:
- Ventilation for extended practice sessions
- Temperature regulation for year-round comfort
- Humidity control to protect equipment
9. Audio and Finishing Touches
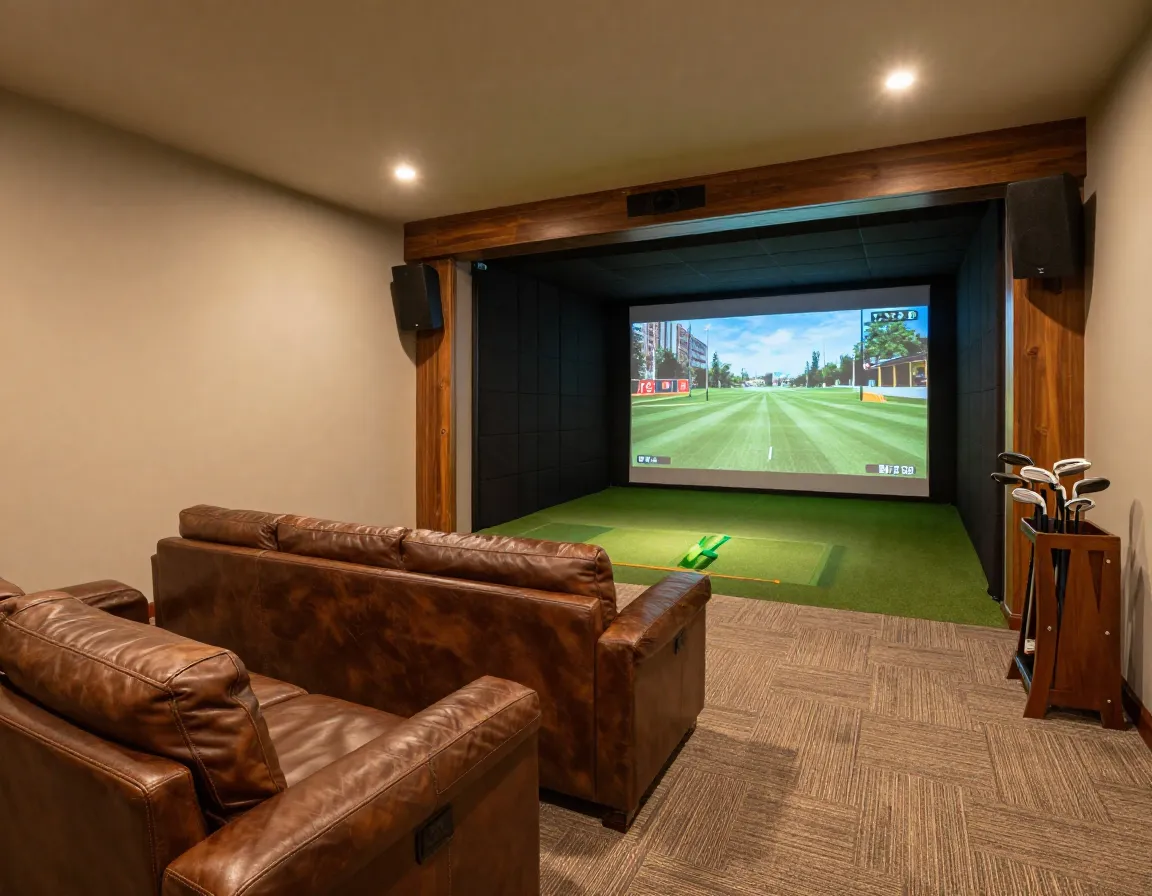
Complete your simulator with immersive audio systems and professional finishes:
Audio Components:
- Surround sound speakers for realistic course ambiance
- Impact sound simulation for authentic feedback
- Wireless connectivity for music and entertainment
Finishing Elements:
- Flooring: Commercial-grade carpet or rubber matting
- Wall treatments: Sound dampening and aesthetic panels
- Storage solutions: Club racks and equipment organization
- Seating areas: Comfortable viewing for family and friends
Budget Planning Across Different Tiers
Understanding the 9 key components for building the ultimate home golf simulator room requires realistic budget planning across three main tiers[2][3]:
Entry-Level ($2,000-$5,000)
- Focus: Practice functionality over aesthetics
- Components: Basic launch monitor, net enclosure, quality mat
- Best for: Beginners wanting to improve their game
Mid-Range ($4,000-$12,000)
- Features: Full impact screen, short-throw projector, reliable launch monitor
- Experience: Immersive, course-like experience with realistic visuals
- Best for: Serious golfers wanting authentic simulation
Premium ($13,000-$25,000+)
- Components: Ceiling-mounted tracking, professional-grade finishes
- Performance: Commercial-quality experience
- Best for: Golf enthusiasts with unlimited budgets
Conclusion
Building the ultimate home golf simulator room requires careful planning and understanding of how each component contributes to your overall experience. The 9 key components for building the ultimate home golf simulator room—proper space planning, launch monitor technology, gaming computer, software platform, impact screen system, hitting surface, projector setup, environmental controls, and finishing touches—work together to create a seamless golfing experience.
Your Next Steps:
- Measure your space and ensure it meets minimum dimensional requirements
- Set your budget and determine which tier aligns with your goals
- Research launch monitors within your price range—this drives all other decisions
- Plan your installation timeline, starting with structural elements
- Consider professional installation for complex components like projectors and enclosures
Remember, you don’t need to build everything at once. Start with essential components and upgrade over time as your budget allows. The key is ensuring each component you choose can integrate with future upgrades, creating a system that grows with your passion for the game.
References
[1] Golf Simulator Packages – https://rainorshinegolf.com/collections/golf-simulator-packages
[2] How To Build A Golf Simulator – https://www.wickedsmartgolf.com/blog/how-to-build-a-golf-simulator
[3] Home Golf Simulator Cost In 2026 Complete Budget Planning Guide – https://www.virtualtee.golf/blogs/news/home-golf-simulator-cost-in-2026-complete-budget-planning-guide