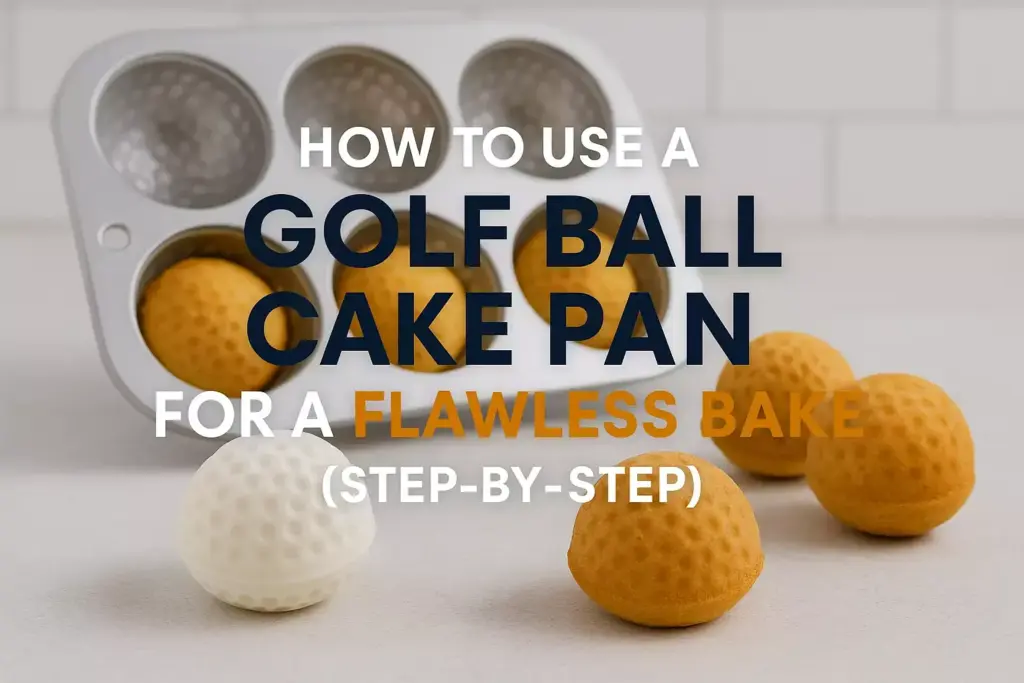
How to Use a Golf Ball Cake Pan for a Flawless Bake (Step-by-Step)
Picture this: you’re at a golf-themed party, and the centerpiece is a stunning cake that looks exactly like a collection of perfectly dimpled golf balls. The guests are amazed, wondering how such an intricate design was achieved. The secret? A specialized golf ball cake pan that transforms ordinary batter into extraordinary edible art. 🏌️♂️
Whether you’re celebrating a golfer’s birthday, hosting a tournament party, or simply want to impress fellow baking enthusiasts, mastering the golf ball cake pan opens up a world of creative possibilities. This unique baking tool might seem intimidating at first, but with the right techniques and insider knowledge, anyone can create professional-looking golf ball cakes that rival those from high-end bakeries.
Key Takeaways
Disclosure: This post contains affiliate links. As an Amazon Associate, we earn from qualifying purchases, and at no extra cost to you.
- Proper preparation is crucial – Thoroughly greasing and flouring your golf ball cake pan prevents sticking and ensures clean dimple details
- Batter consistency matters – Use a medium-thick batter that holds its shape while filling all the intricate dimples
- Temperature control is essential – Bake at the right temperature and monitor closely to prevent over-browning while ensuring complete cooking
- Cooling technique affects results – Allow proper cooling time in the pan before removal to maintain structural integrity
- Assembly creates impact – Multiple golf ball cakes can be arranged to create stunning tiered displays or golf course scenes
Understanding Your Golf Ball Cake Pan
Types of Golf Ball Cake Pans
Golf ball cake pans come in several varieties, each designed for different baking needs and skill levels. The most common types include:
Single Golf Ball Pans: Perfect for beginners, these pans create one large golf ball cake, typically 4-6 inches in diameter. They’re ideal for individual servings or as components of larger displays.
Multi-Cavity Pans: These efficient pans create multiple smaller golf balls simultaneously, usually 6-12 cavities per pan. They’re excellent for parties where you need several individual cakes.
Professional-Grade Silicone Pans: Offering superior non-stick properties and detailed dimple reproduction, these pans are favored by professional bakers and serious hobbyists.
Metal Pans with Non-Stick Coating: Traditional metal construction with modern coatings provides excellent heat distribution and durability.
Key Features to Look For
When selecting a golf ball cake pan, prioritize these essential features:
- Deep, well-defined dimples that create realistic golf ball texture
- Adequate depth to accommodate standard cake recipes
- Quality non-stick surface for easy release
- Even heat distribution properties
- Food-grade materials that are safe for baking
Essential Tools and Ingredients
Required Equipment
Beyond your golf ball cake pan, gather these essential tools:
- High-quality cooking spray or butter for greasing
- Fine flour for dusting (cake flour works best)
- Rubber spatula for smooth batter transfer
- Wire cooling racks for proper air circulation
- Small offset spatula for detailed work
- Pastry brush for applying glazes or syrups
Recommended Ingredients
The success of your golf ball cake depends heavily on ingredient quality:
For the Cake:
- High-quality all-purpose flour
- Fresh baking powder and baking soda
- Pure vanilla extract
- Room temperature eggs and butter
- Whole milk or buttermilk
For Decoration:
- White chocolate or vanilla candy melts
- Food coloring (if desired)
- Edible pearl dust for shimmer
- Fondant for detailed decorations
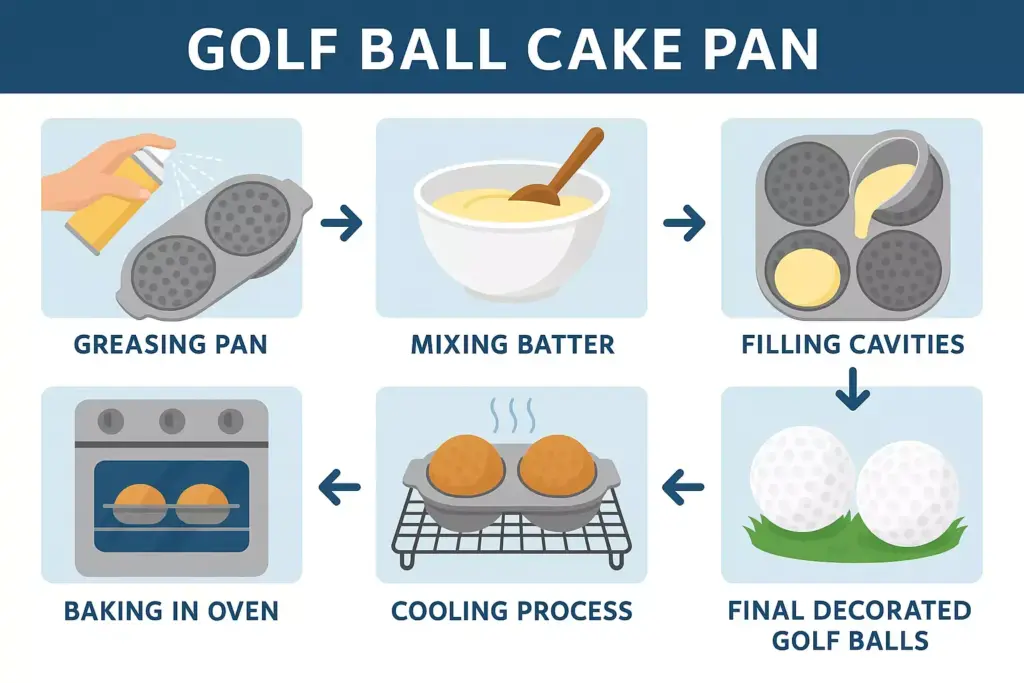
Step-by-Step Baking Process
Step 1: Preparation and Setup
Preheat your oven to 325°F (163°C). This slightly lower temperature prevents the exterior from browning too quickly while ensuring the interior cooks thoroughly.
Prepare your workspace by laying out all ingredients and tools. Room temperature ingredients mix more easily and create better texture.
Grease the pan meticulously. Apply cooking spray or softened butter to every dimple and surface. Pay special attention to the deepest parts of the dimples where sticking commonly occurs.
Dust with flour, tapping out excess. This creates a barrier between the batter and pan, ensuring clean release.
Step 2: Mixing the Perfect Batter
The ideal golf ball cake batter should be medium-thick consistency – not too thin that it doesn’t hold the dimple shapes, but not so thick that it doesn’t flow into all crevices.
Cream butter and sugar until light and fluffy, approximately 3-4 minutes with an electric mixer. This incorporates air for a tender crumb.
Add eggs one at a time, mixing well after each addition. This prevents the mixture from curdling.
Alternate dry and wet ingredients, beginning and ending with flour mixture. Mix just until combined to avoid tough cake.
Step 3: Filling the Pan
Fill each cavity 2/3 full. Overfilling causes overflow and loss of detail, while underfilling results in incomplete golf balls.
Tap the pan gently on the counter to release air bubbles and help batter settle into dimples.
Level the batter carefully with an offset spatula, ensuring even distribution.
Step 4: Baking Techniques
Place in the center of your preheated oven for even heat distribution.
Bake for 18-25 minutes depending on pan size. Single large golf balls require longer baking than multiple small ones.
Test for doneness by inserting a toothpick into the thickest part. It should come out with just a few moist crumbs.
Avoid overbaking, which causes dry, crumbly texture and makes removal difficult.
Step 5: Cooling and Removal
Cool in pan for 10-15 minutes. This allows the structure to set while preventing sticking from overcooling.
Invert onto wire racks carefully. If cakes stick, return to oven for 2-3 minutes to warm slightly.
Cool completely before decorating. Warm cakes cause frosting and decorations to melt.
Troubleshooting Common Issues

Sticking Problems
Cause: Insufficient greasing or incorrect cooling time
Solution: Use more thorough greasing technique and monitor cooling time precisely
Uneven Browning
Cause: Oven hot spots or incorrect rack position
Solution: Rotate pan halfway through baking and use center rack position
Collapsed Structure
Cause: Underbaking or opening oven door too early
Solution: Extend baking time and resist checking until minimum time elapsed
Lost Dimple Detail
Cause: Batter too thin or overmixing
Solution: Adjust batter consistency and mix just until combined
Creative Decoration Ideas
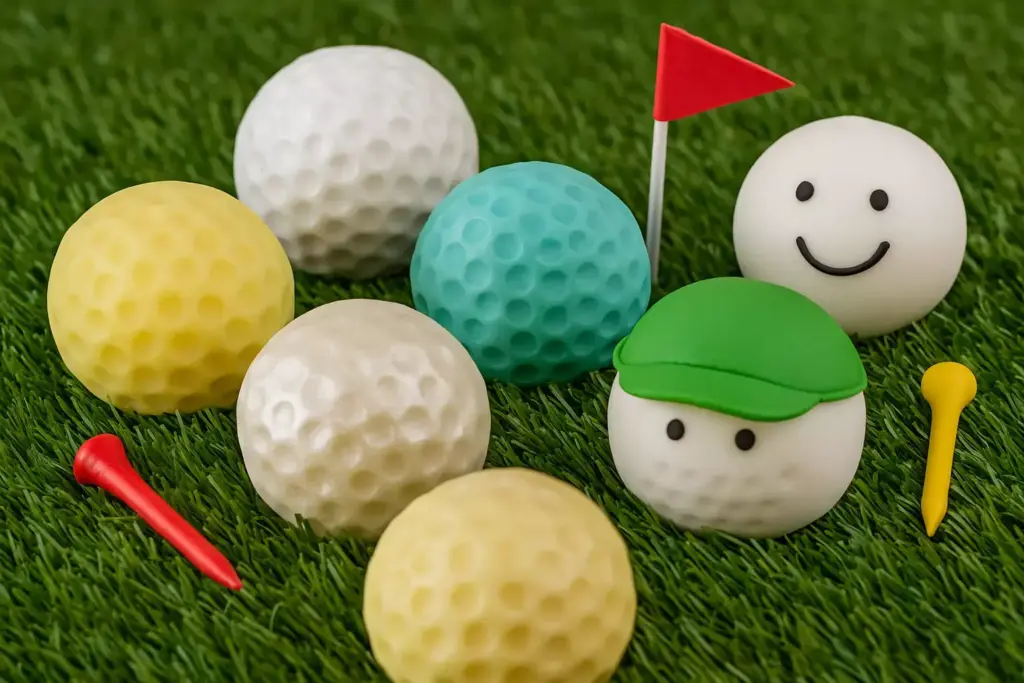
Classic White Golf Ball
Create the traditional look using white chocolate ganache or vanilla buttercream. Apply smoothly, then use a small tool to recreate dimple indentations if needed.
Colored Variations
Add food coloring to create unique golf balls in team colors or party themes. Gel food coloring works best for vibrant colors without thinning the mixture.
Textured Finishes
Use edible pearl dust or luster spray to create realistic shine and texture that mimics actual golf ball surfaces.
Themed Decorations
Incorporate fondant numbers or logos for personalized tournament cakes or birthday celebrations.
Advanced Techniques
Creating Golf Ball Clusters
Arrange multiple golf balls using buttercream as adhesive to create impressive displays that resemble golf ball pyramids or scattered course scenes.
Incorporating Edible Grass
Use green coconut flakes or piped buttercream grass around the base to simulate golf course settings.
Adding Movement Effects
Create sugar work tees or fondant golf clubs to add dynamic elements to your display.
Storage and Serving Tips
Short-Term Storage
Unfrosted golf ball cakes can be stored at room temperature for up to 3 days when wrapped tightly in plastic wrap. This maintains moisture while preventing staleness.
Frosted cakes require refrigeration and should be consumed within 2-3 days for optimal freshness and food safety.
Long-Term Storage
Freeze unfrosted cakes for up to 3 months by wrapping individually in plastic wrap, then aluminum foil. Thaw completely before decorating.
Avoid freezing decorated cakes as frosting and decorative elements may deteriorate during the freezing and thawing process.
Serving Presentation
Create height variation by using cake stands of different elevations to display multiple golf ball cakes.
Add themed elements like artificial grass, small flags, or miniature golf accessories to enhance the overall presentation.
Consider portion sizes – single large golf balls serve 6-8 people, while mini versions are perfect for individual servings.
Professional Tips from Expert Bakers
Temperature Control Mastery
Professional bakers emphasize the importance of consistent oven temperature. Use an oven thermometer to verify accuracy, as many home ovens run hot or cold.
Rotate pans halfway through baking to ensure even browning, especially important for detailed molds like golf ball pans.
Ingredient Quality Impact
Use European-style butter with higher fat content for richer flavor and better texture in your golf ball cakes.
Sift dry ingredients to eliminate lumps and create smoother batter that flows better into intricate pan details.
Timing Precision
Set multiple timers when baking multiple batches to prevent overbaking any single pan.
Document successful recipes with notes about timing, temperature, and techniques for future reference.
Conclusion
Mastering the golf ball cake pan opens up endless possibilities for creating memorable, professional-looking desserts that will impress guests and fellow baking enthusiasts alike. The key to success lies in understanding your specific pan type, preparing it properly, and following precise techniques for mixing, baking, and cooling.
Remember that practice makes perfect – your first golf ball cake might not be flawless, but each attempt will improve your technique and confidence. Start with simple decorations and gradually work up to more elaborate designs as your skills develop.
Take action today by gathering your ingredients and tools, then follow this step-by-step guide to create your first golf ball cake masterpiece. Whether you’re preparing for a special occasion or simply exploring new baking challenges, these techniques will serve you well in creating stunning, delicious results that look as good as they taste.
The satisfaction of removing perfectly formed golf ball cakes from your pan, complete with detailed dimples and smooth surfaces, makes every step of this process worthwhile. Your guests will be amazed by your baking prowess, and you’ll have gained valuable skills that can be applied to other specialty cake pans and advanced baking projects.