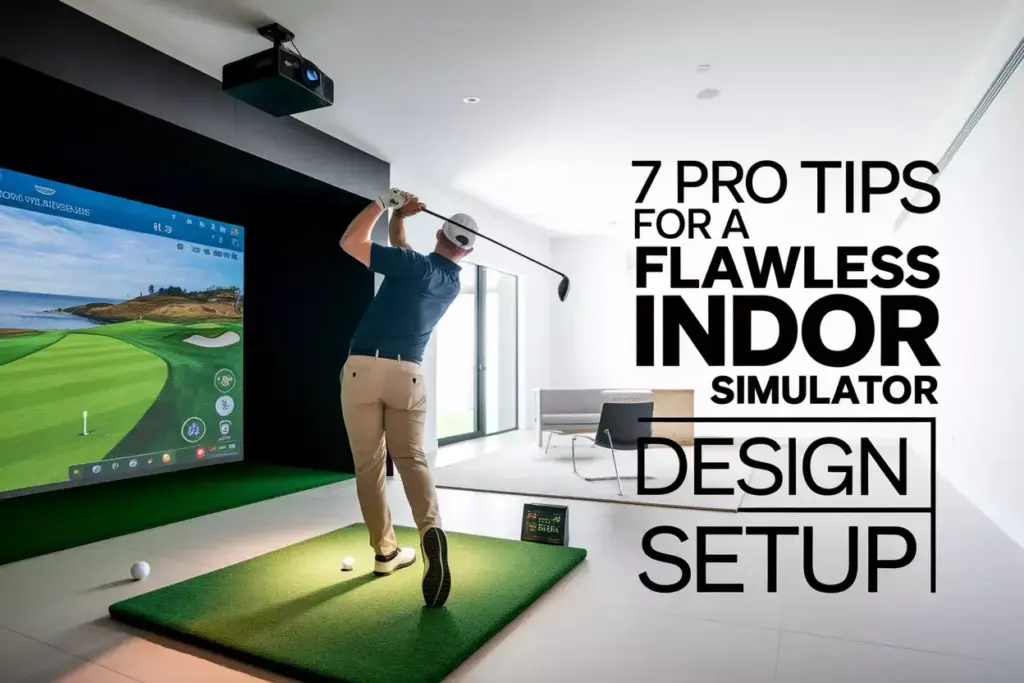
7 Pro Tips for a Flawless Indoor Golf Simulator Design & Setup
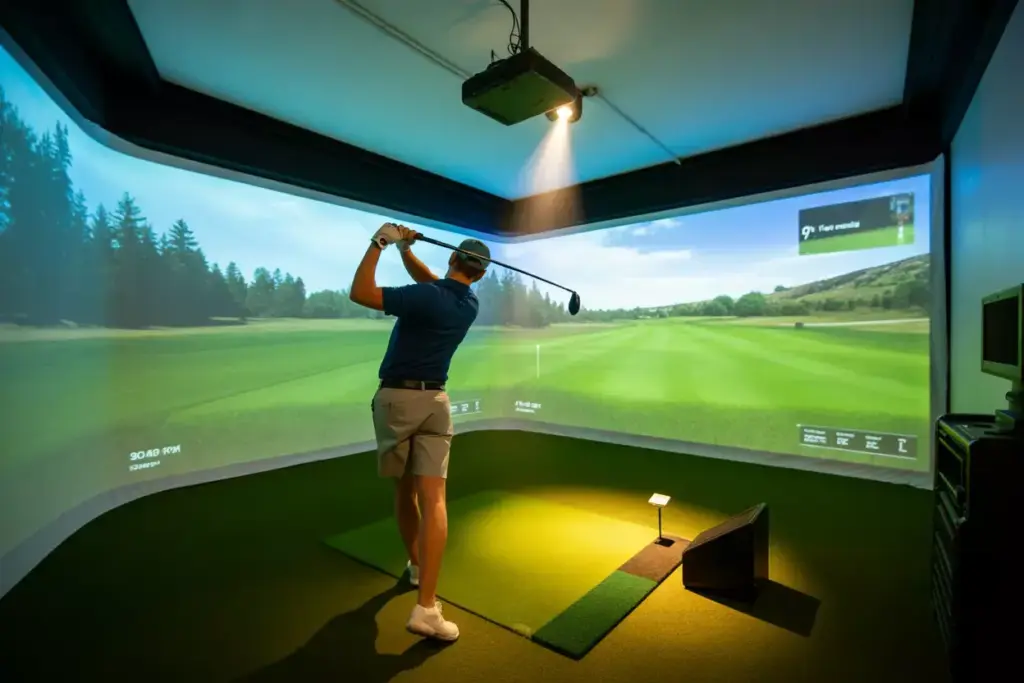
Imagine stepping into your own personal golf sanctuary where weather never matters, tee times don’t exist, and you can play Pebble Beach before breakfast. The indoor golf simulator market has exploded in 2025, with more homeowners than ever creating their dream golf spaces. However, building a truly exceptional simulator setup requires more than just buying equipment and hoping for the best.
Whether you’re a weekend warrior looking to improve your swing or a serious golfer seeking year-round practice, these 7 Pro Tips for a Flawless Indoor Golf Simulator Design & Setup will transform your vision into reality. From space planning to technology selection, every detail matters when creating a simulator that delivers professional-grade performance and lasting enjoyment.
Key Takeaways
- Space requirements are critical – Minimum 10-foot ceilings and 12×15-foot floor space ensure safe, comfortable play
- Technology integration – Matching your launch monitor, projection system, and software creates seamless performance
- Professional installation – Proper screen mounting, lighting, and calibration prevent costly mistakes and safety issues
- Budget planning – Quality simulators range from $15,000-$100,000+ depending on features and customization
- Future-proofing – Designing for upgrades and maintenance ensures long-term satisfaction and value
Understanding Your Space Requirements
1. Measuring and Planning Your Golf Simulator Room
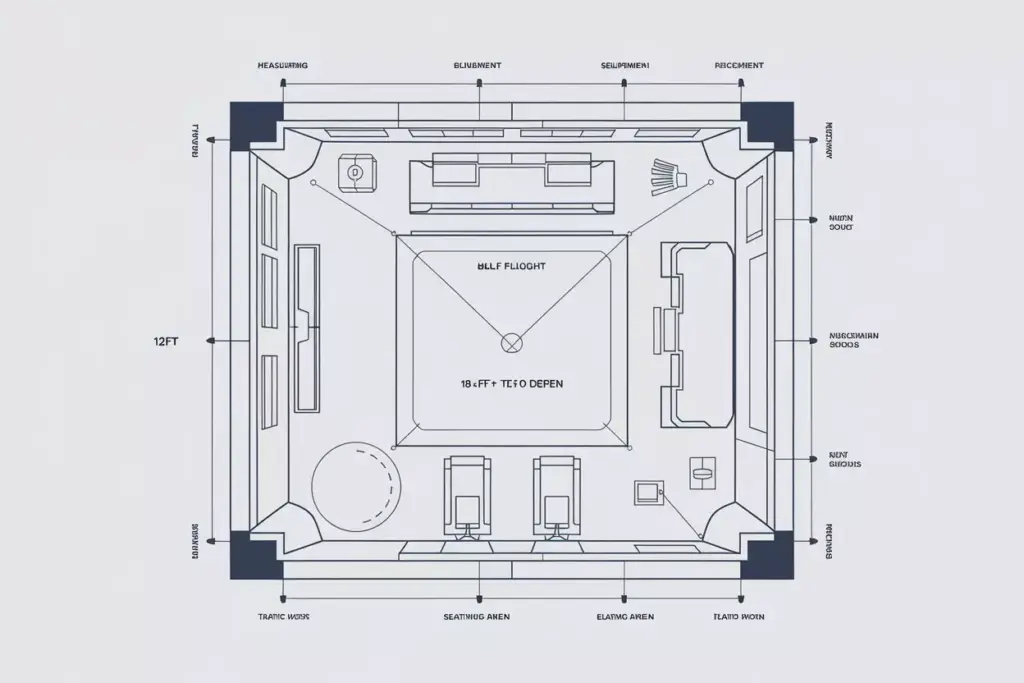
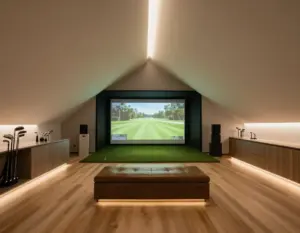
The foundation of any successful indoor golf simulator begins with proper space assessment. Room dimensions directly impact your playing experience and safety, making this the most crucial step in your setup journey.
Minimum Space Requirements:
- Ceiling height: 10 feet minimum (12+ feet preferred)
- Room width: 12 feet minimum (14+ feet ideal)
- Room depth: 15 feet minimum (18+ feet recommended)
- Ball flight zone: 8-10 feet from tee to screen
These measurements aren’t arbitrary suggestions – they’re based on actual swing mechanics and safety considerations. A 6-foot golfer with a driver can easily reach 8-9 feet in height during their backswing, while side-to-side movement requires adequate clearance to prevent wall contact.
Professional Space Planning Tips:
🏗️ Create a detailed floor plan showing equipment placement, electrical outlets, and ventilation systems. Many homeowners skip this step and later discover their dream setup won’t fit properly.
📏 Account for equipment depth – Launch monitors, computers, and seating areas require additional space beyond the basic hitting area.
💡 Consider multi-purpose functionality – Design your space to serve as an entertainment room, office, or workout area when not used for golf.
Common Space Planning Mistakes:
| Mistake | Consequence | Solution |
|---|---|---|
| Insufficient ceiling height | Restricted swing, damaged equipment | Measure with club extended overhead |
| Narrow width | Wall contact, safety concerns | Add 2-3 feet beyond minimum requirements |
| Poor ventilation planning | Equipment overheating, comfort issues | Include HVAC considerations early |
Room Layout and Traffic Flow
Smart layout design maximizes both functionality and enjoyment. Position your hitting area to allow natural movement patterns while maintaining clear sightlines to the screen. The best simulator rooms feel spacious and welcoming, not cramped or cluttered.
Consider placing seating areas behind and to the sides of the hitting zone, creating a natural spectator area for family and friends. This social aspect often becomes one of the most valued features of home simulators.
Technology Selection and Integration
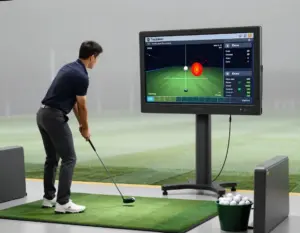
2. Choosing the Right Launch Monitor System
Launch monitors serve as the brain of your golf simulator, capturing critical data about ball flight and club performance. Selecting the appropriate technology determines accuracy, features, and long-term satisfaction with your setup.
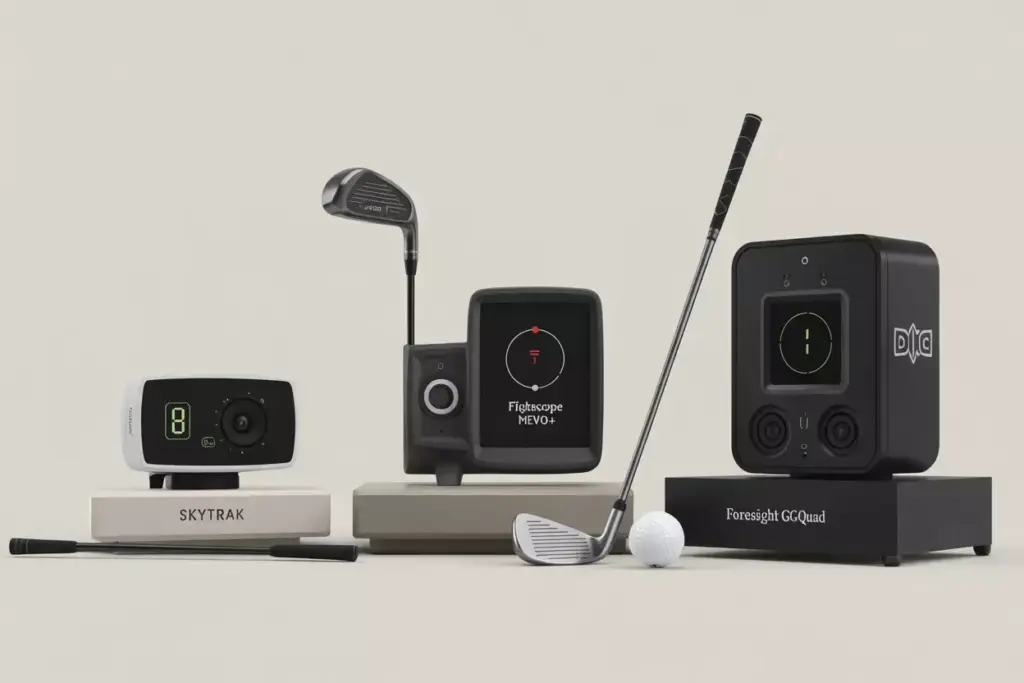
Launch Monitor Categories:
Camera-Based Systems:
- SkyTrak: Excellent value for home use, accurate ball flight data
- FlightScope Mevo+: Portable option with outdoor/indoor versatility
- Foresight GCQuad: Professional-grade accuracy, premium price point
Radar-Based Systems:
- TrackMan iO: Indoor-optimized version of tour-level technology
- FlightScope X3: Comprehensive data package with club and ball tracking
Photometric Systems:
- Foresight GCHawk: Ceiling-mounted, space-saving design
- Uneekor EYE XO: High-speed cameras, detailed impact analysis
3. Projection and Display Technology for Your Golf Simulator Setup
Visual quality dramatically affects immersion and enjoyment. Modern projection technology has advanced significantly, offering options for every budget and space configuration.
Projector Selection Criteria:
🎯 Resolution: 4K provides stunning detail, but quality 1080p systems still deliver excellent results
📱 Lumens: 3,000+ lumens ensure bright, clear images even with ambient lighting
⚡ Input lag: Low latency (under 50ms) maintains realistic ball flight timing
🔧 Throw distance: Short-throw projectors work better in compact spaces
Screen Options and Considerations:
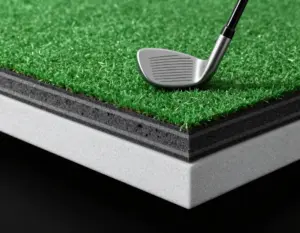
Impact Screens:
- Carl’s Place DIY kits: Cost-effective, customizable sizing
- TrueStrike portable screens: Quick setup, apartment-friendly
- Rain or Shine Golf premium screens: Durability for heavy use
Screen Sizing Guidelines:
- Width: 12-16 feet for immersive experience
- Height: 9-12 feet for realistic perspective
- Aspect ratio: 16:9 matches most golf software
Professional Installation Best Practices
4. Implementing These Pro Tips for Indoor Golf Simulator Design & Setup
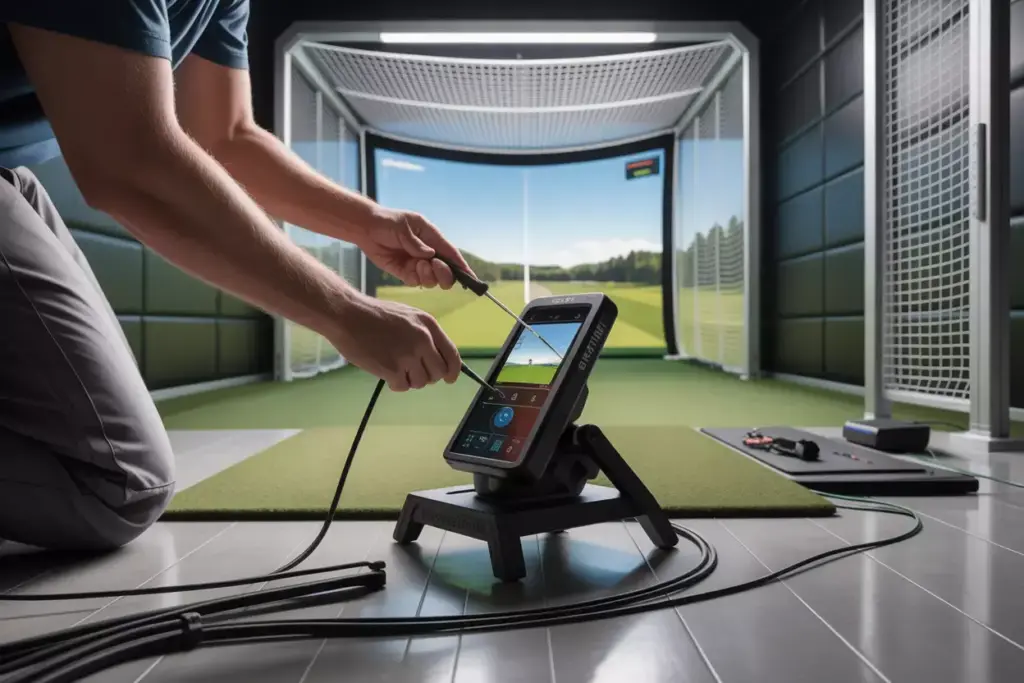
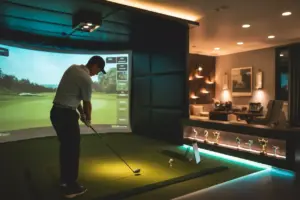
Professional installation separates exceptional simulators from disappointing ones. Proper mounting, calibration, and safety measures ensure your investment performs as intended for years to come.
Critical Installation Elements:
Structural Considerations:
- Screen mounting: Requires secure wall anchors rated for dynamic loads
- Projector placement: Precise positioning affects image quality and shadows
- Equipment protection: Enclosures prevent damage from errant shots
Electrical and Technology Integration:
- Dedicated circuits: Prevent power issues with sensitive electronics
- Network connectivity: Hardwired ethernet ensures stable online play
- Cable management: Clean installation improves aesthetics and safety
Pro Tip: “The difference between a good simulator and a great one often comes down to installation quality. Don’t cut corners on mounting hardware or calibration – these details matter every time you play.” – Mike Chen, Golf Simulator Specialist
Safety and Protection Measures:
⚠️ Impact protection: Side netting prevents damage to walls and equipment
🛡️ Equipment shields: Protect expensive launch monitors from direct hits
🚨 Emergency stops: Easily accessible power cutoffs for safety
5. Lighting Design and Environmental Controls
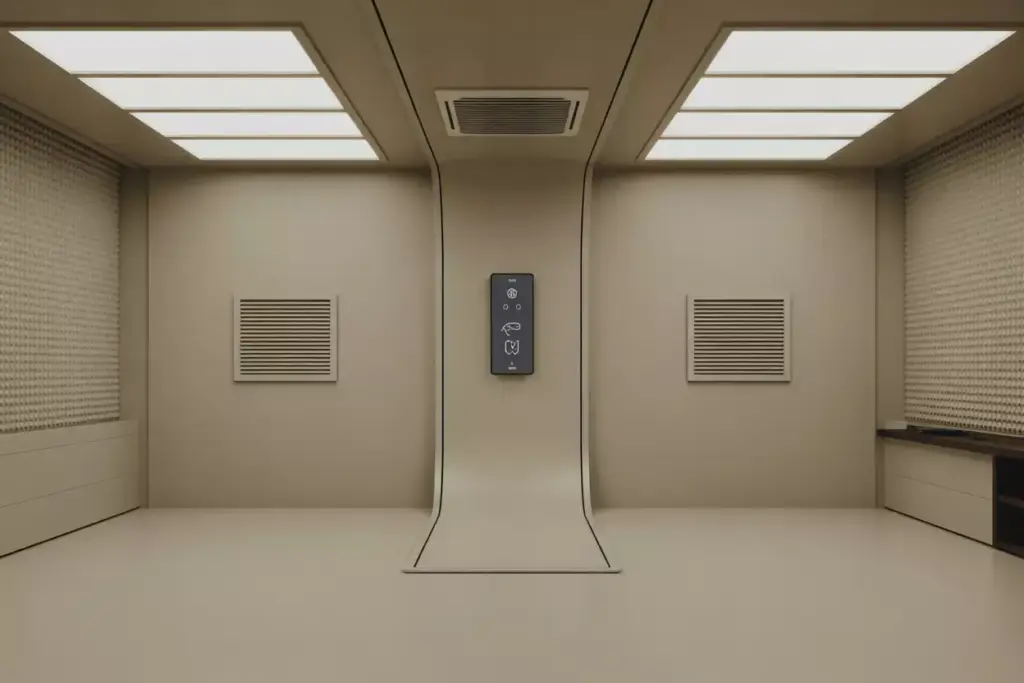
Proper lighting creates the ideal playing environment while supporting accurate ball tracking. Strategic illumination enhances both performance and ambiance.
Lighting Requirements:
- Even distribution: Eliminates shadows that interfere with tracking
- Color temperature: 5000K-6500K mimics natural daylight
- Dimming capability: Adjusts for different playing conditions and moods
Environmental Control Systems:
- Temperature regulation: Maintains equipment performance and comfort
- Humidity management: Protects electronics and prevents condensation
- Sound dampening: Reduces noise transfer to other areas of the home
Software and Course Selection
6. Golf Simulation Software and Course Libraries
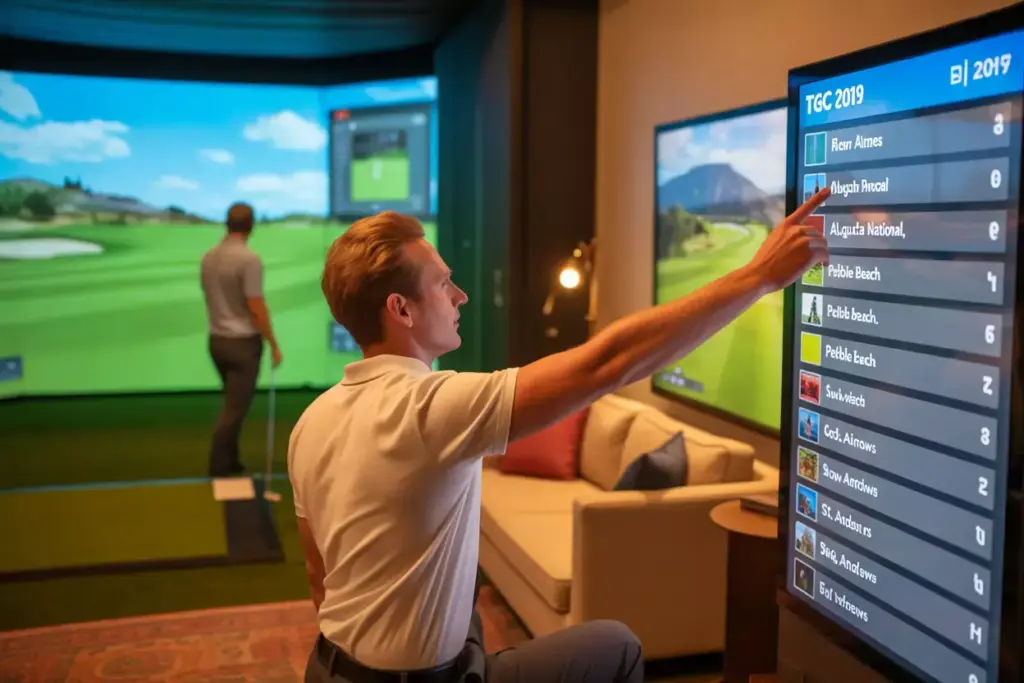
Software transforms raw data into engaging golf experiences. Choosing compatible, feature-rich software maximizes your simulator’s potential and provides lasting entertainment value.
Popular Software Platforms:
TGC 2019 (The Golf Club):
- Massive course library with user-generated content
- Realistic physics and weather conditions
- Strong online community and tournaments
E6 CONNECT:
- Professional-grade graphics and gameplay
- Licensed courses including famous championship venues
- Comprehensive practice modes and game improvement tools
GSPro:
- Cutting-edge graphics with realistic course modeling
- Growing course library with premium licensing
- Advanced ball physics and environmental effects
Software Selection Factors:
| Feature | TGC 2019 | E6 CONNECT | GSPro |
|---|---|---|---|
| Course quantity | 100,000+ | 85+ | 50+ |
| Graphics quality | Good | Excellent | Outstanding |
| Online play | Yes | Yes | Yes |
| Monthly cost | $35 | $30 | $35 |
Course Library and Gaming Features
Premium Course Experiences:
- Augusta National: Play the Masters from your home
- Pebble Beach: Experience iconic coastal golf
- St. Andrews: Walk in the footsteps of legends
- TPC Sawgrass: Test your skills on the Stadium Course
Game Modes and Features:
- Stroke play: Traditional golf with full 18-hole rounds
- Skills challenges: Driving accuracy, putting contests, closest to pin
- Multiplayer tournaments: Compete with friends and online players
- Lesson integration: Work with teaching professionals virtually
Budgeting and Cost Considerations
7. Smart Budgeting for Your Golf Simulator Project
Understanding costs upfront prevents budget overruns and ensures you get maximum value from your investment. Realistic budgeting includes equipment, installation, and ongoing expenses.
Budget Ranges by Quality Level:
Entry Level ($15,000 – $25,000):
- SkyTrak launch monitor
- 1080p projector system
- Basic impact screen setup
- DIY installation
Mid-Range ($25,000 – $50,000):
- Foresight GC3 or similar
- 4K projection system
- Professional screen and mounting
- Partial professional installation
Premium ($50,000 – $100,000+):
- TrackMan or GCQuad technology
- Commercial-grade projection
- Custom room design and construction
- Full professional installation and calibration
Hidden Costs to Consider:
- Electrical work: $1,500 – $3,500 for dedicated circuits
- Room modifications: $2,000 – $10,000+ for structural changes
- Software subscriptions: $300 – $400 annually
- Maintenance and updates: $500 – $1,500 per year
Cost-Saving Strategies:
💰 Phased implementation: Start with essential components, upgrade over time
🔧 DIY elements: Handle simple installation tasks yourself
📦 Package deals: Many dealers offer bundled pricing
⏰ Seasonal timing: Shop during off-peak periods for better pricing
Advanced Features and Customization
Premium Upgrade Options
Advanced Technology Integration:
- Swing analysis cameras: Detailed biomechanical feedback
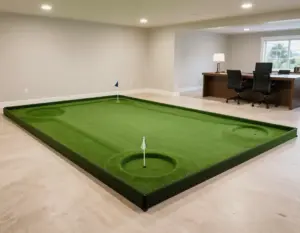
- Putting systems: Complete short game practice
- Club fitting integration: Optimize equipment selection
- Virtual coaching: AI-powered instruction and feedback
Luxury Amenities:
- Climate control: Maintain perfect playing conditions
- Sound systems: Immersive audio experiences
- Seating and entertainment: Create a complete golf lounge
- Beverage stations: Enhance the social experience
Future-Proofing Your Investment
Design for Upgrades:
- Modular equipment mounting: Easy technology swaps
- Expandable power and networking: Support future additions
- Flexible room layout: Accommodate new equipment sizes
- Software compatibility: Choose platforms with long-term support
Maintenance and Long-Term Care
Protecting Your Investment
Regular Maintenance Tasks:
- Screen inspection: Check for wear and proper tension
- Projector care: Clean filters and replace bulbs as needed
- Launch monitor calibration: Ensure continued accuracy
- Software updates: Keep systems current and secure
Professional Service Scheduling:
- Annual calibration: Maintain peak performance
- Equipment inspections: Identify issues before they become problems
- Software optimization: Ensure smooth operation and new features
Conclusion
Creating a flawless indoor golf simulator requires careful planning, quality components, and professional execution. These 7 Pro Tips for a Flawless Indoor Golf Simulator Design & Setup provide the roadmap for transforming your space into a world-class golf experience.
Success starts with understanding your space requirements and selecting technology that matches your needs and budget. Professional installation ensures safety and optimal performance, while thoughtful software selection provides endless entertainment. Smart budgeting and future-proofing protect your investment for years to come.
Your Next Steps:
- Measure your space and create a detailed floor plan
- Research technology options and visit local dealers for demonstrations
- Obtain multiple quotes from certified installers
- Plan your budget including all associated costs
- Schedule installation during optimal timing for your schedule
The indoor golf simulator market continues evolving rapidly, with new technologies and features emerging regularly. By following these proven strategies and working with experienced professionals, you’ll create a simulator that exceeds expectations and provides countless hours of enjoyment.
Remember, the best simulator is one that matches your specific needs, space, and budget while delivering the performance and features most important to your golf journey. Take time to research thoroughly, ask detailed questions, and invest in quality components that will serve you well for years to come.